Active Directory Synchronization
This article explains how to set up and run synchronization between DeskAlerts and your Active Directory (AD) server.
1. Synchronization Setup
Step 1: Open Synchronization Settings
Go to Audience → Synchronizations.
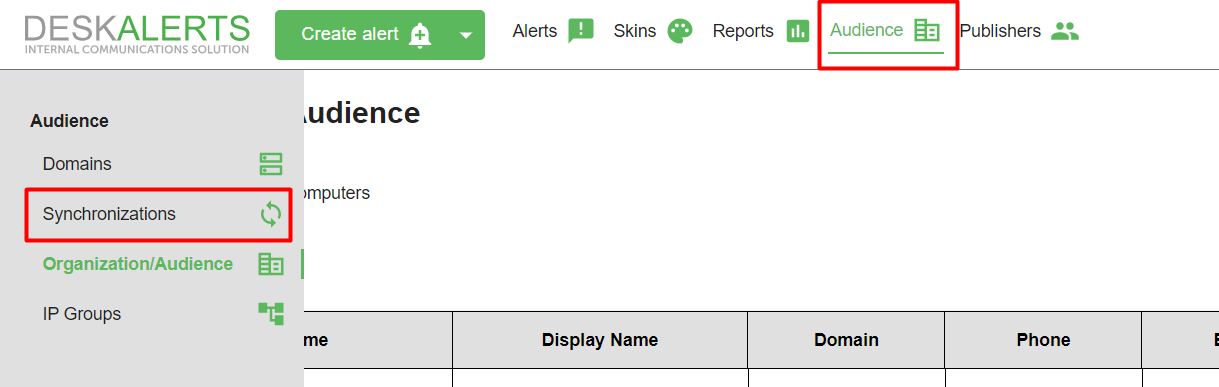
If a synchronization has been configured before, you will see the details of the last sync.
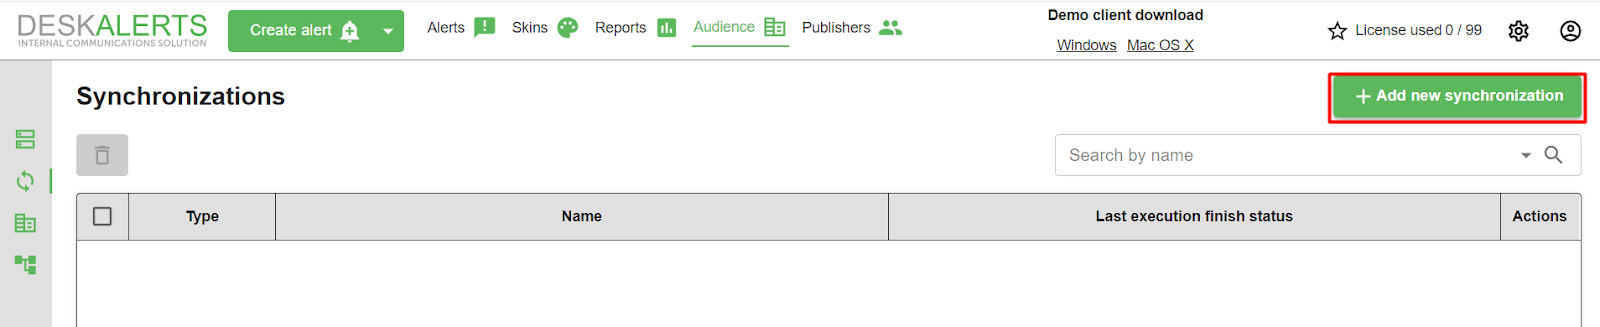
Step 2: Add a New Synchronization
Click Add new synchronization.
Step 3: Fill in Connection Parameters
Complete the form to connect DeskAlerts to your AD server.
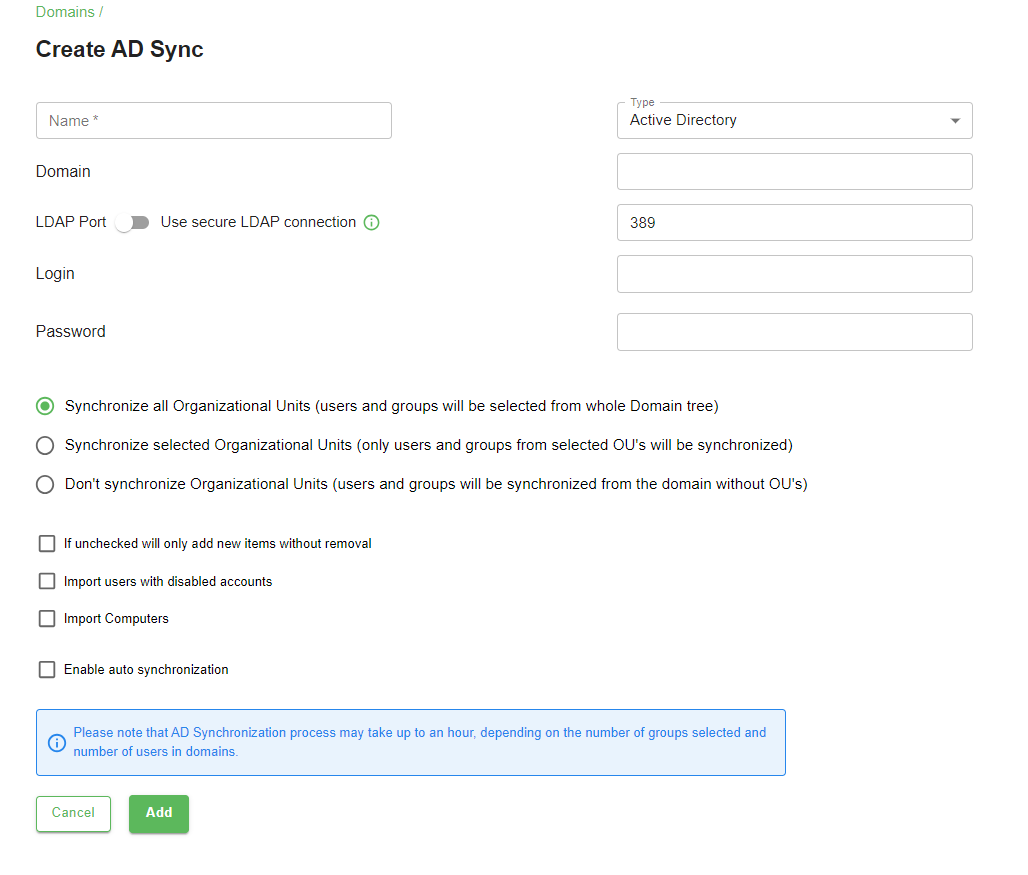
- Name – Assign a name to the configuration (useful when working with multiple AD servers).
- Domain – Specify the domain name or IP address and port (LDAP or SLDAP).
- Login – Enter a username with read access to your AD server.
- Password – Enter the corresponding password.
If using the SLDAP protocol, check the corresponding box.
Step 4: Select What to Synchronize
Choose whether to sync all or specific users, groups, and OUs.

Step 5: (Optional) Enable Auto Synchronization
Configure automatic synchronization if needed.

Click Add to save the synchronization settings.
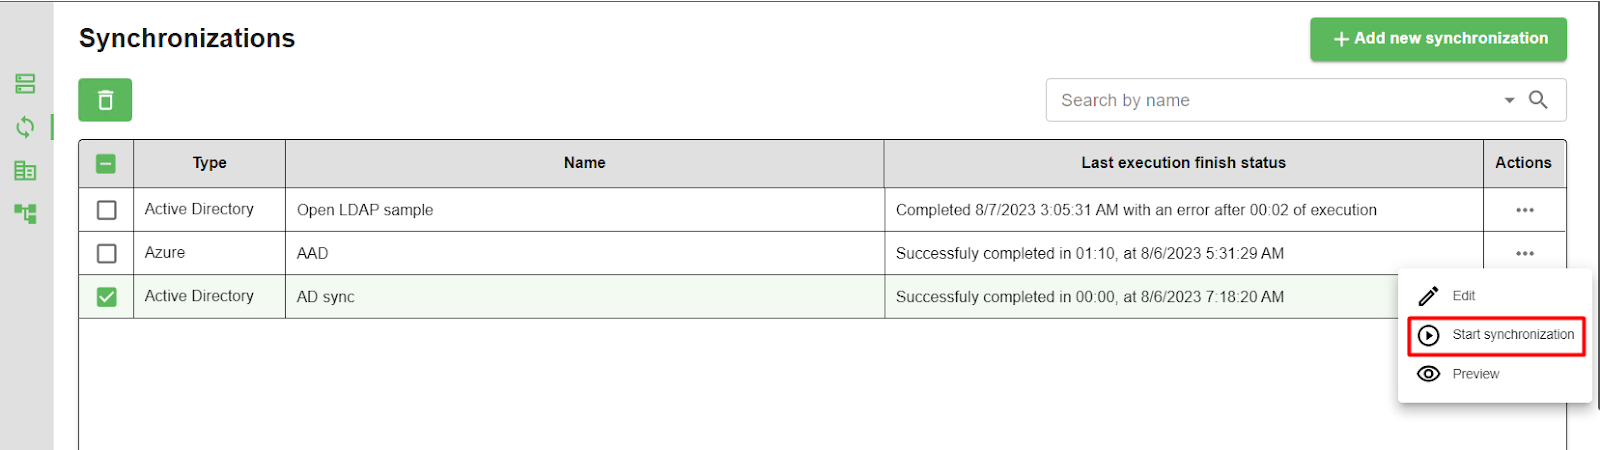
2. Running the Synchronization
Step 1: Start Synchronization
Once the configuration is saved, it appears in the Synchronization list.
To start the sync:
- Select the desired sync entry.
- Open the context menu and click Start synchronization.
Step 2: Synchronized Data Fields
During synchronization, the following fields are retrieved:
objectGUID
objectCategory
sAMAccountName
userPrincipalName
ou
memberOf
member
userAccountControl
AdUserPhoneAttributes
displayName
cn
objectSid
primaryGroupID