Azure AD Integration
Configure DeskAlerts Azure App
Prerequisites
Before proceeding, ensure the following:
- Access to the Azure portal with permissions to register applications.
- Administrator access to the DeskAlerts dashboard.
- DeskAlerts Server version 11 or higher.
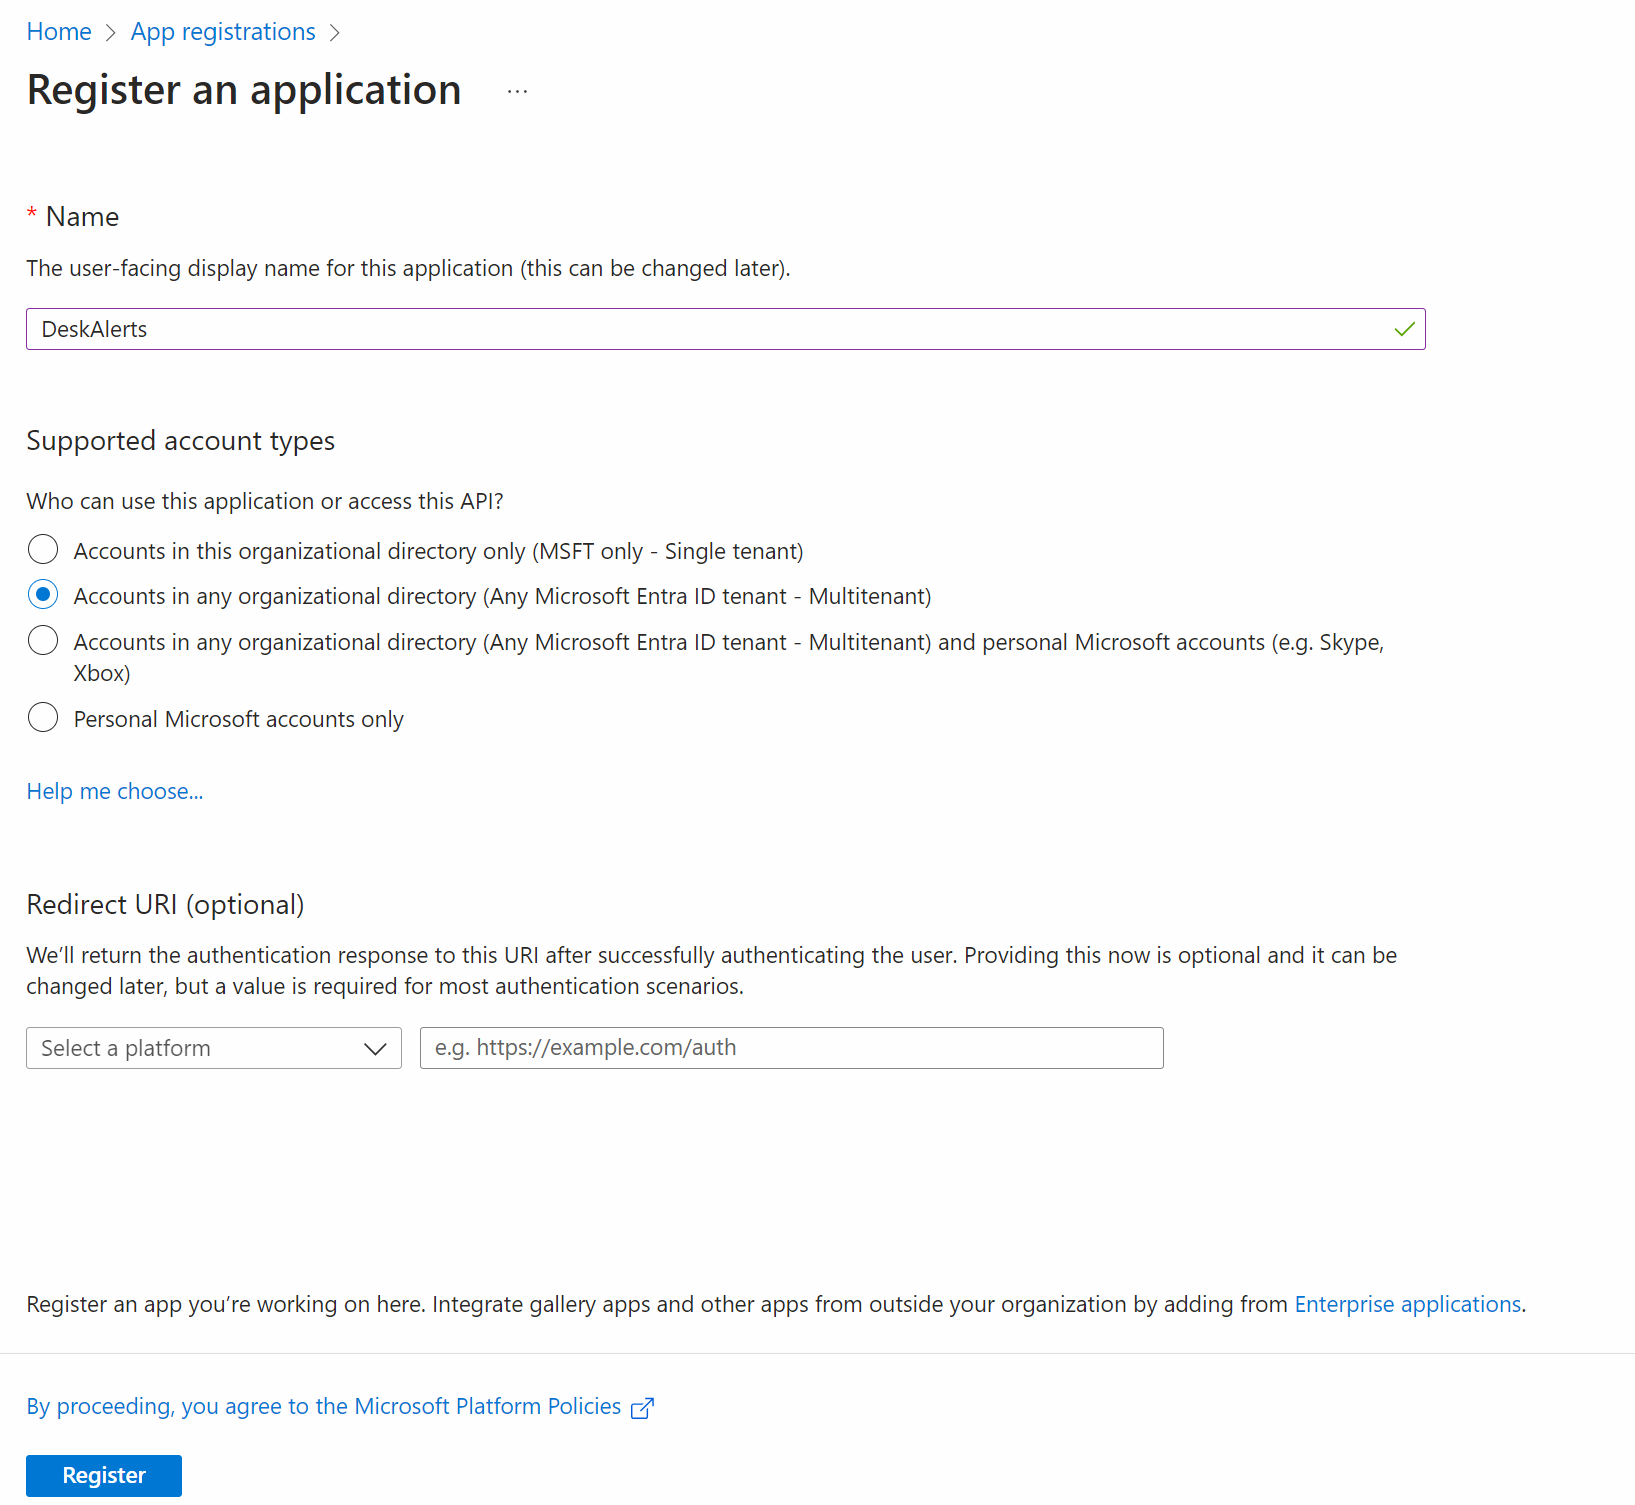
Register an Application in Azure AD
- Navigate to the Azure Portal.
- Go to Azure Active Directory → App registrations → New registration.
- Enter a name for the application (e.g., “DeskAlerts”).
- Set the Supported account types (Any Microsoft Entra ID tenant - Multitenant).
- Click Register.
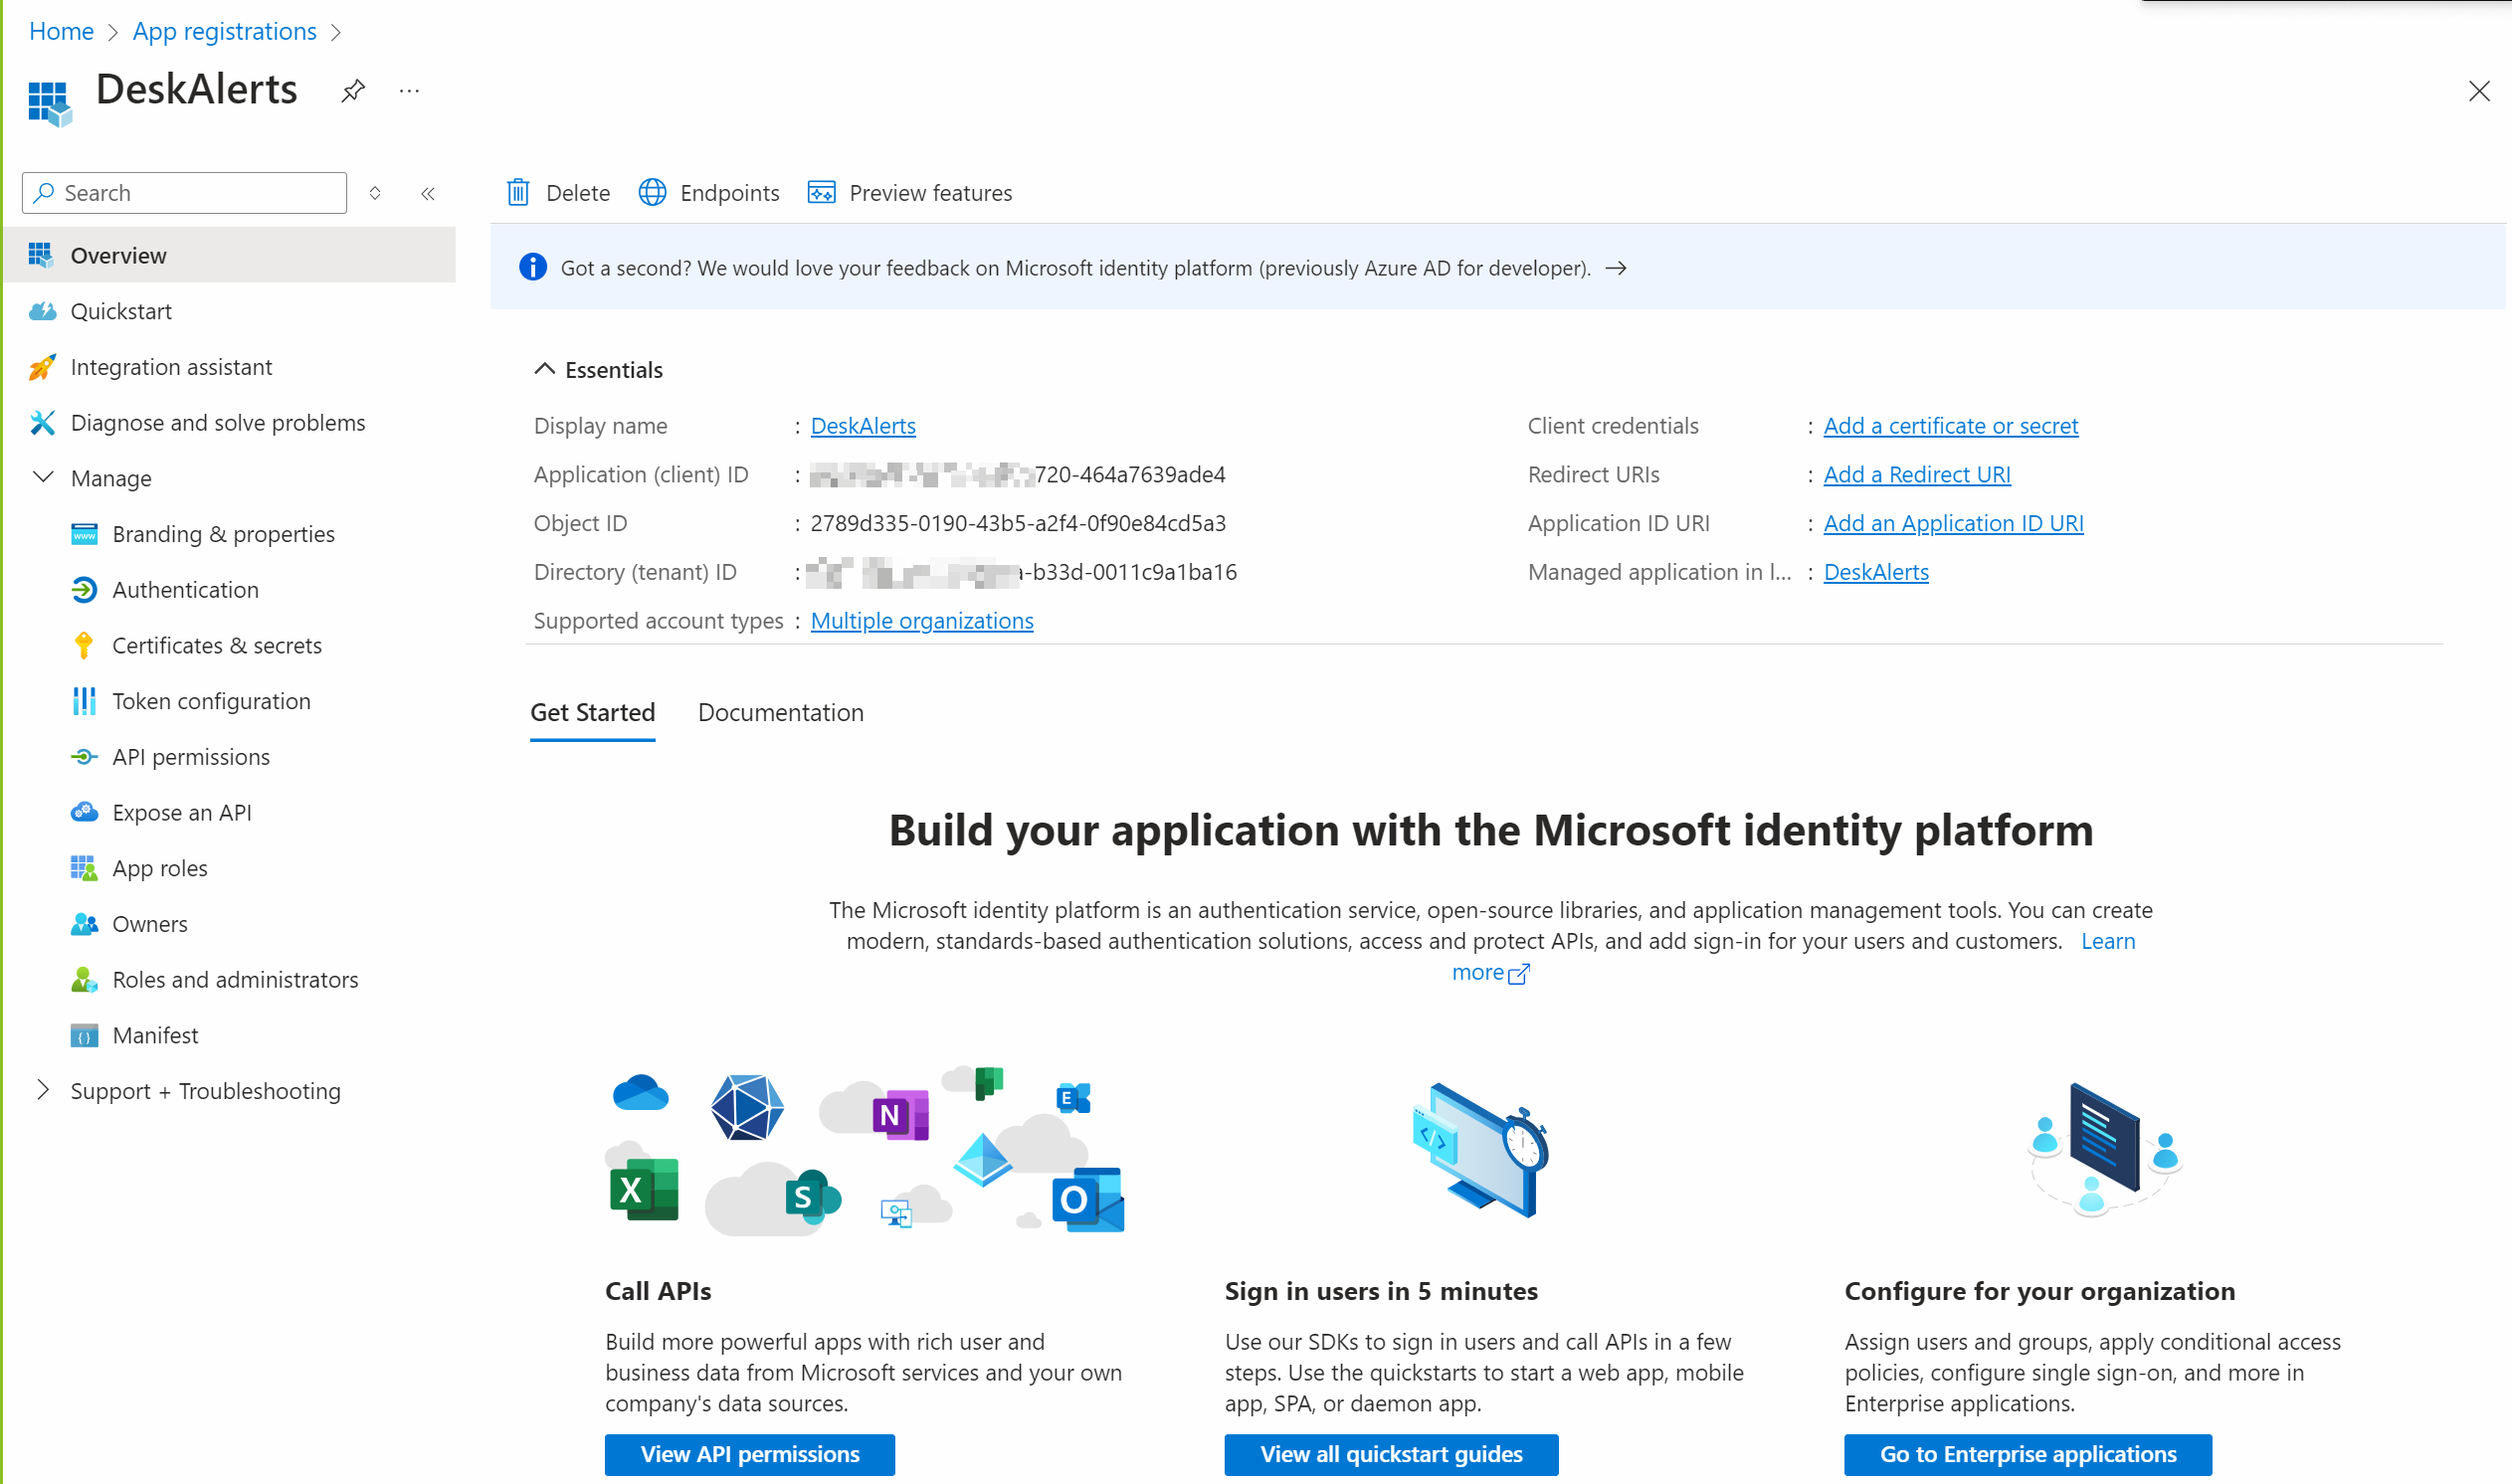
Obtain Application Credentials
Copy Application (client) ID and Directory (tenant) ID from the Overview section.
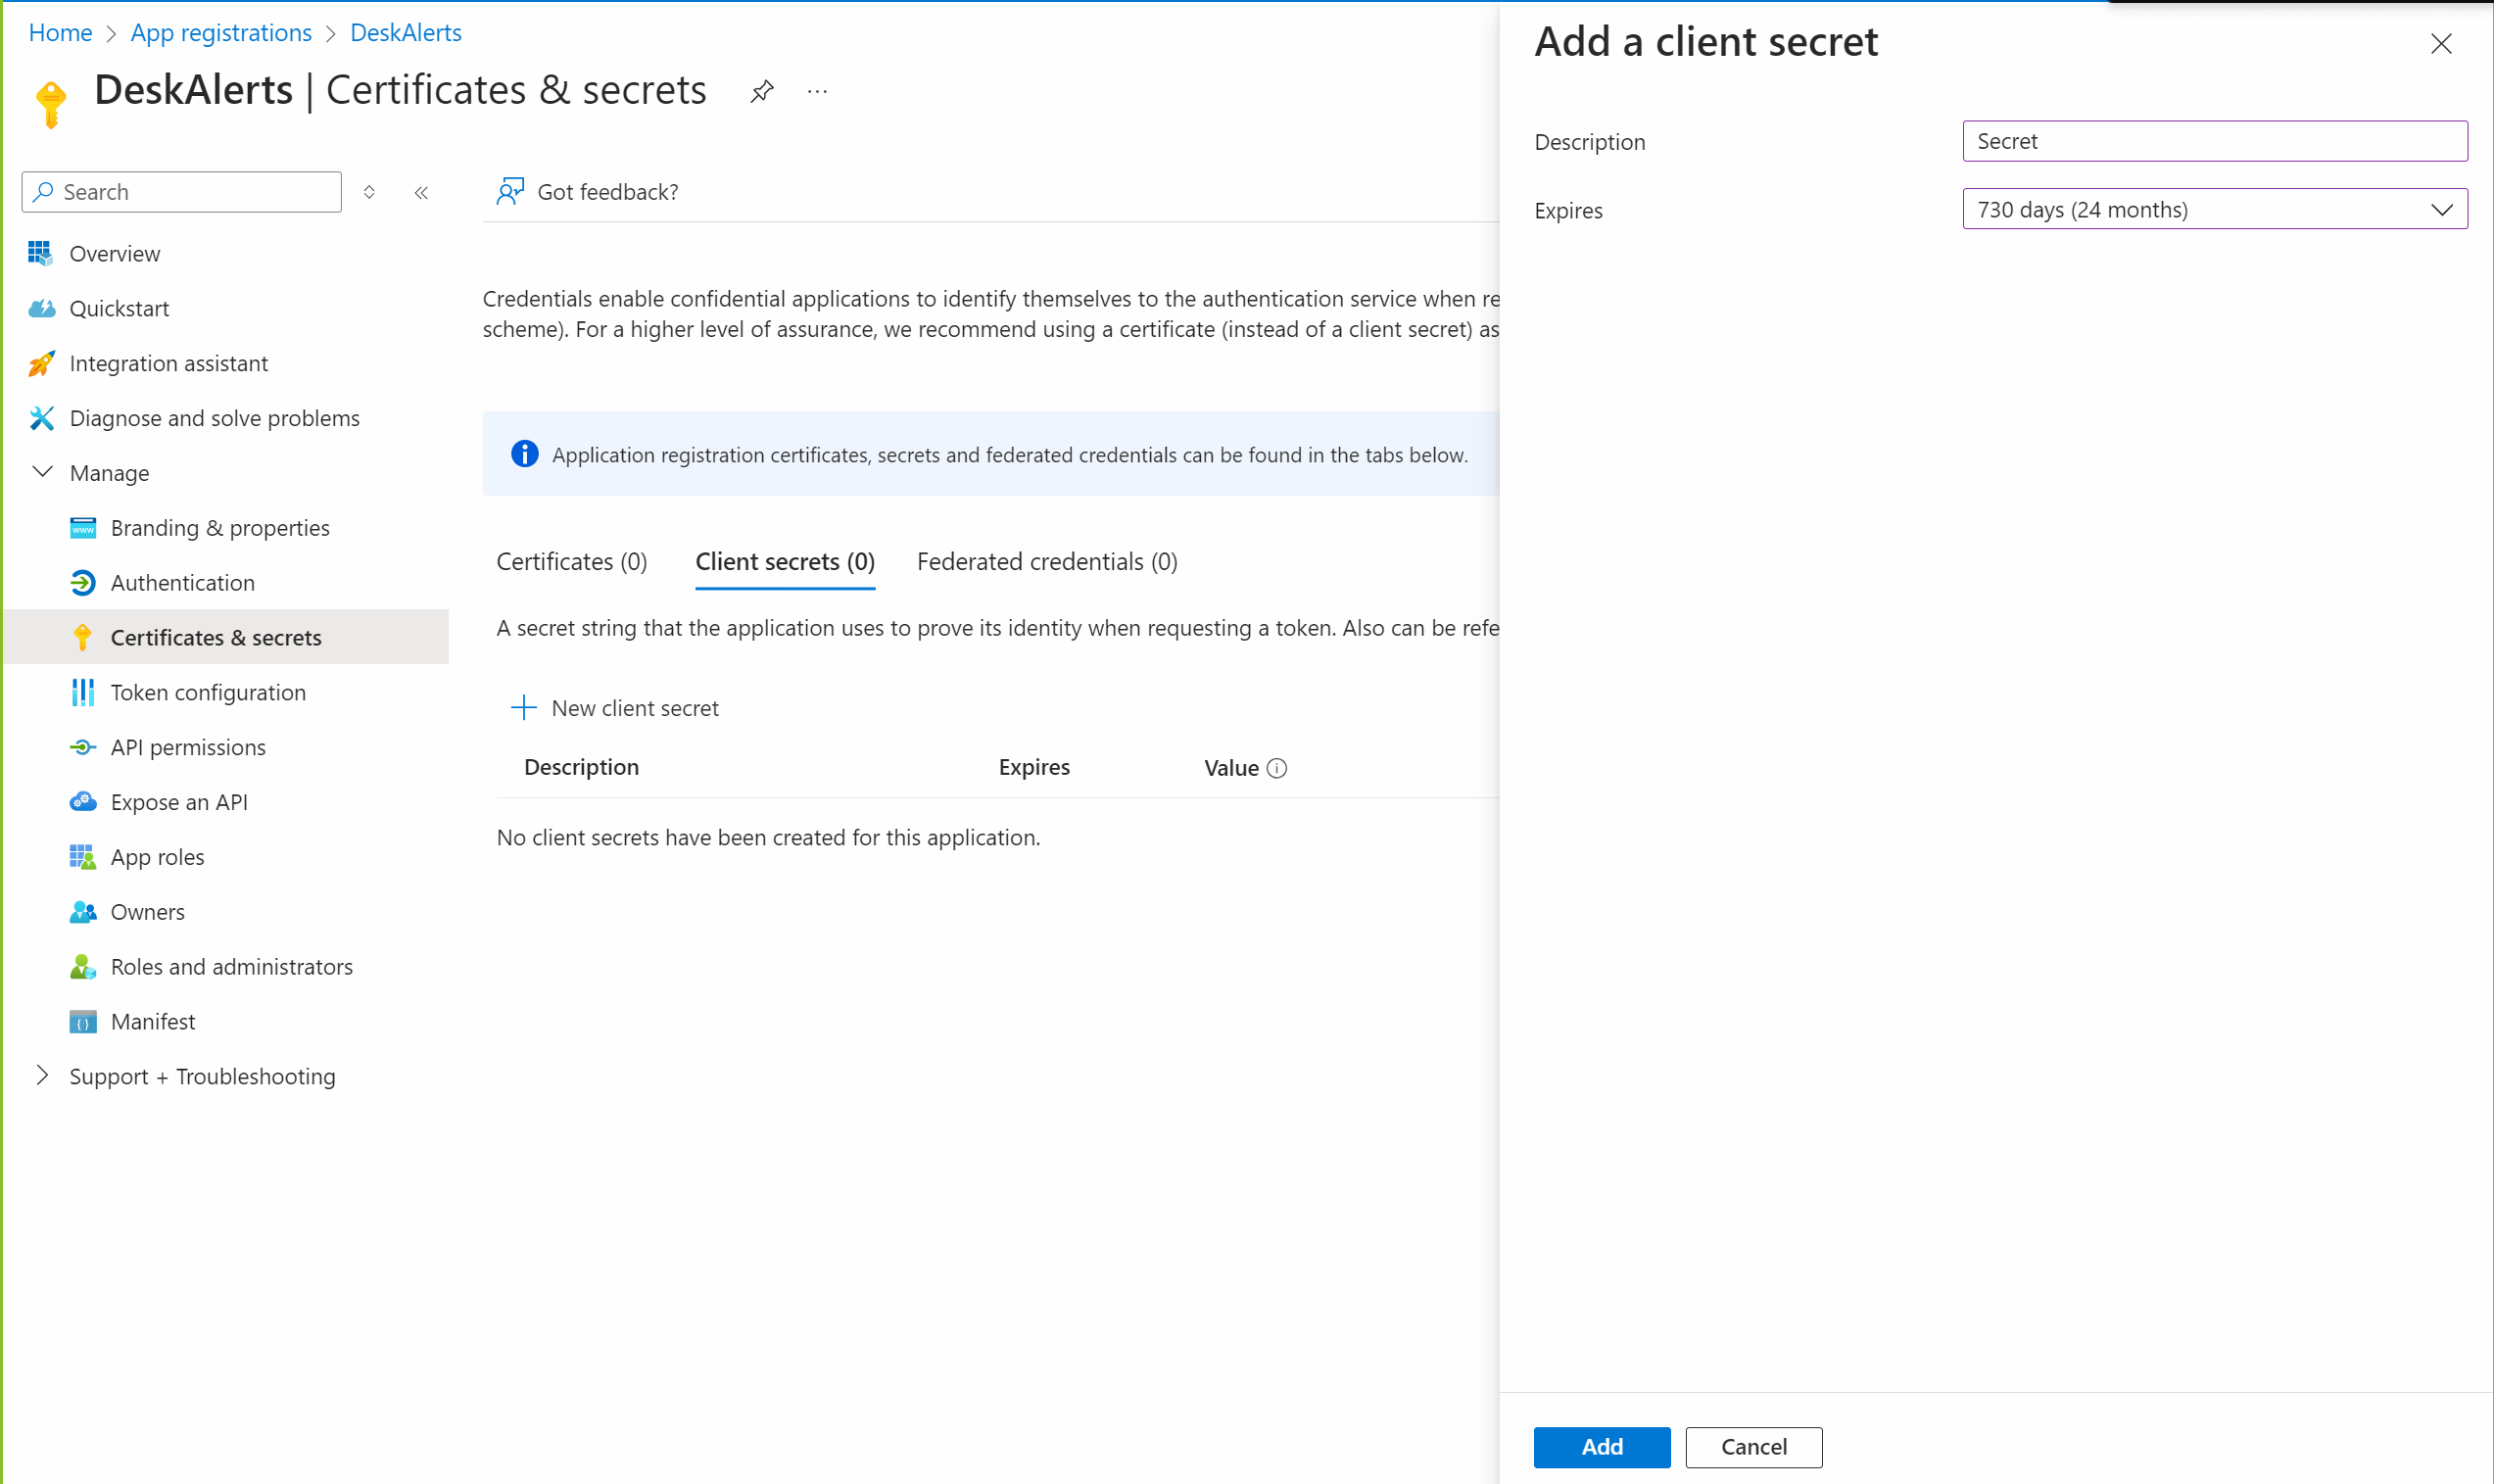
Add client secret
- Navigate to Certificates & secrets.
- Click New client secret.
- Provide a description and set an expiration period.
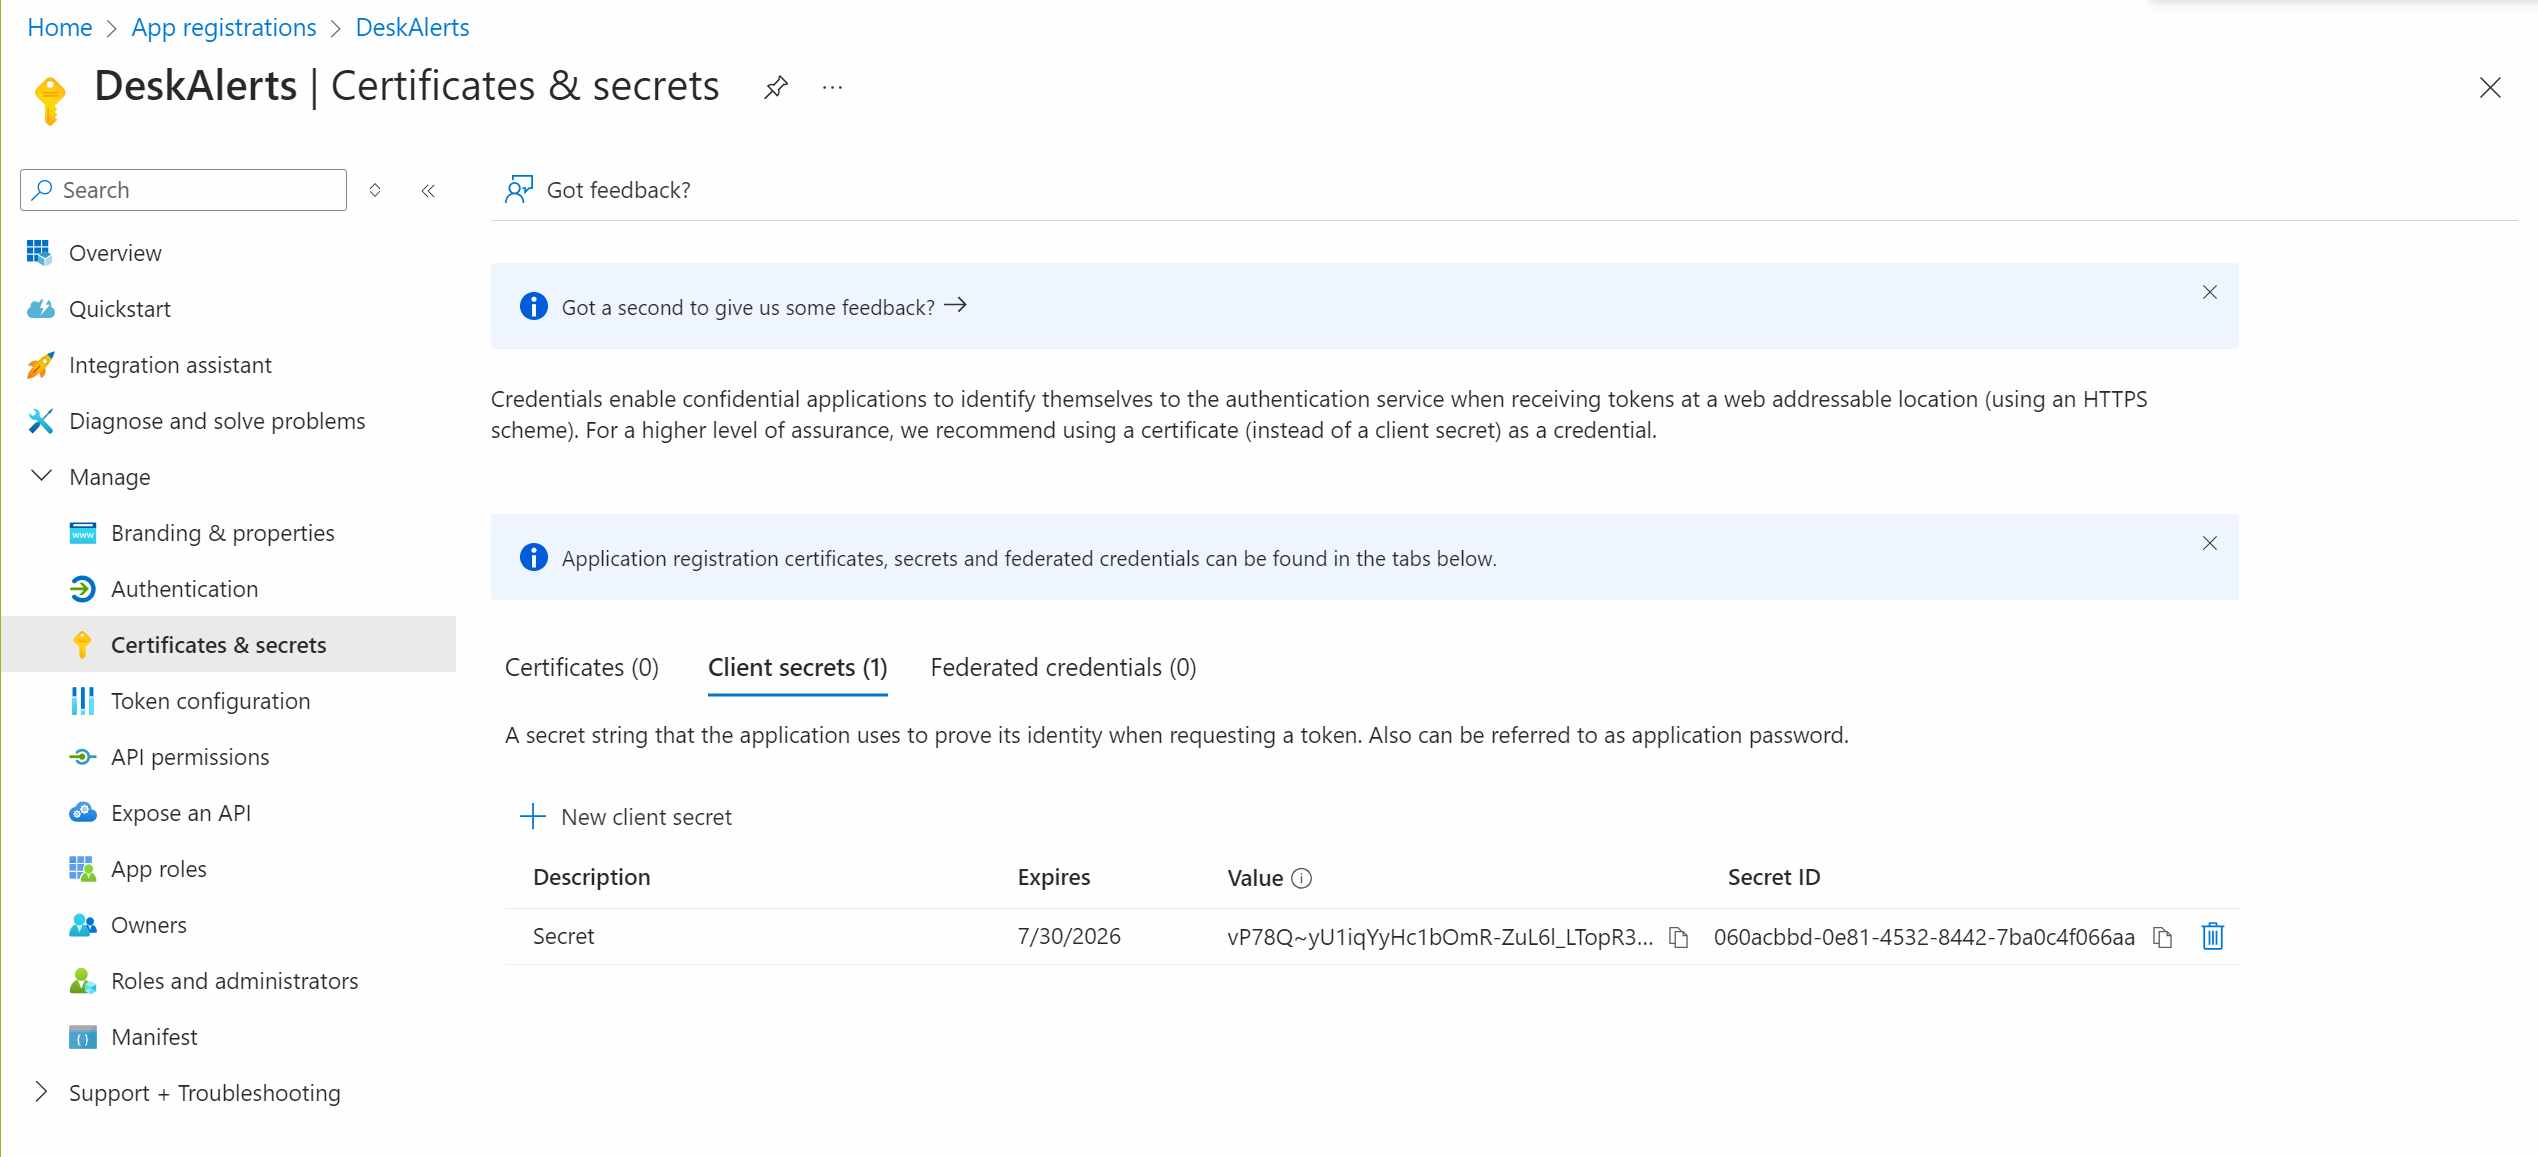
- Click Add and copy the generated secret value.
Remember that after this period it will be necessary to modify the secret value once again and run the synchronization again.
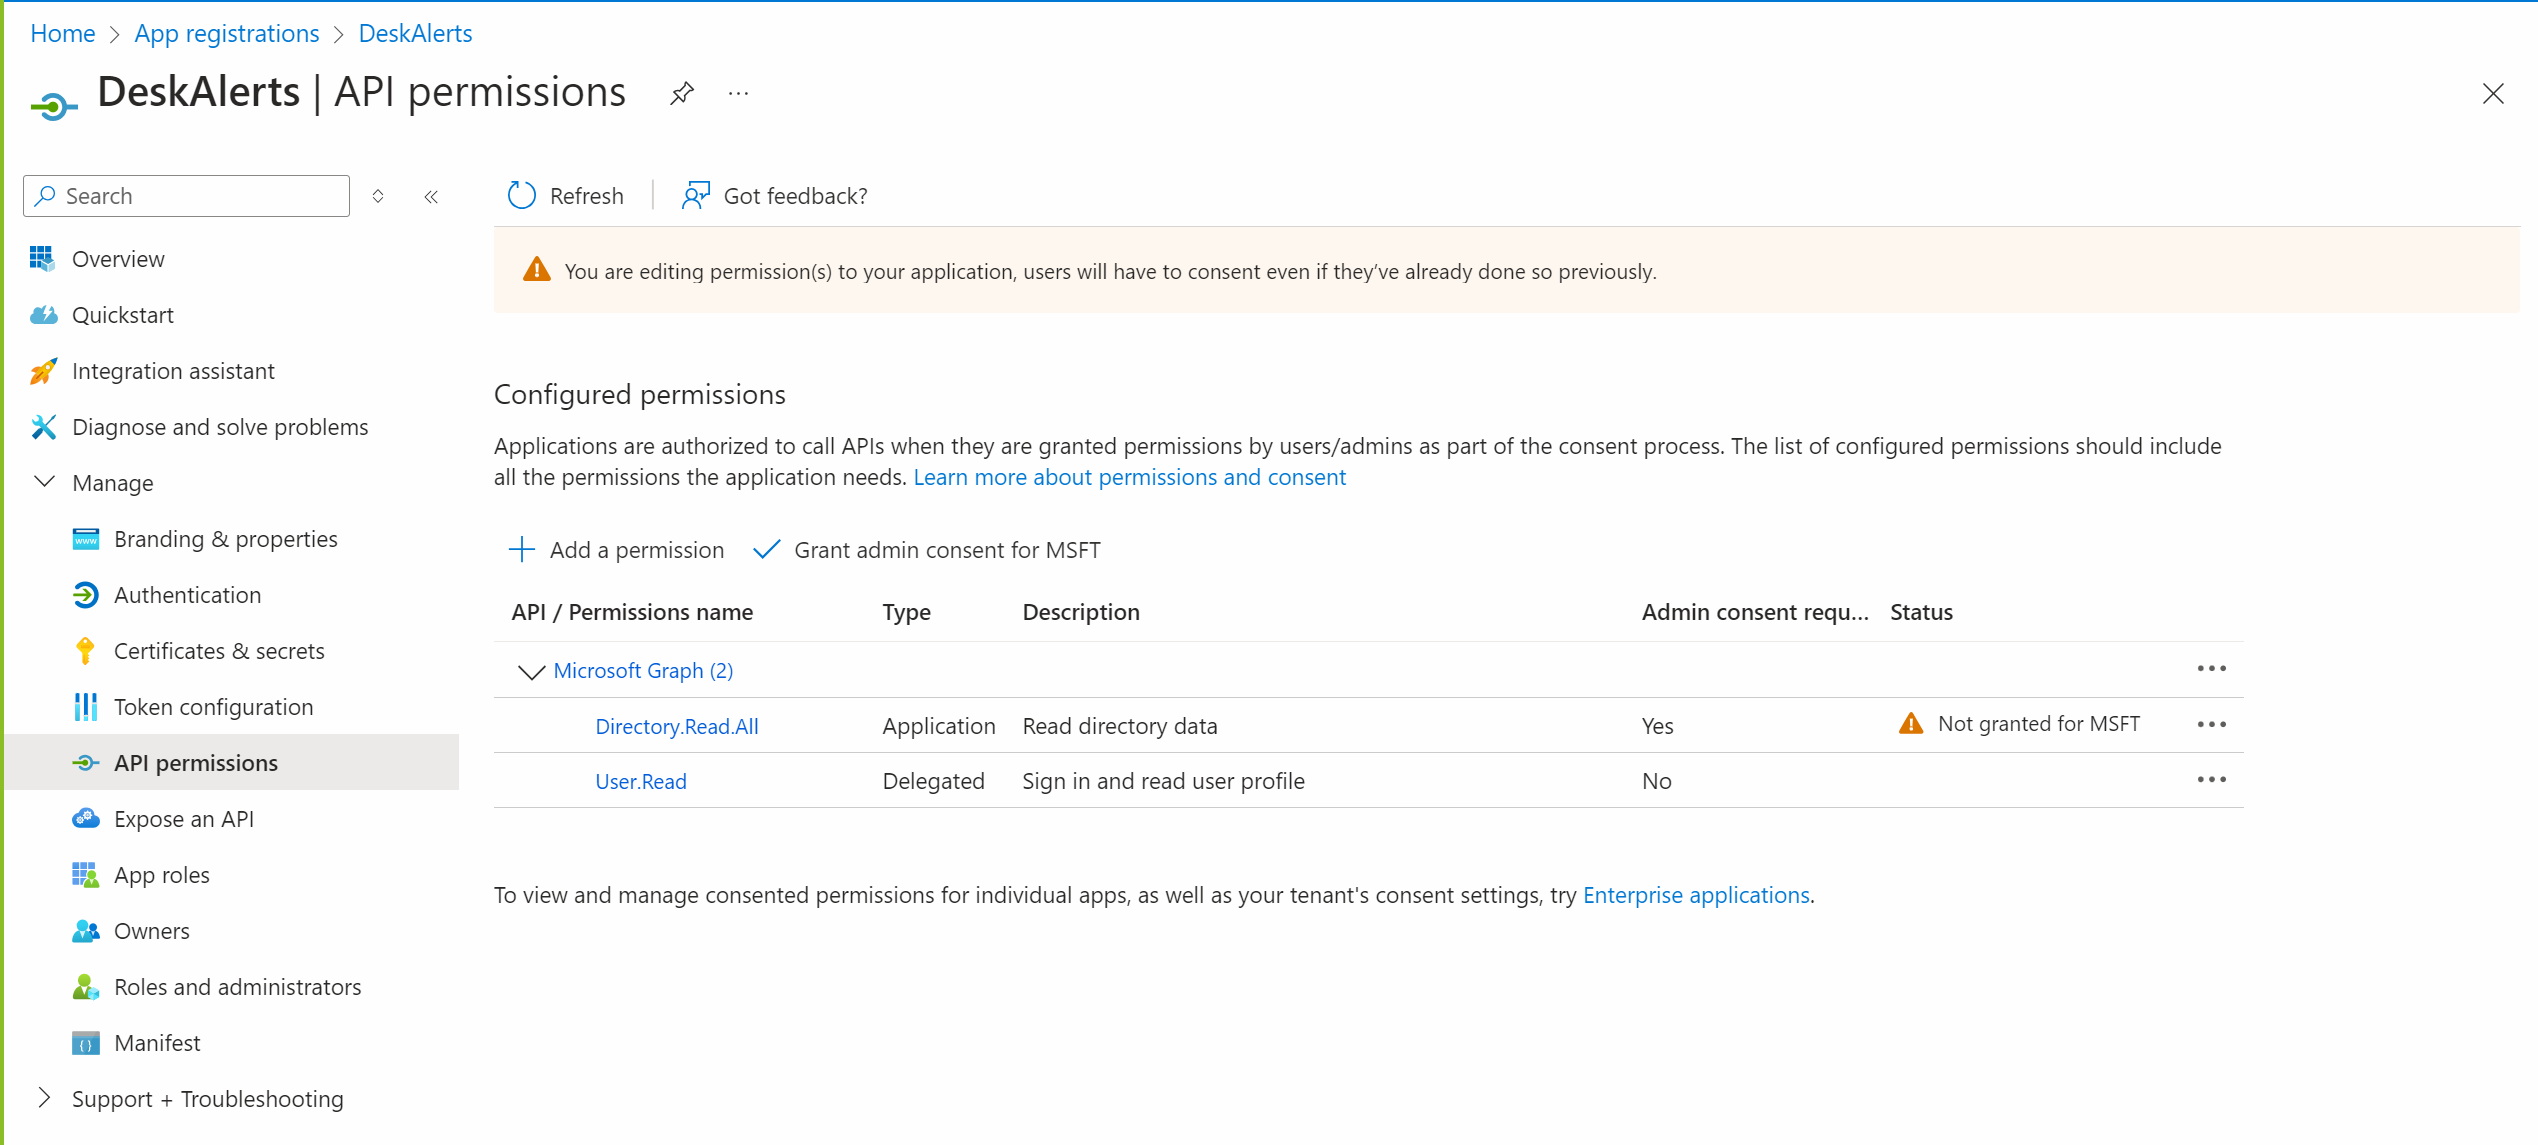
Configure API Permissions
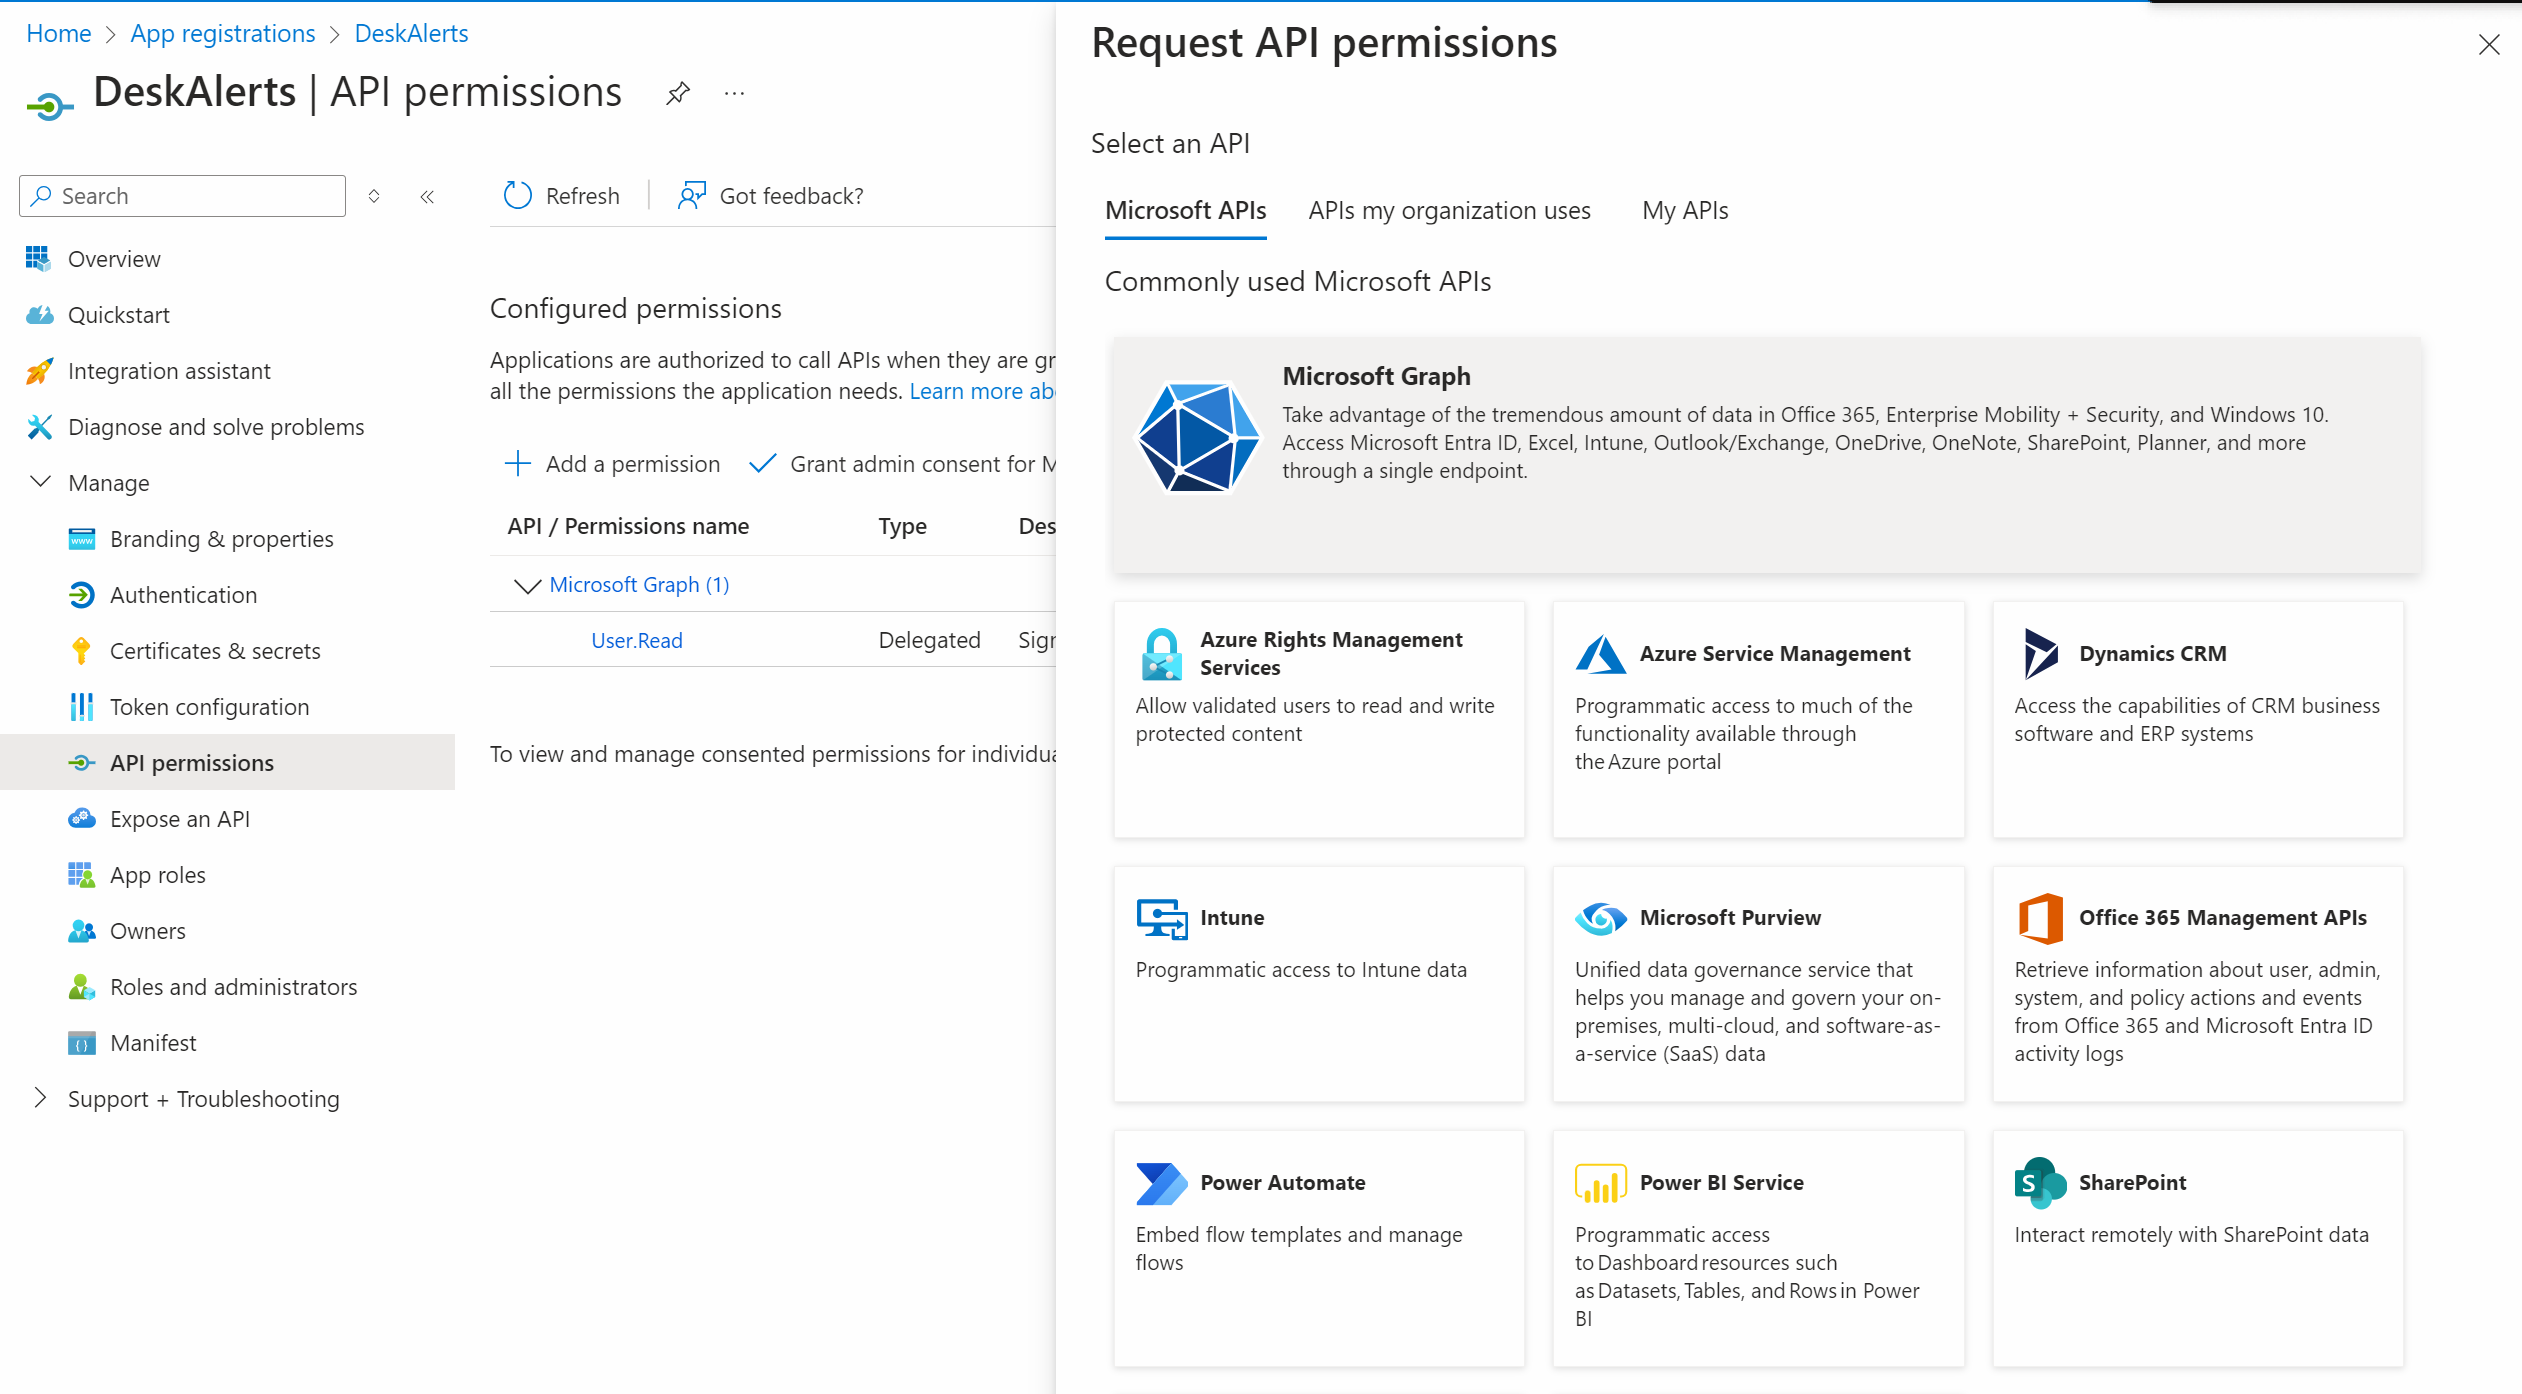
Within the registered application, navigate to API permissions → Add a permission.
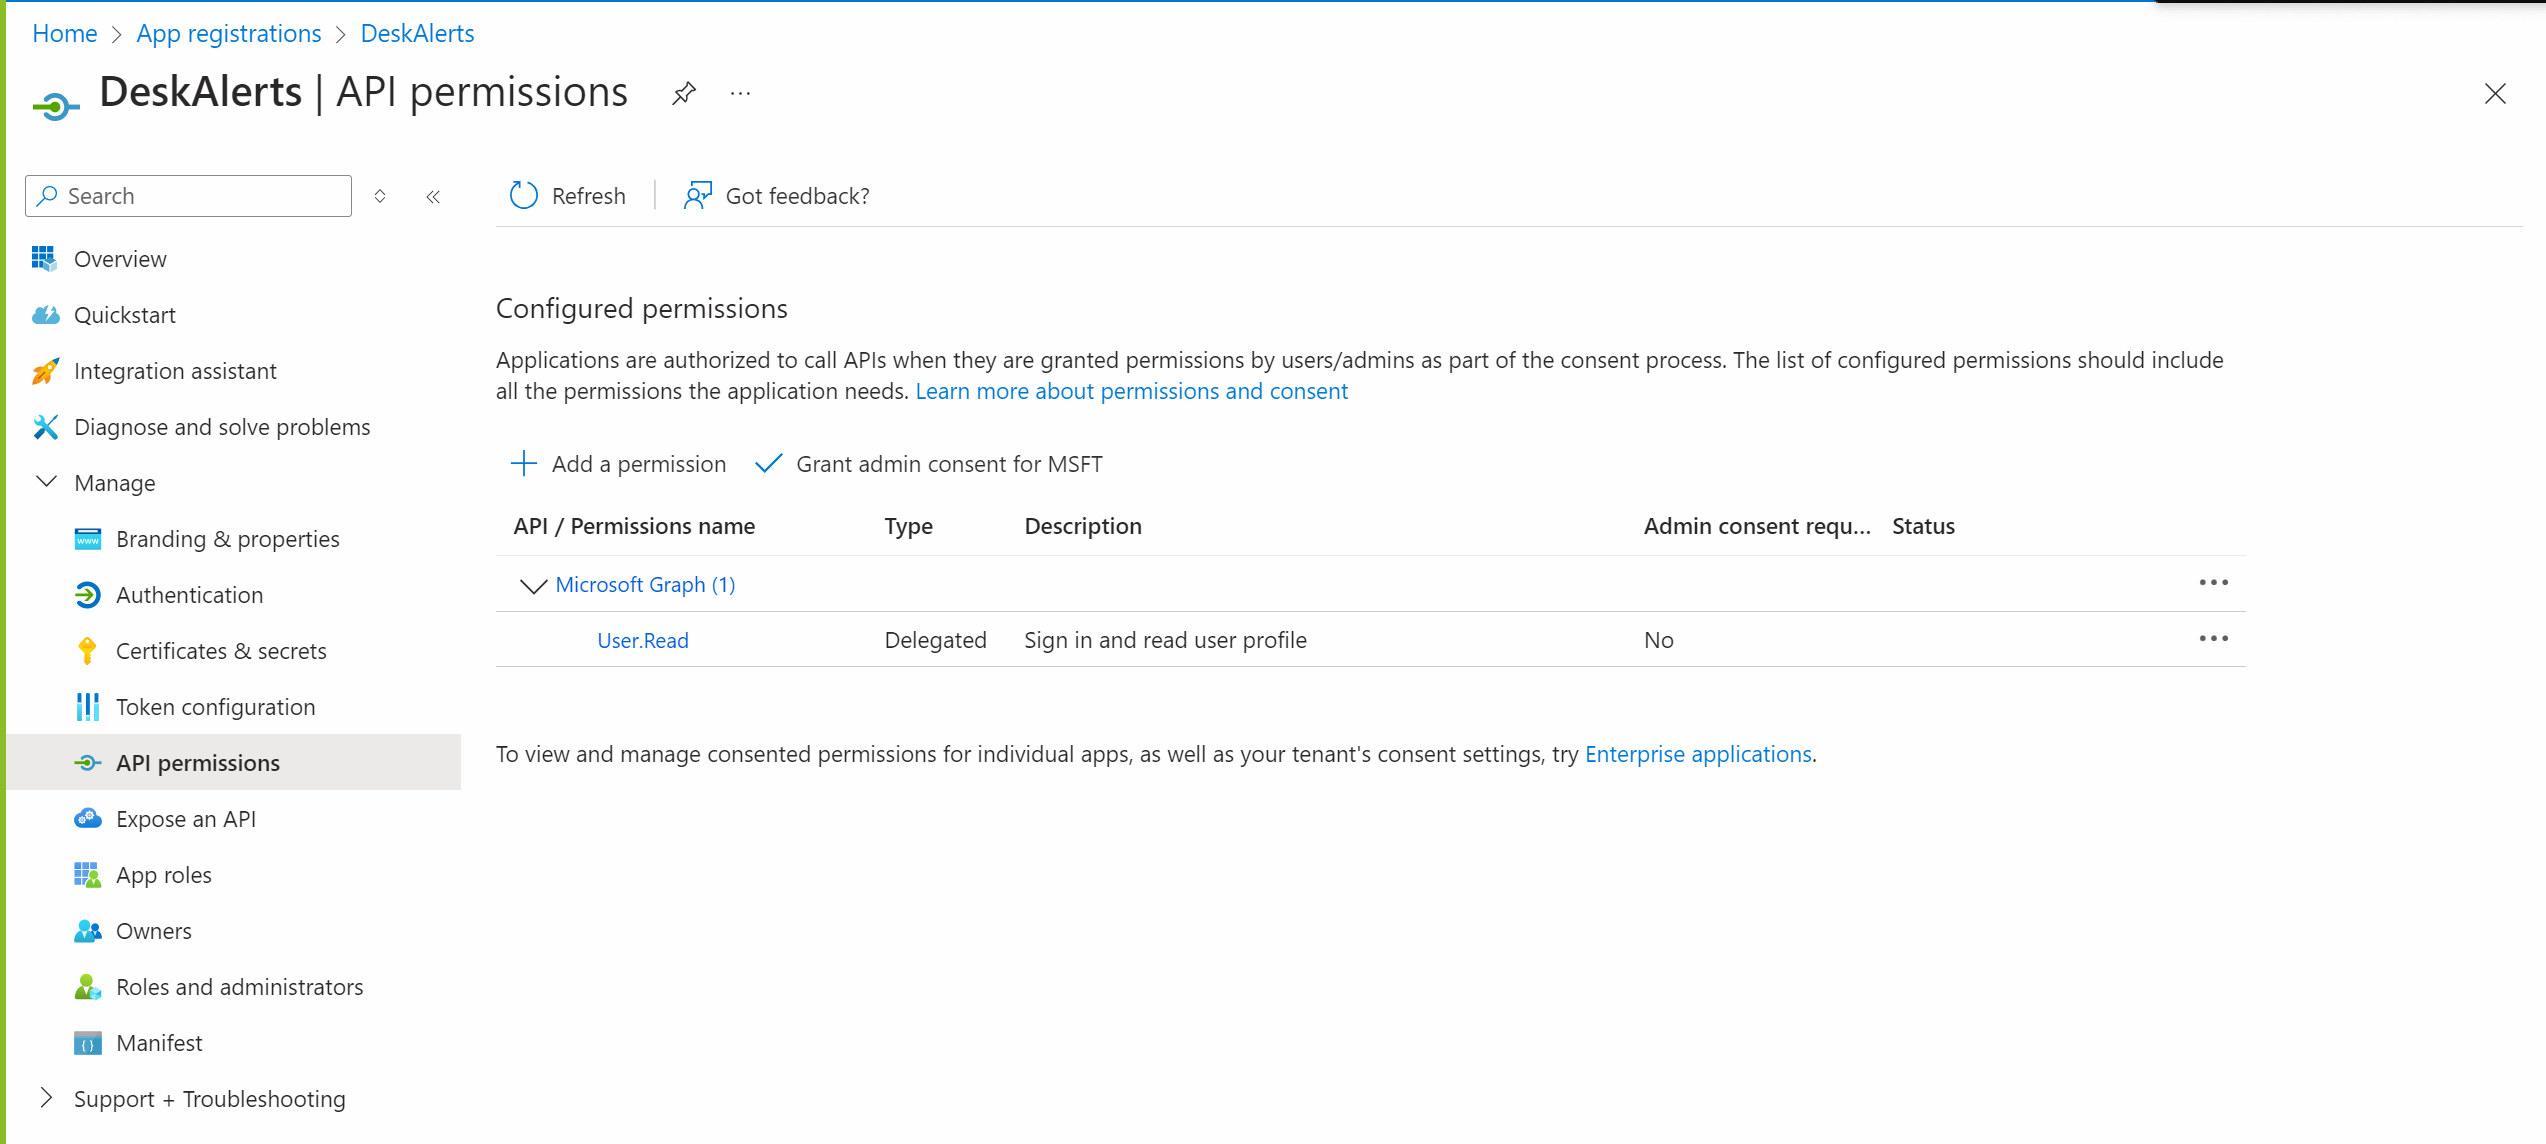
Select Microsoft Graph.
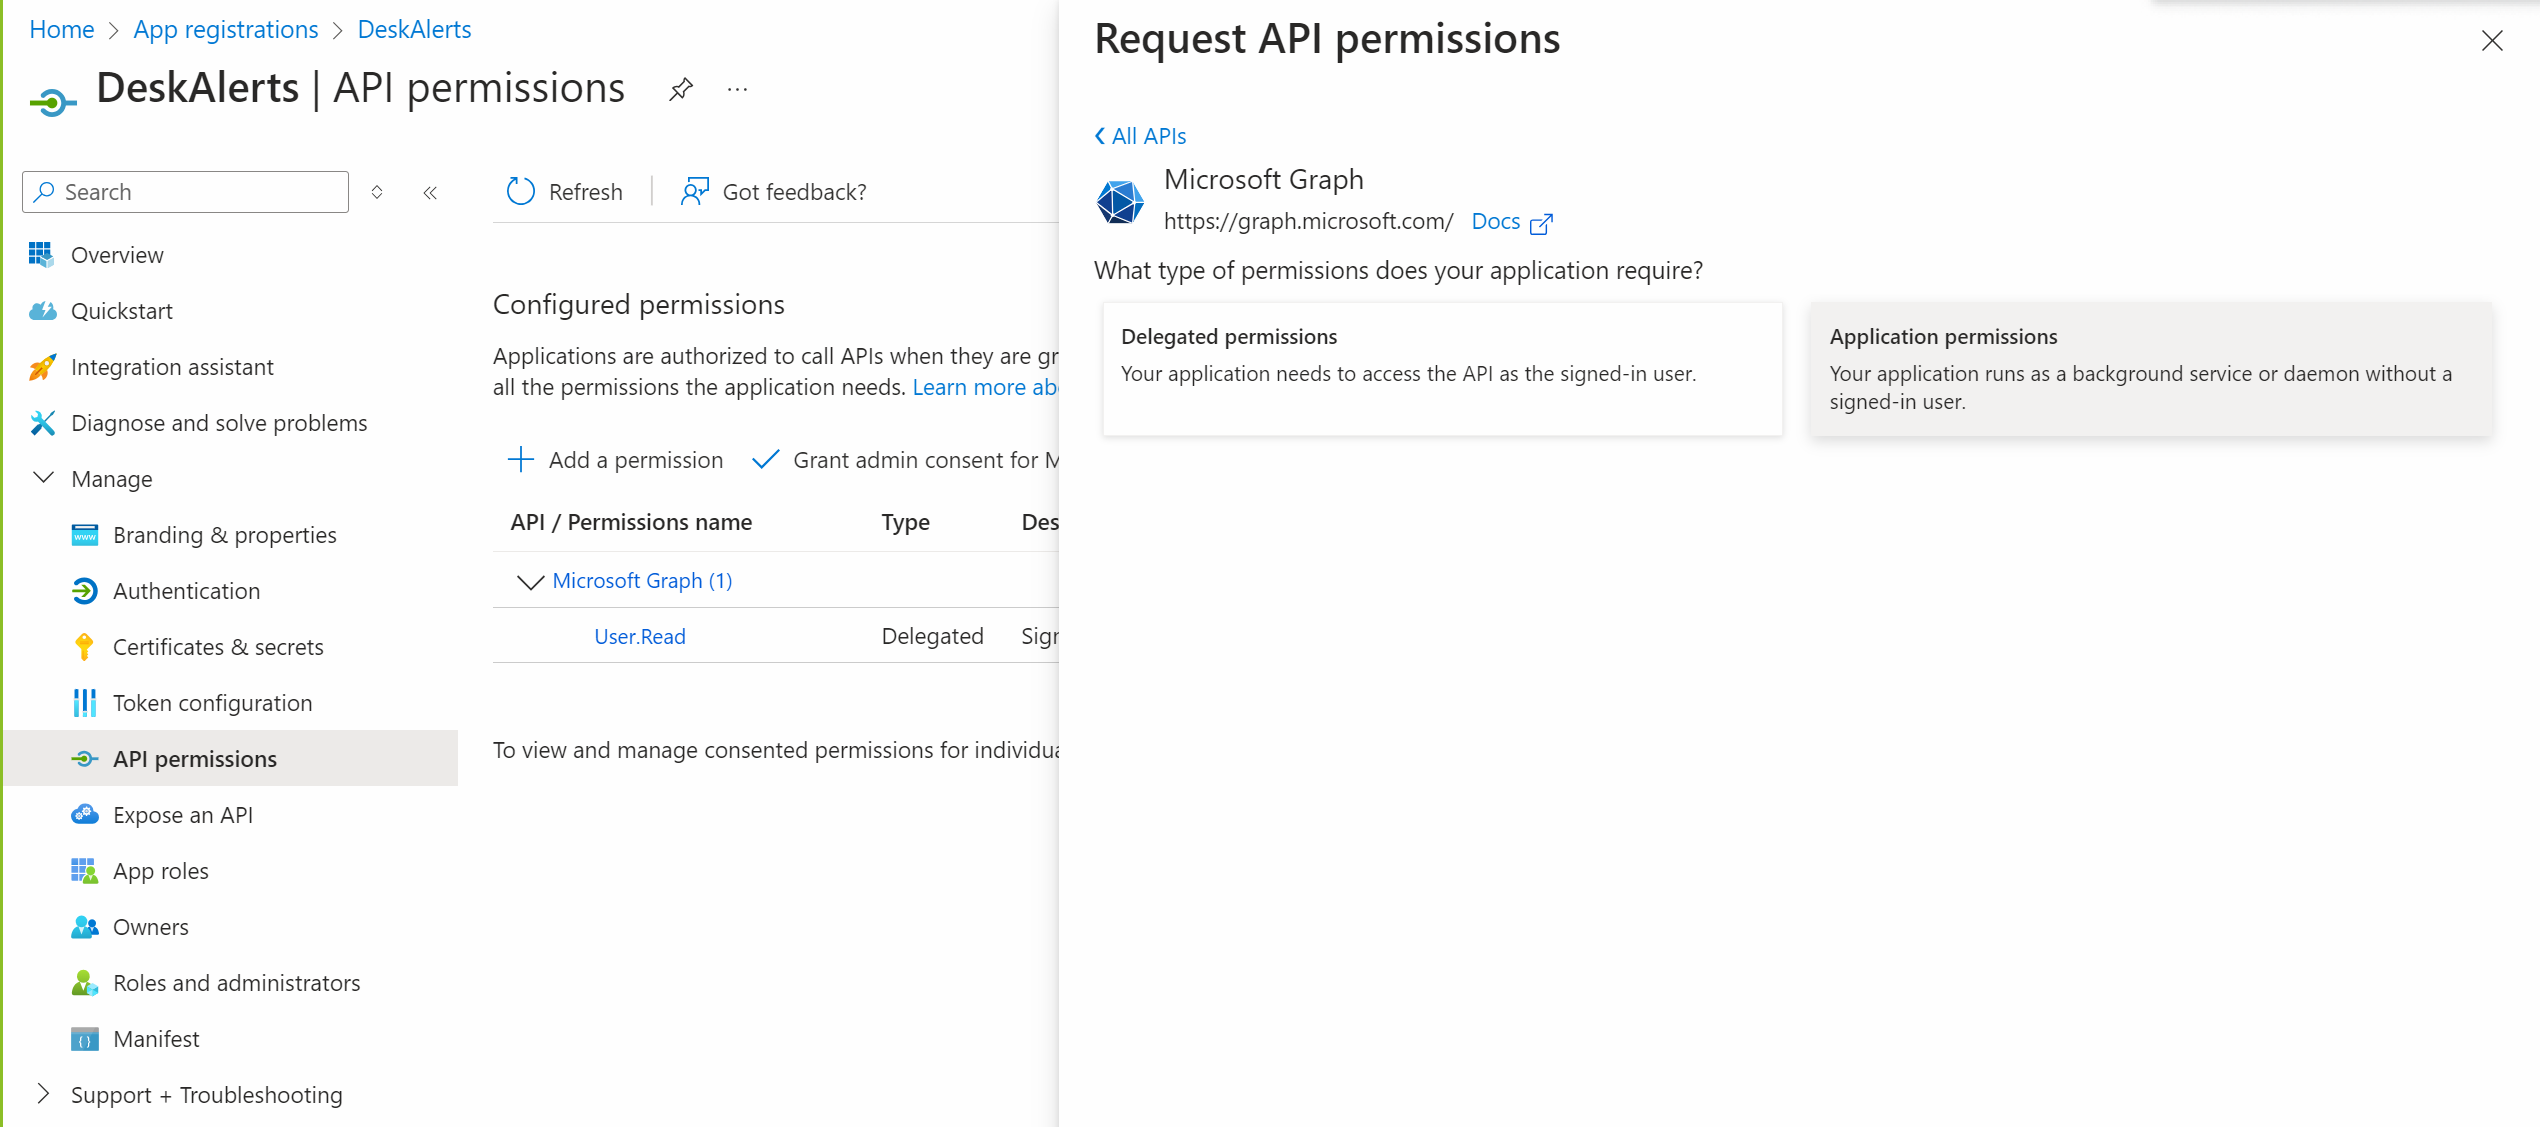
Choose Application permissions and add the following: Directory.Read.All
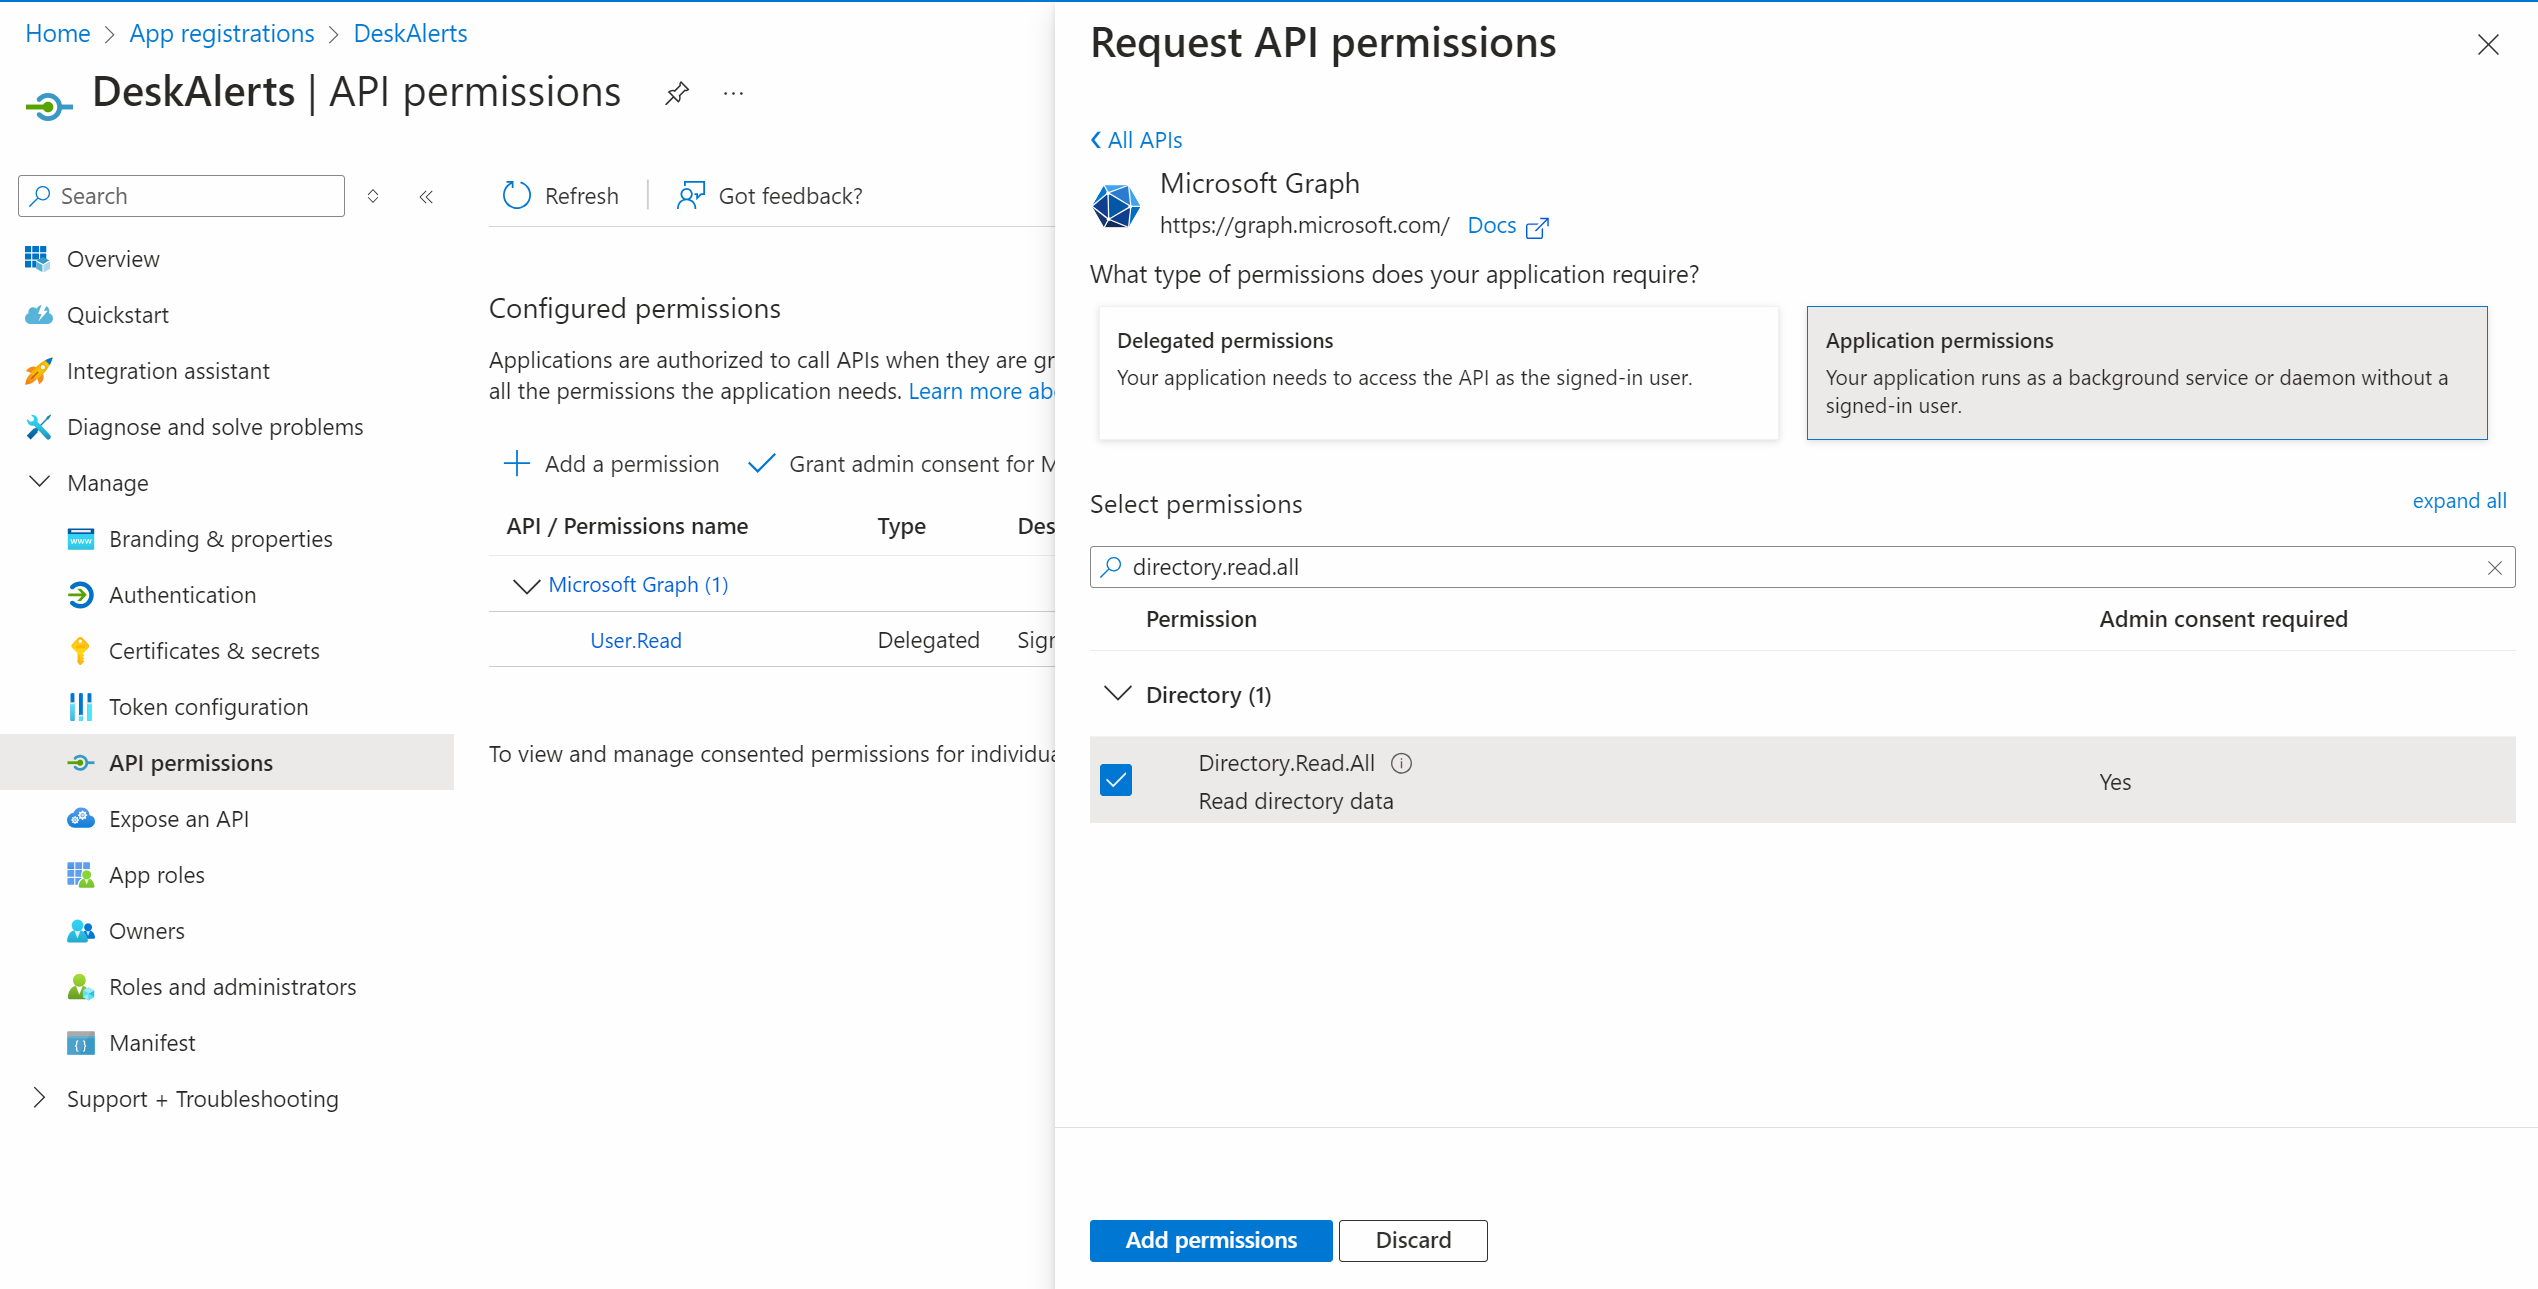
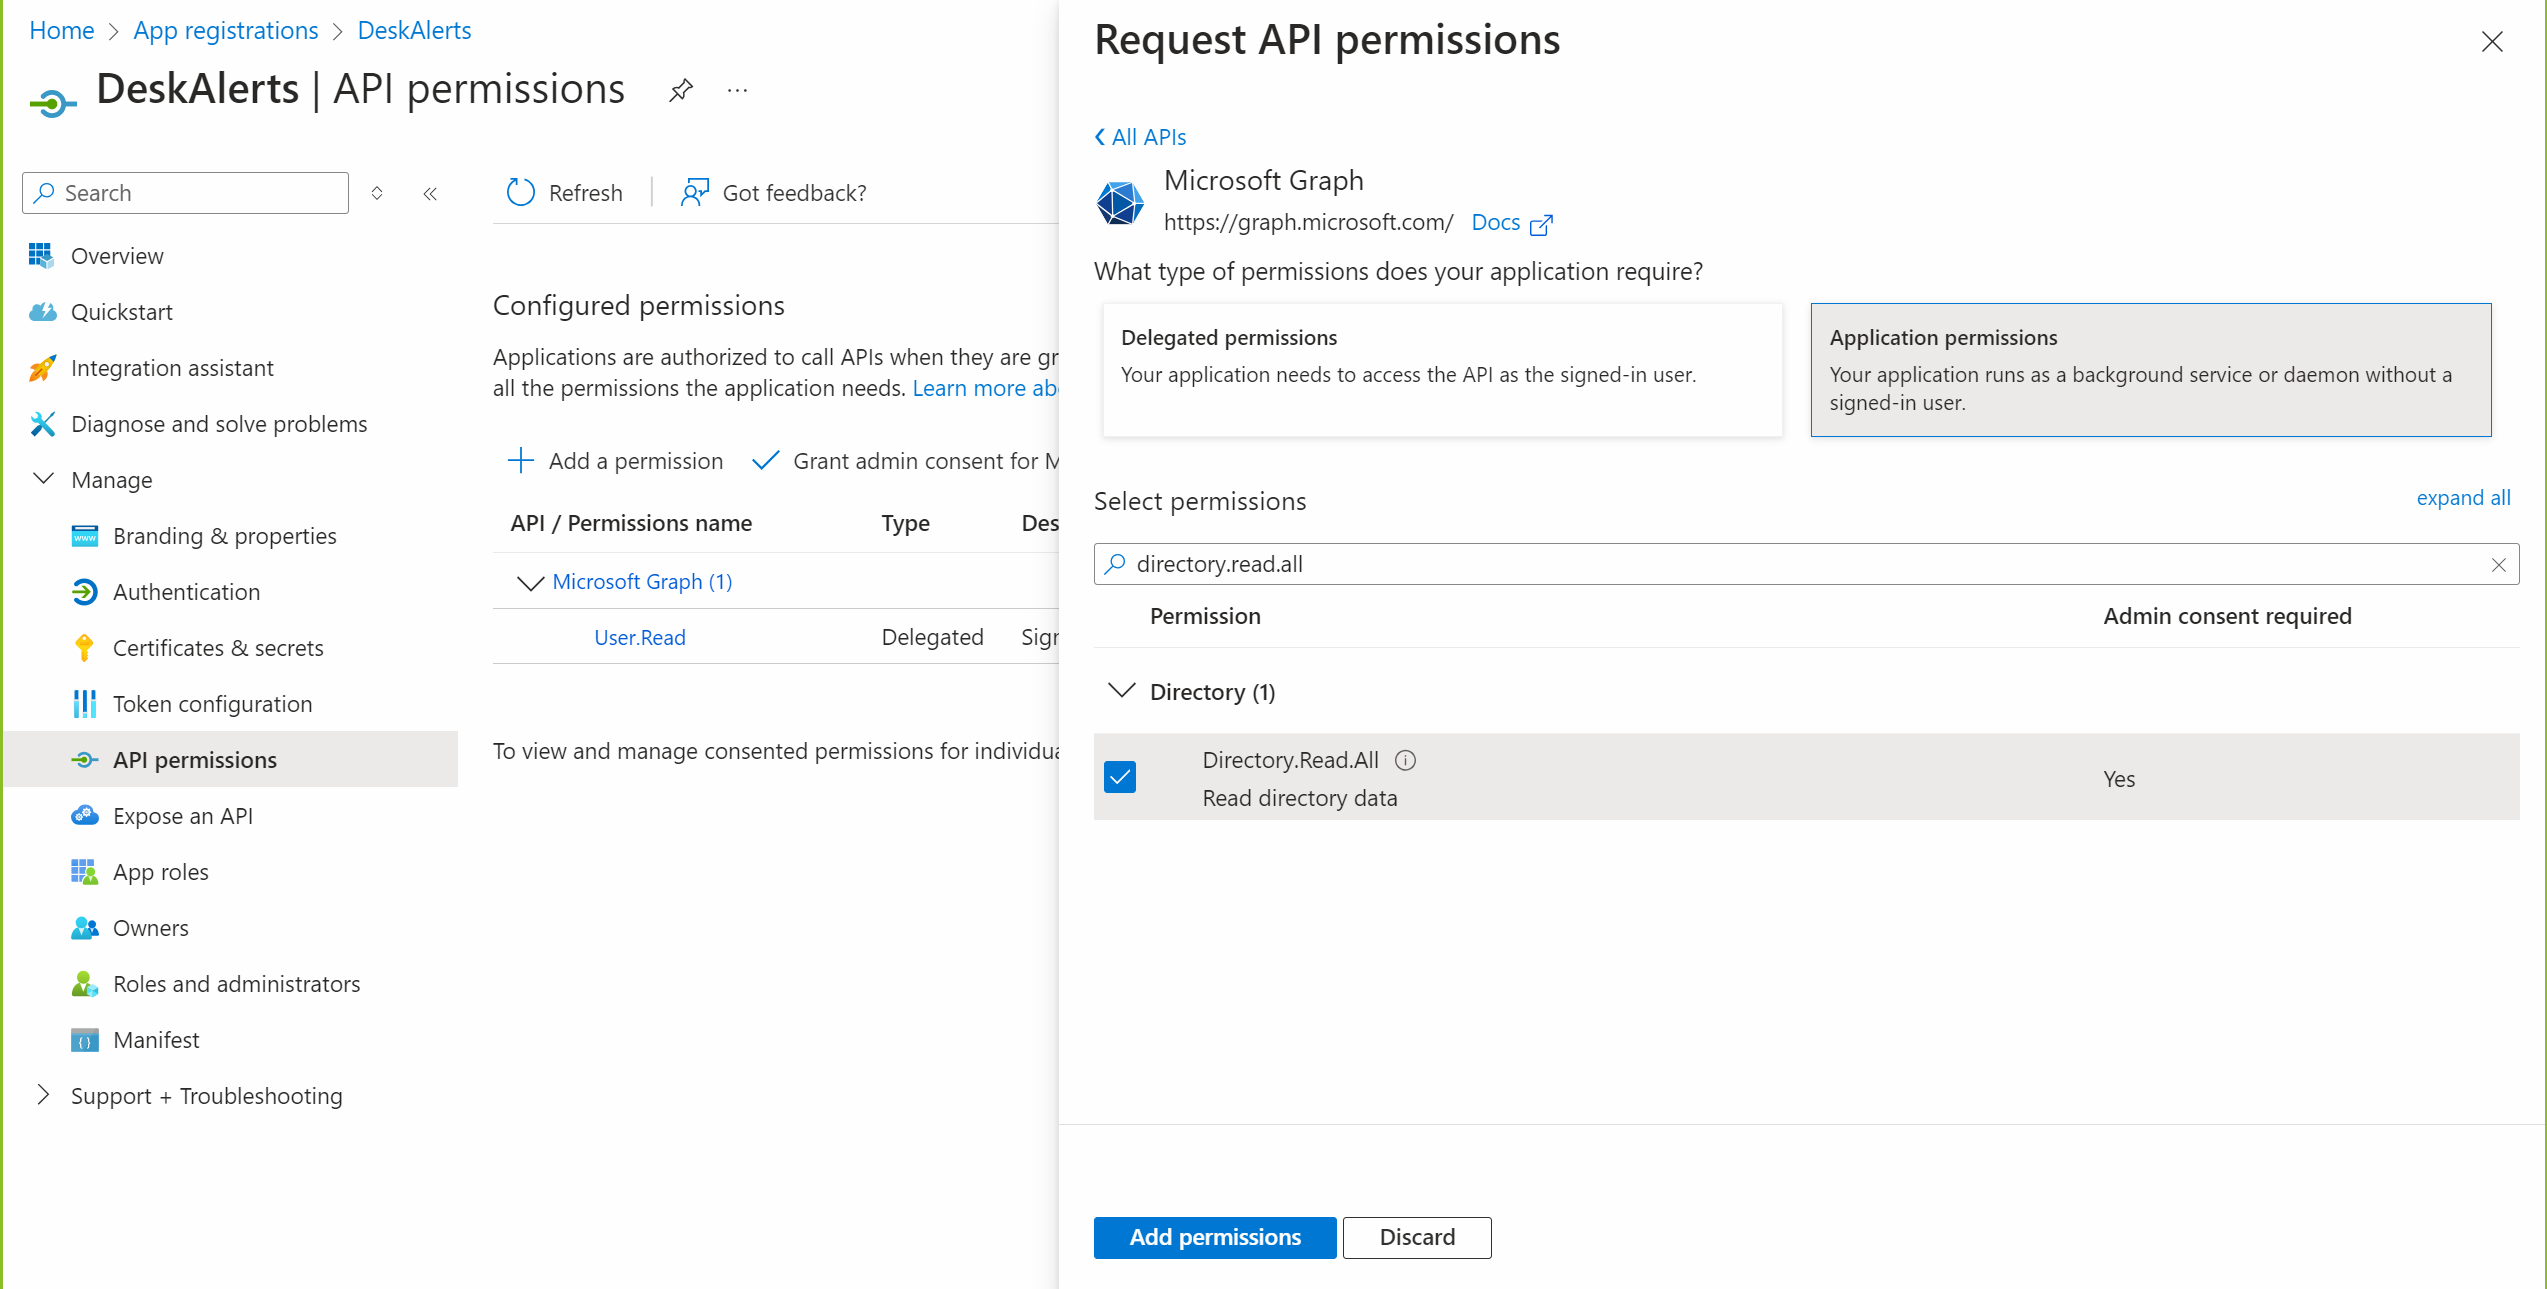
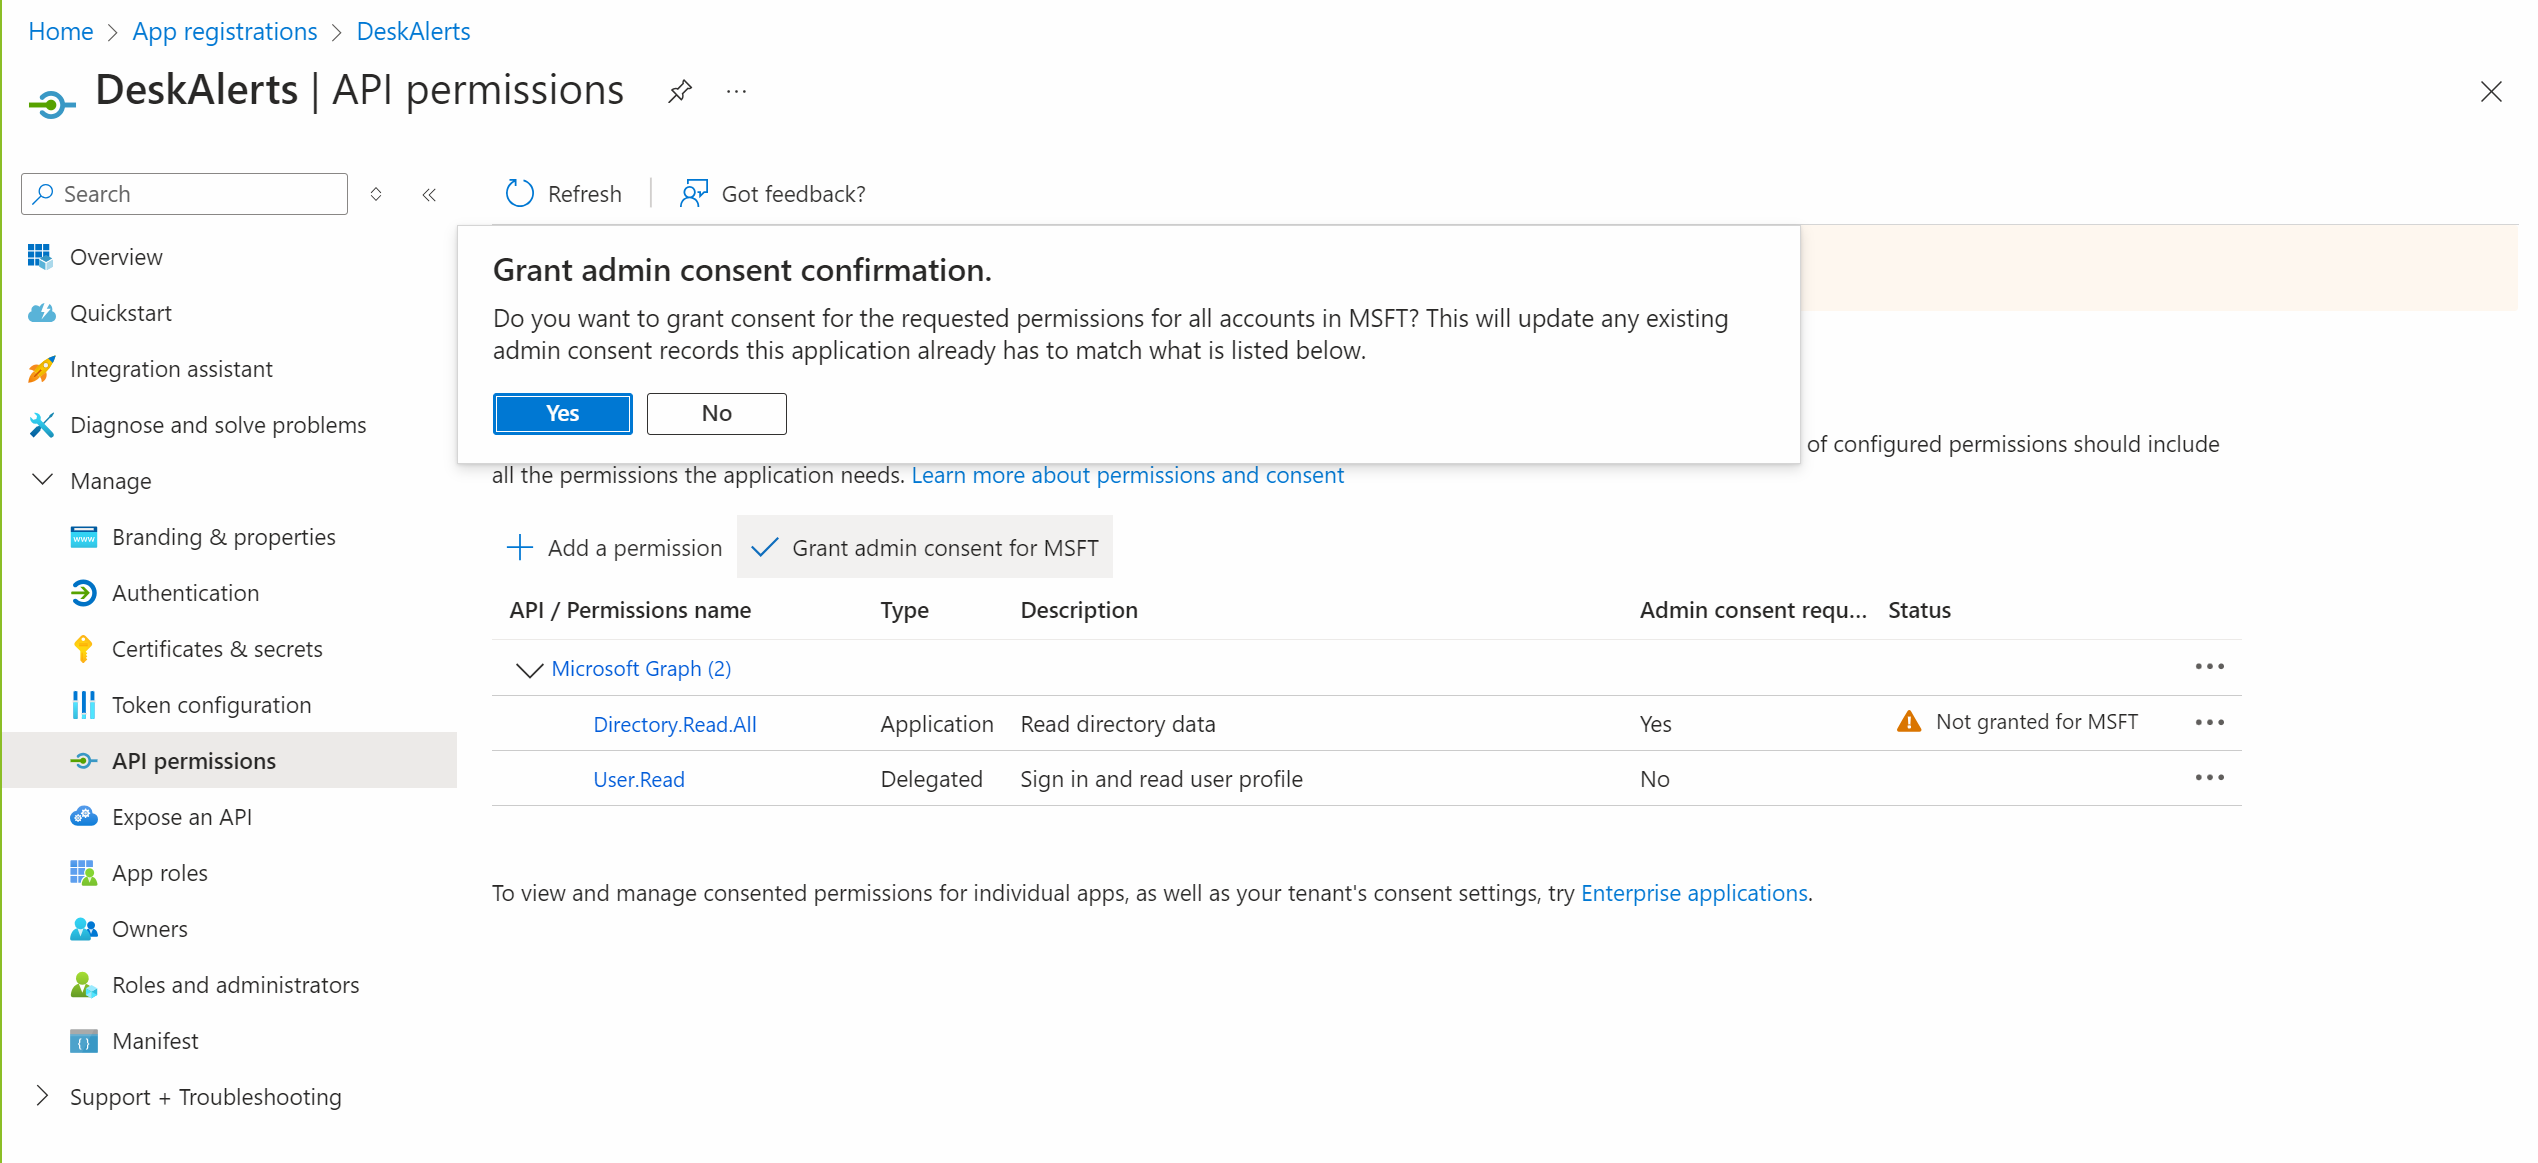
Click Grant admin consent for the added permissions.
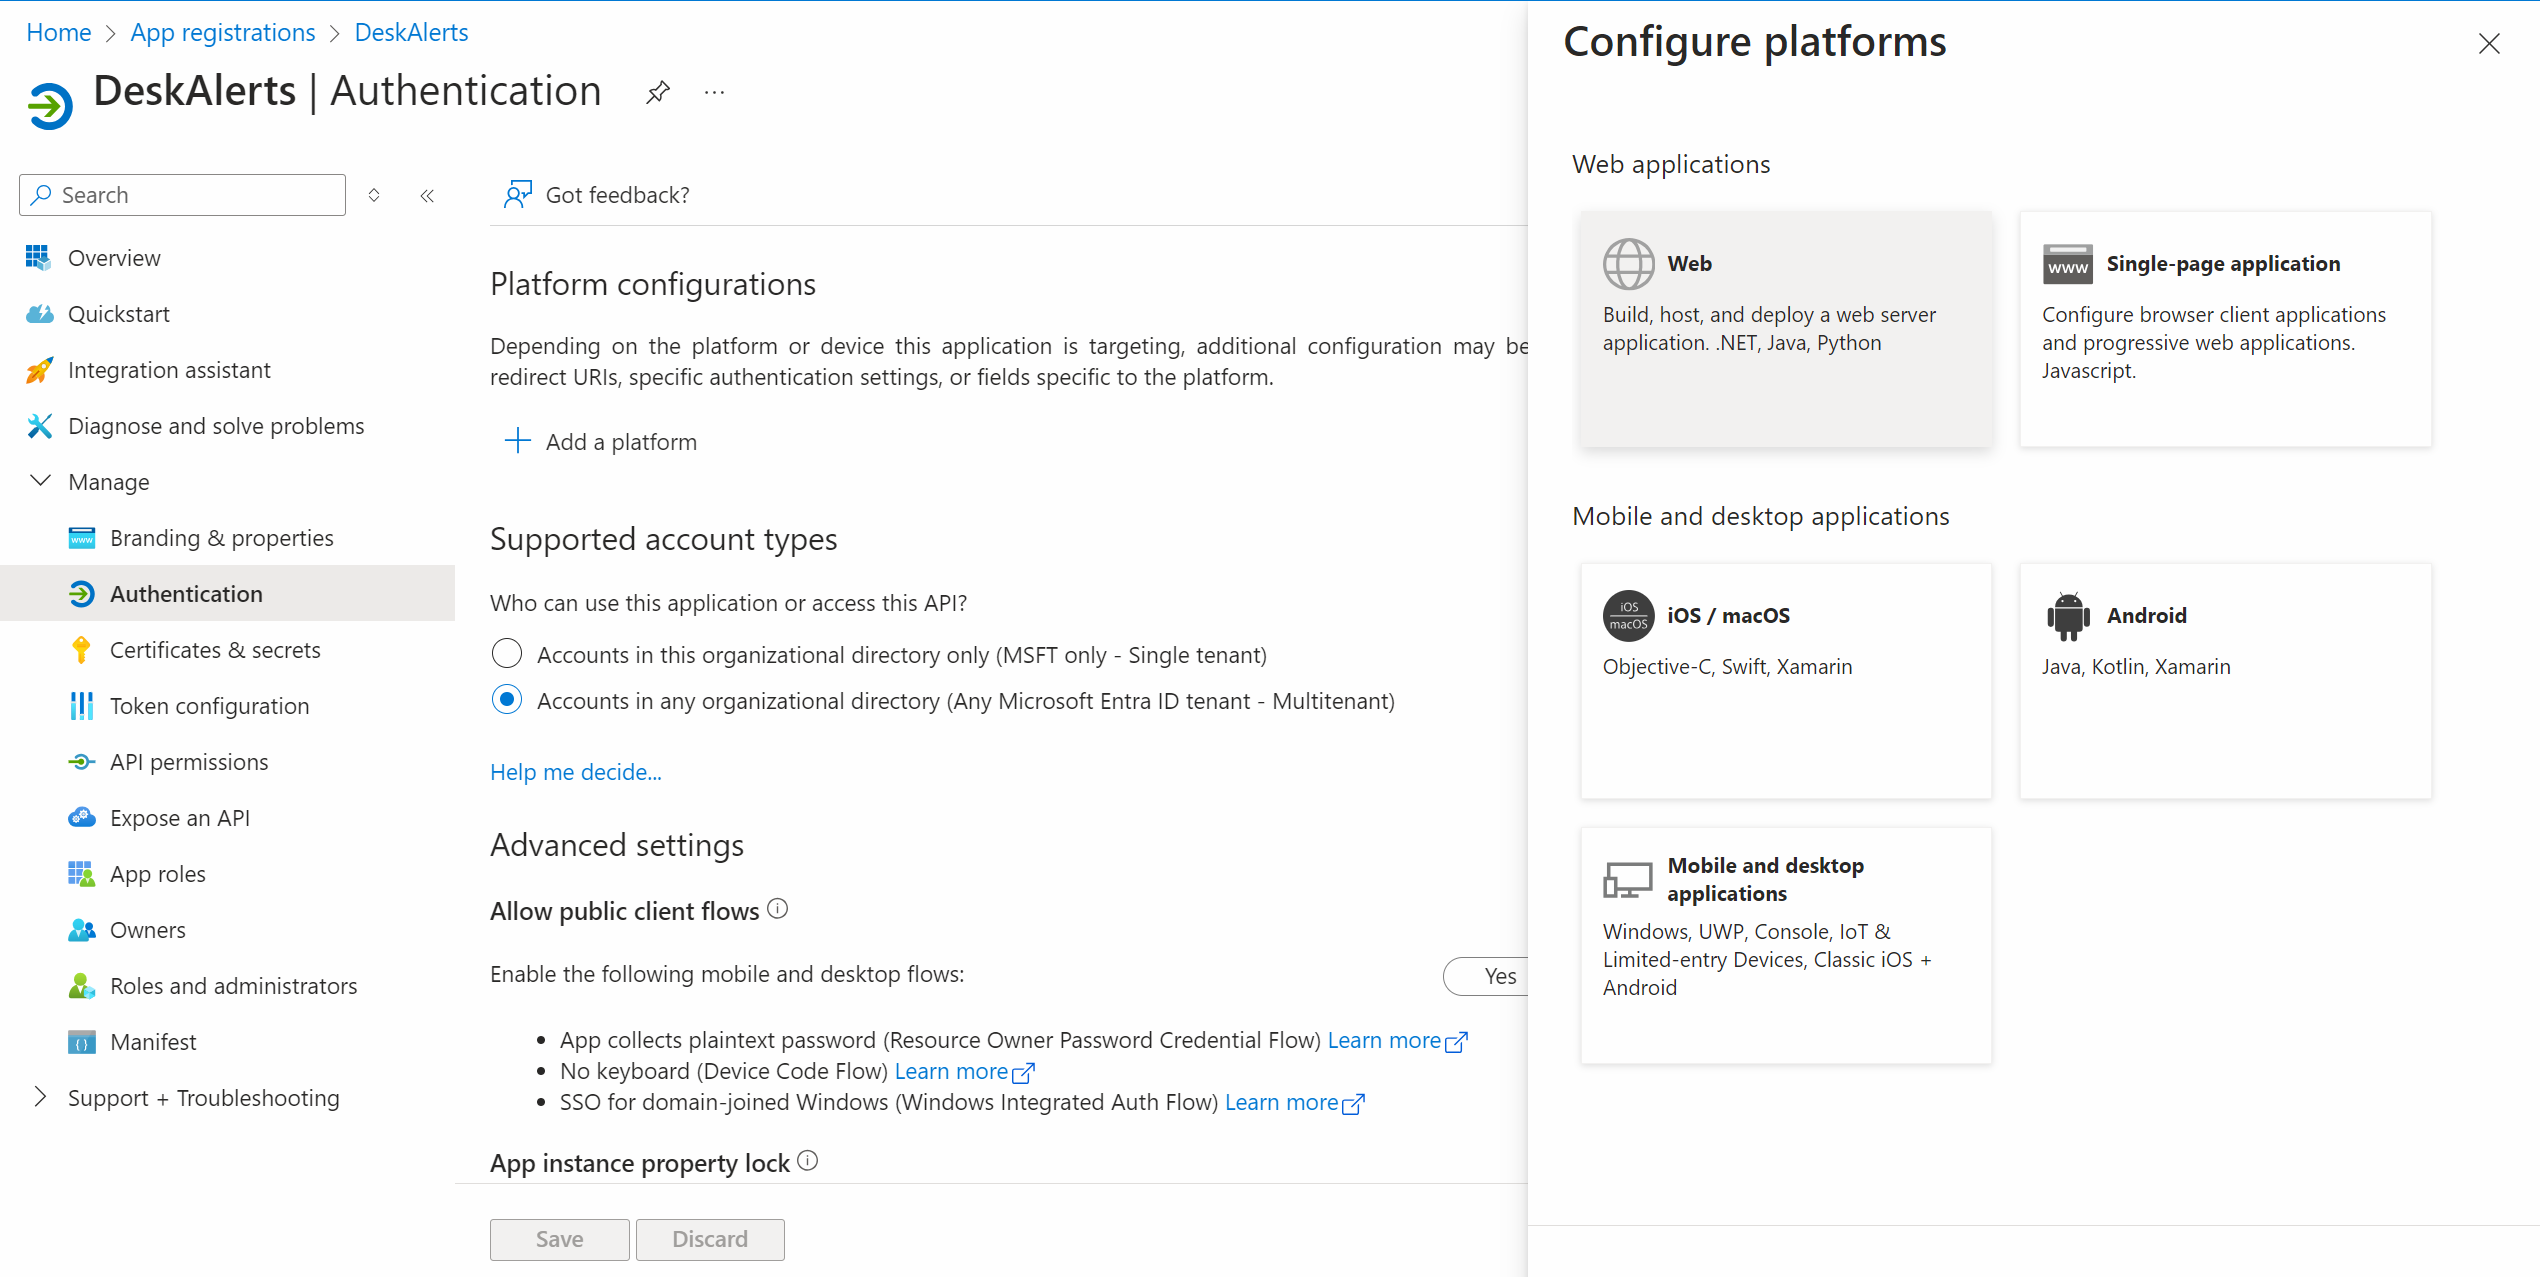
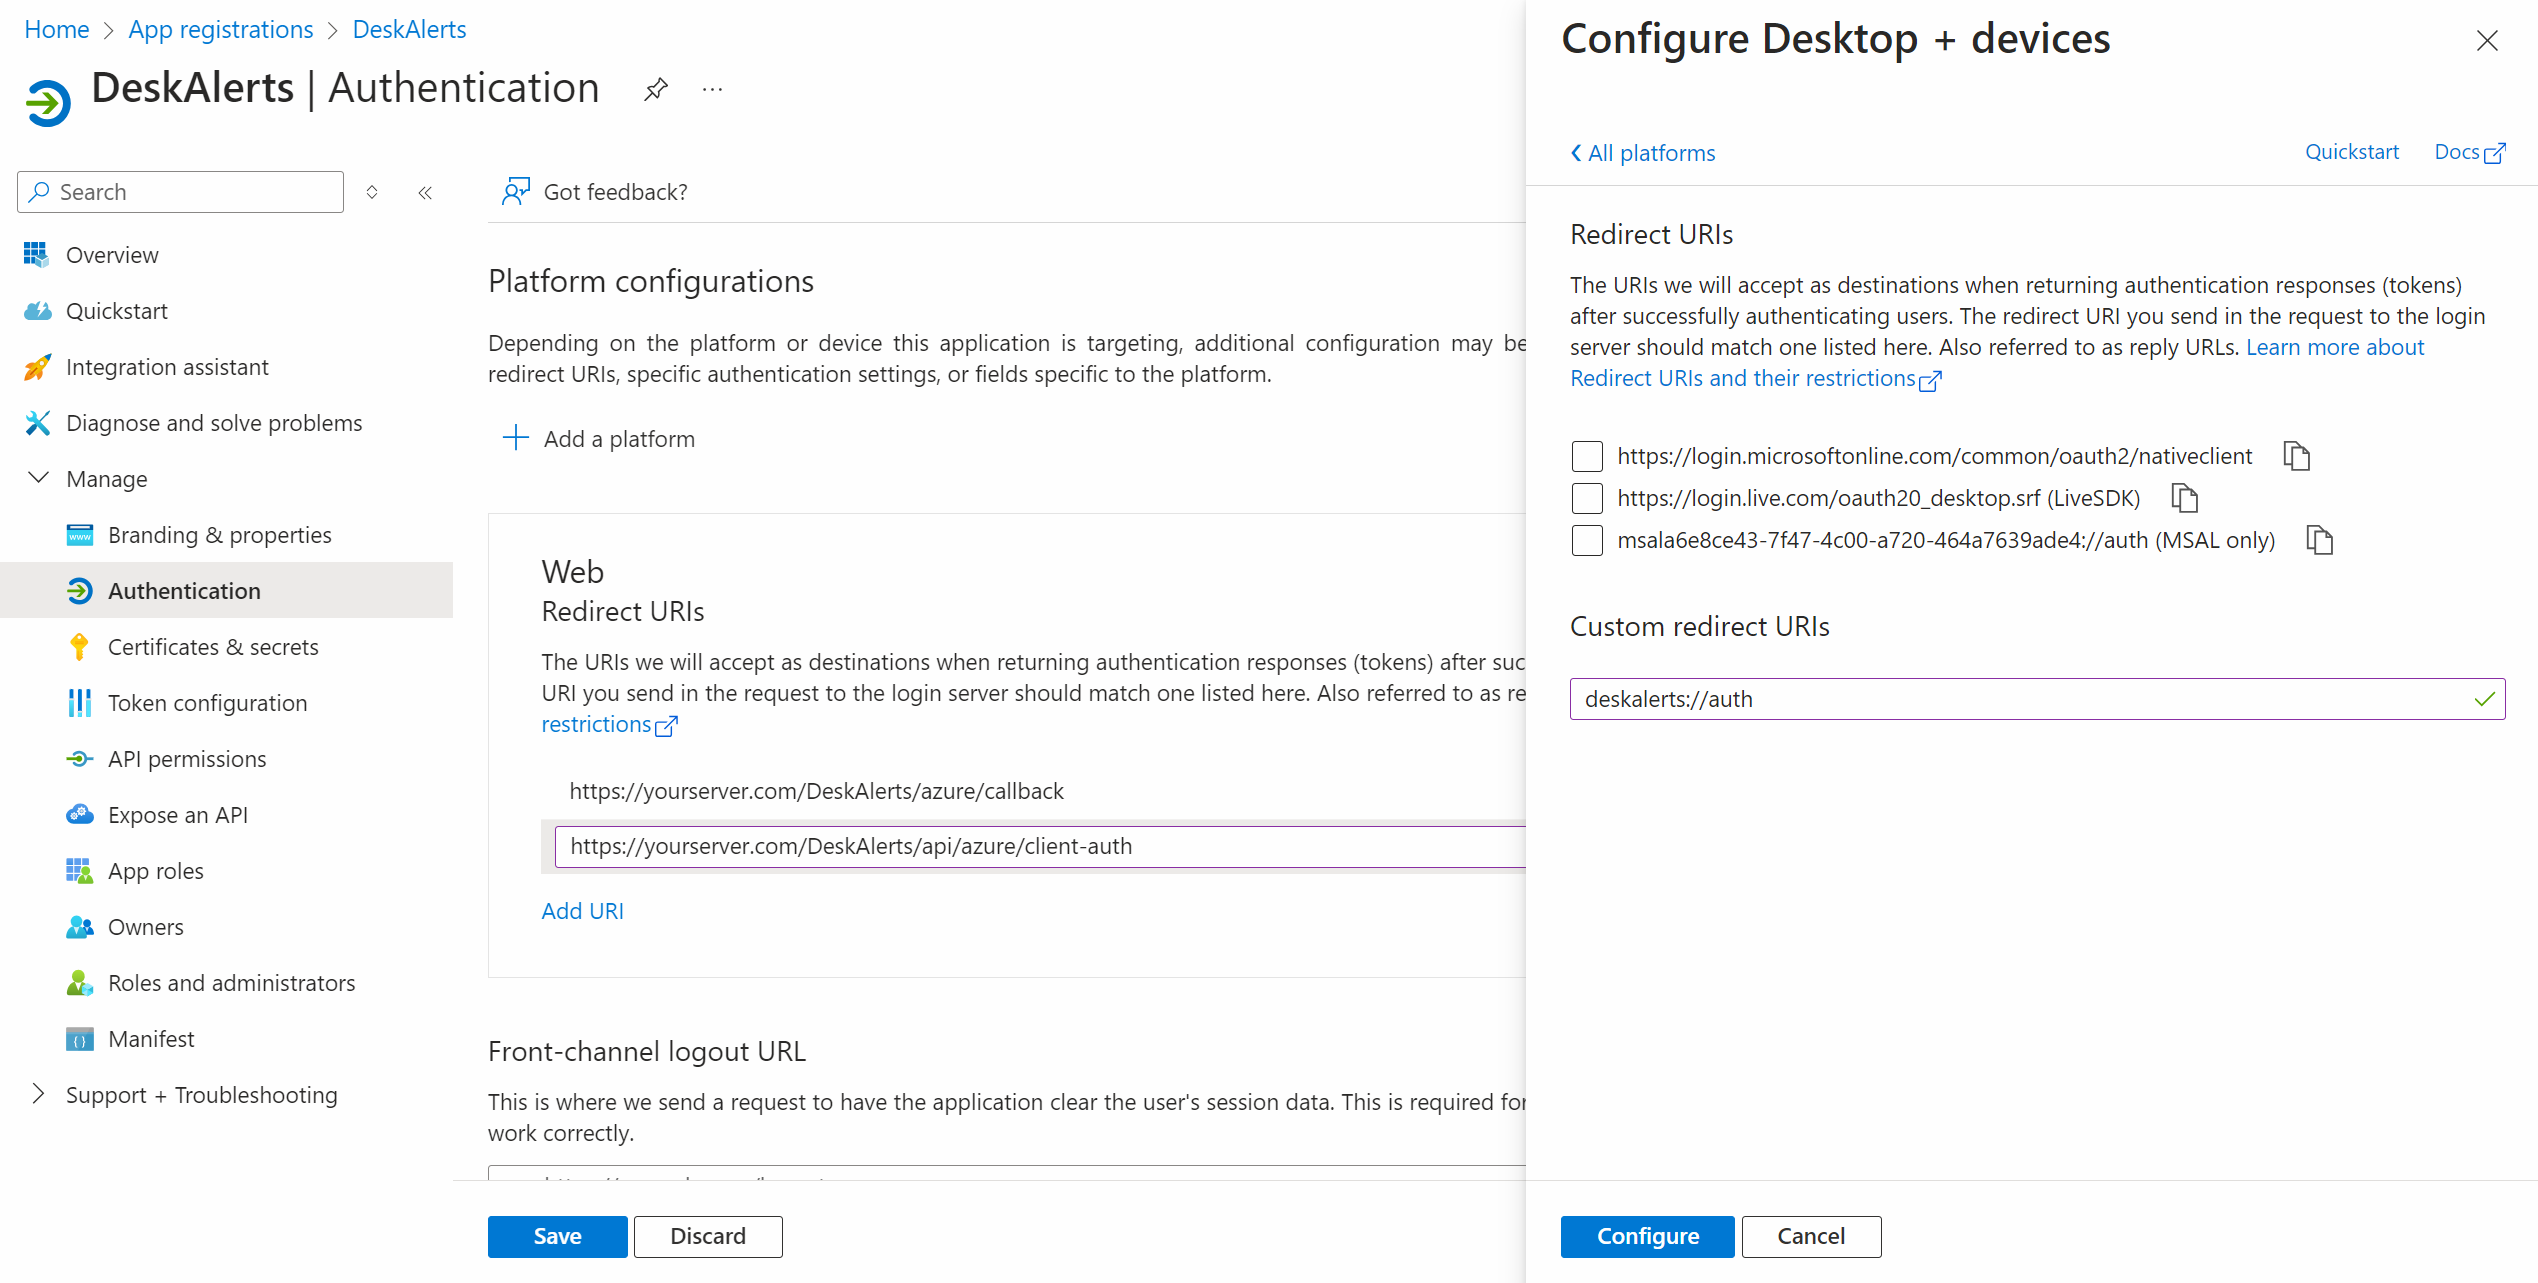
Configure web platform
Navigate to Authentication.
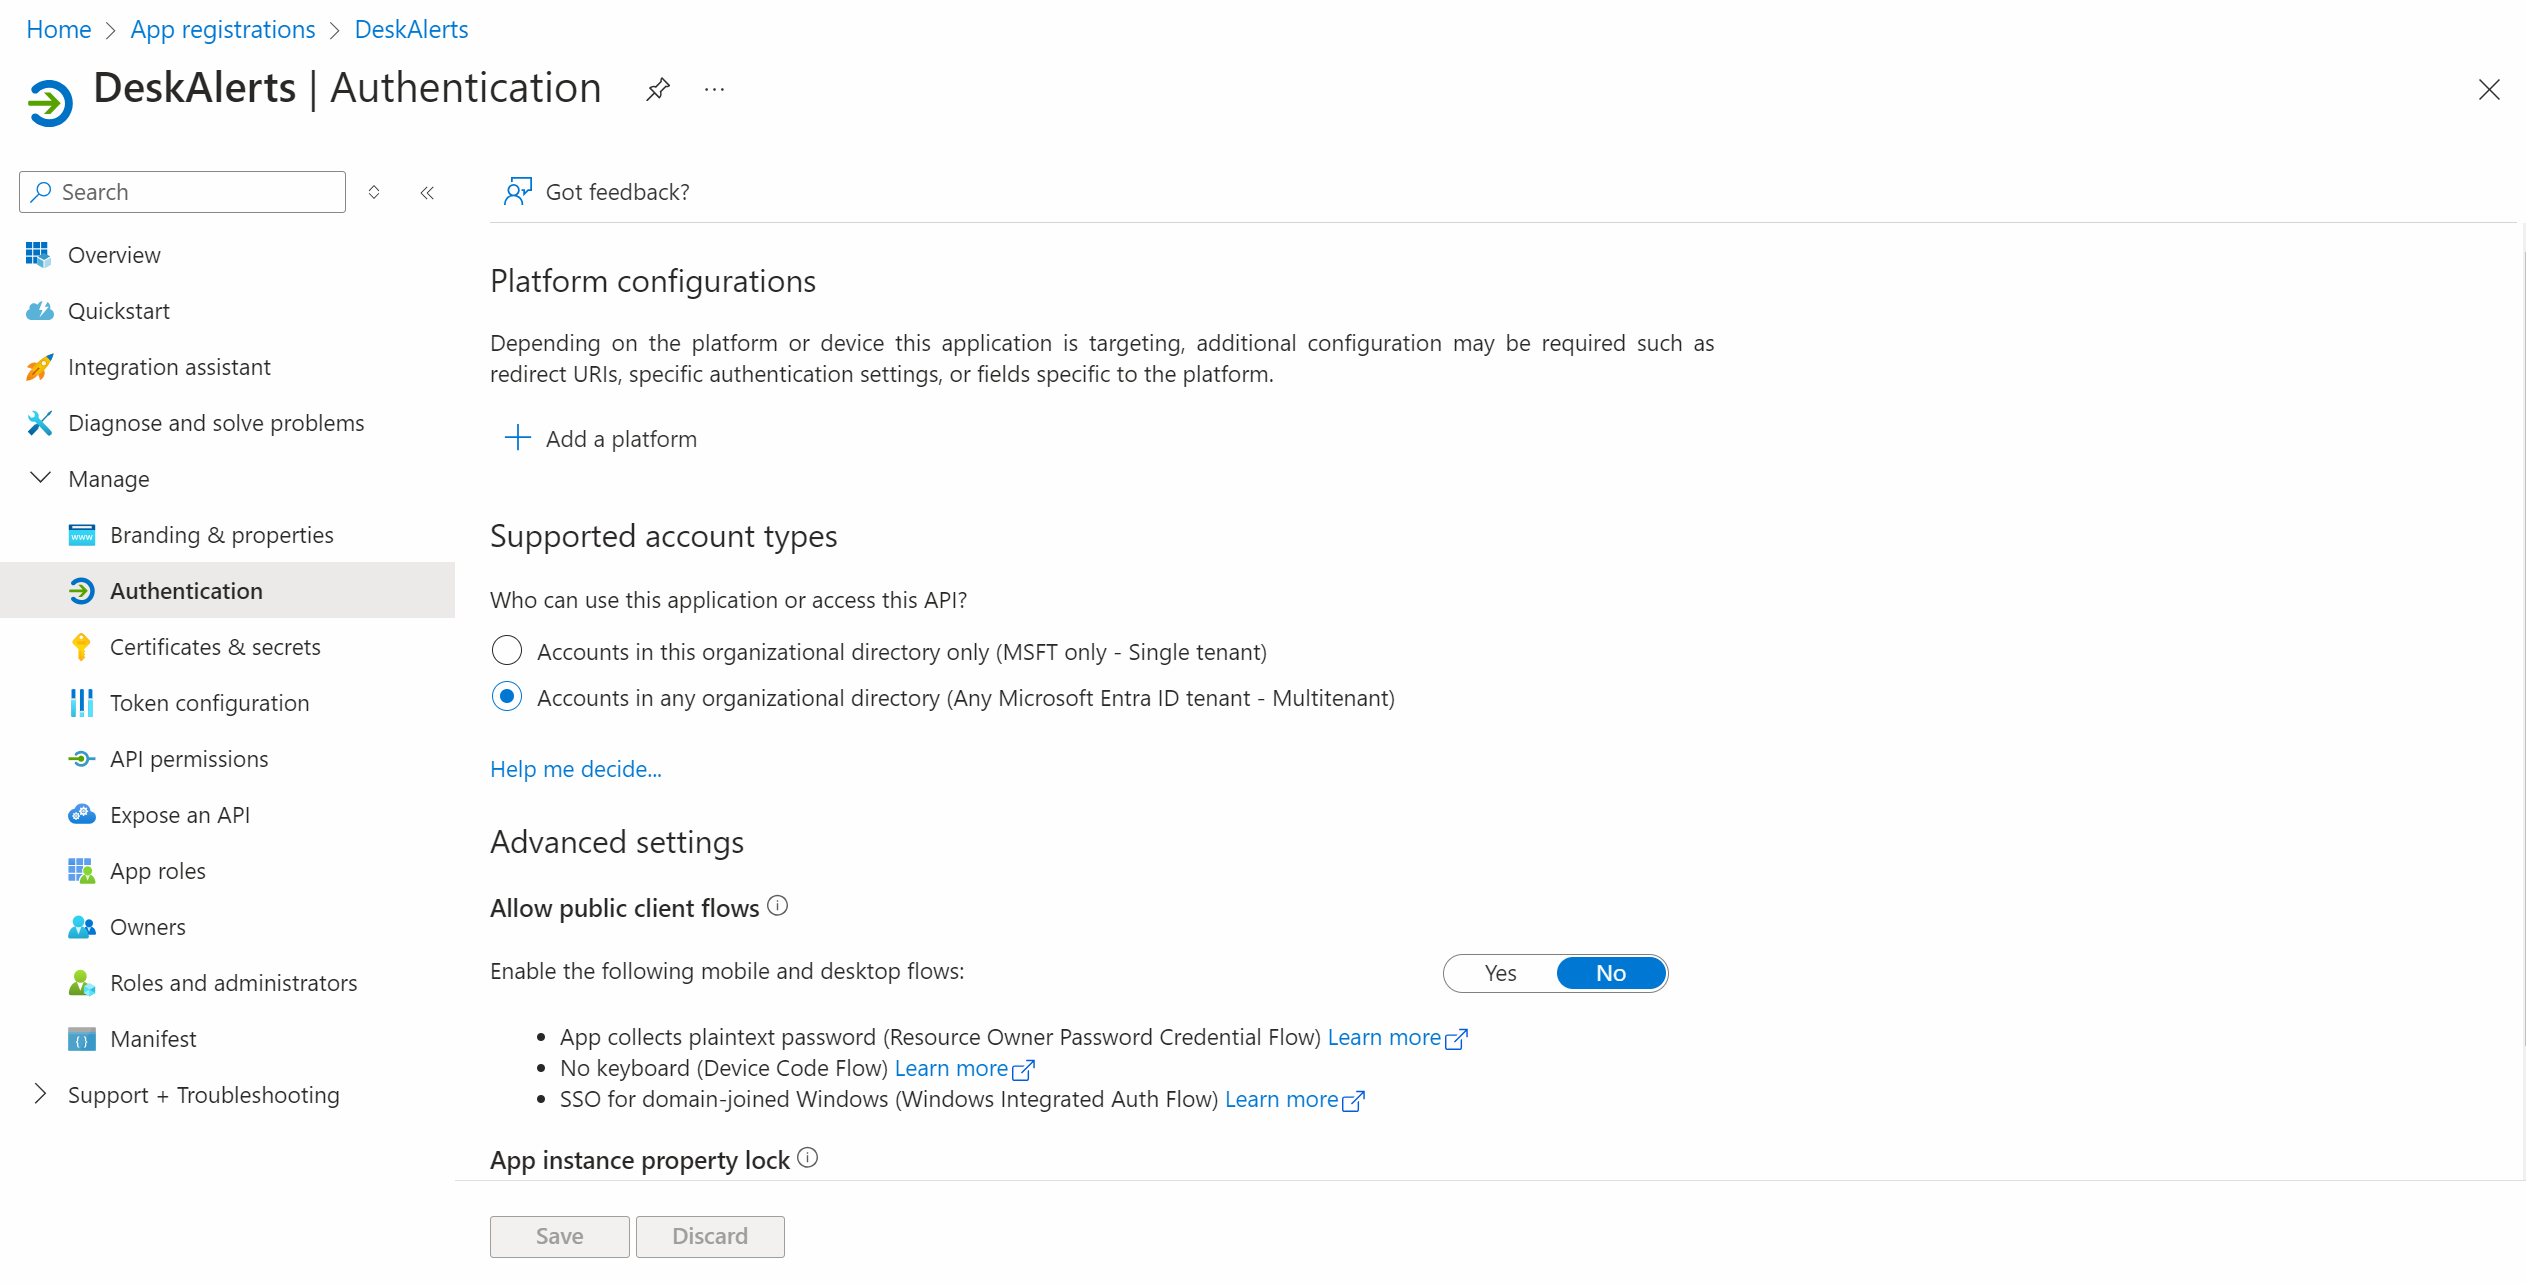
Click Add a platform and select Web
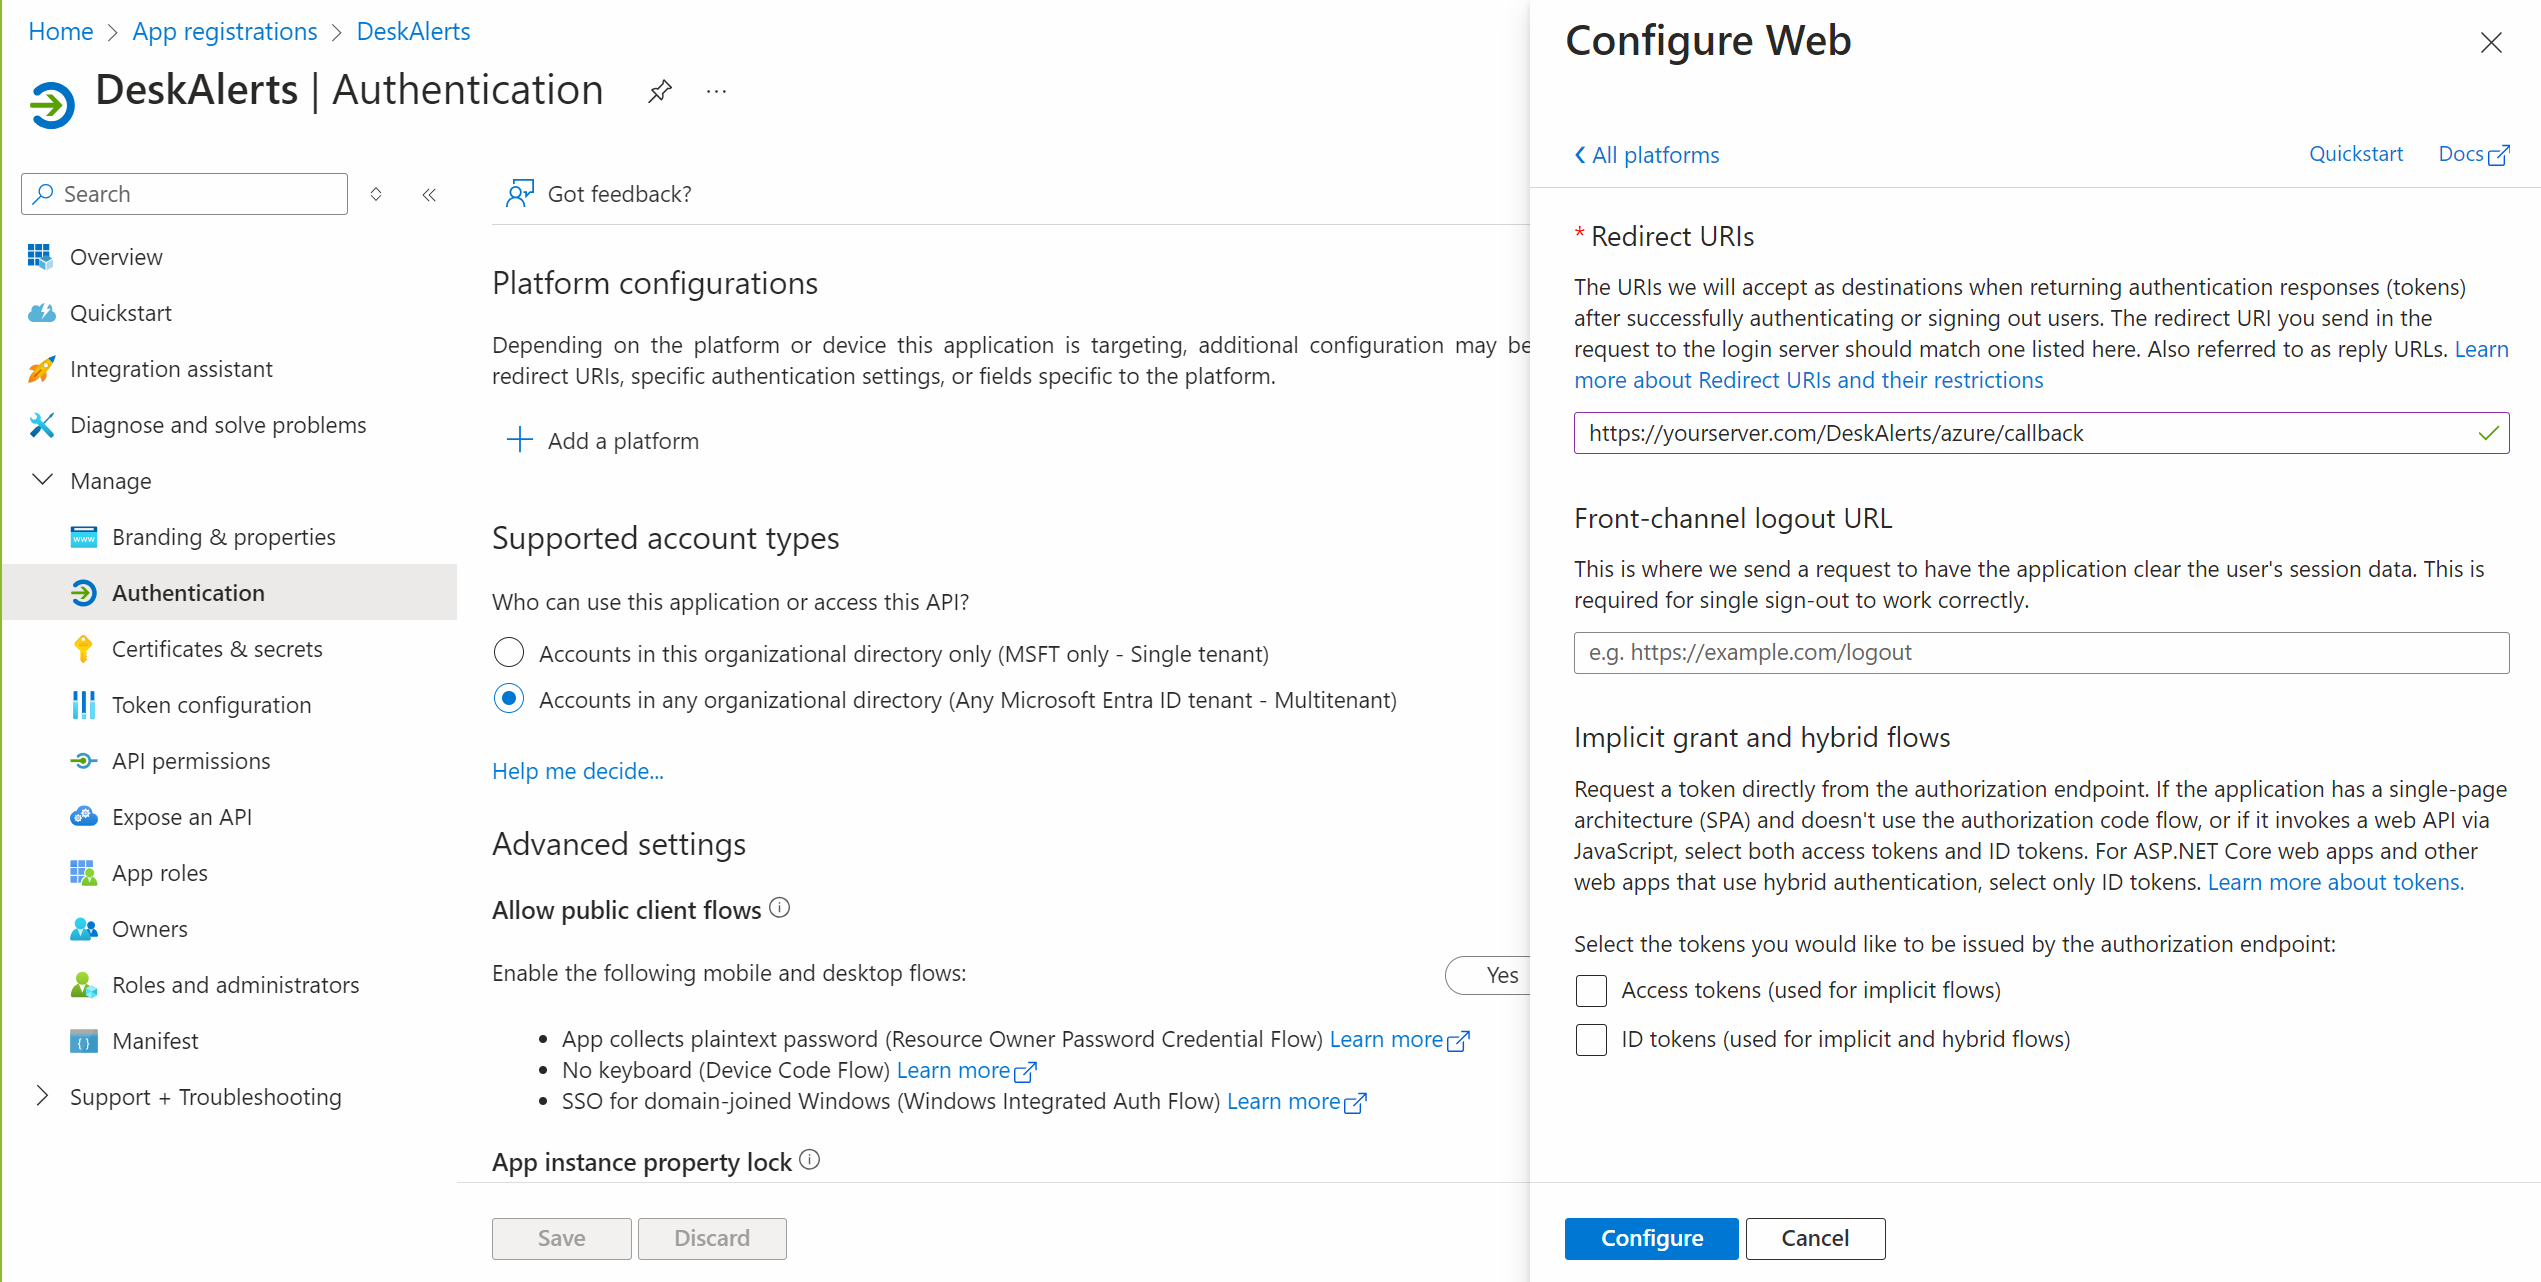
Enter https://yourdeskalertsserver.com/DeskAlerts/azure/callback in Redirect URIs field and click Configure
Replace yourdeskalertsserver.com with your DeskAlerts FQDN server name
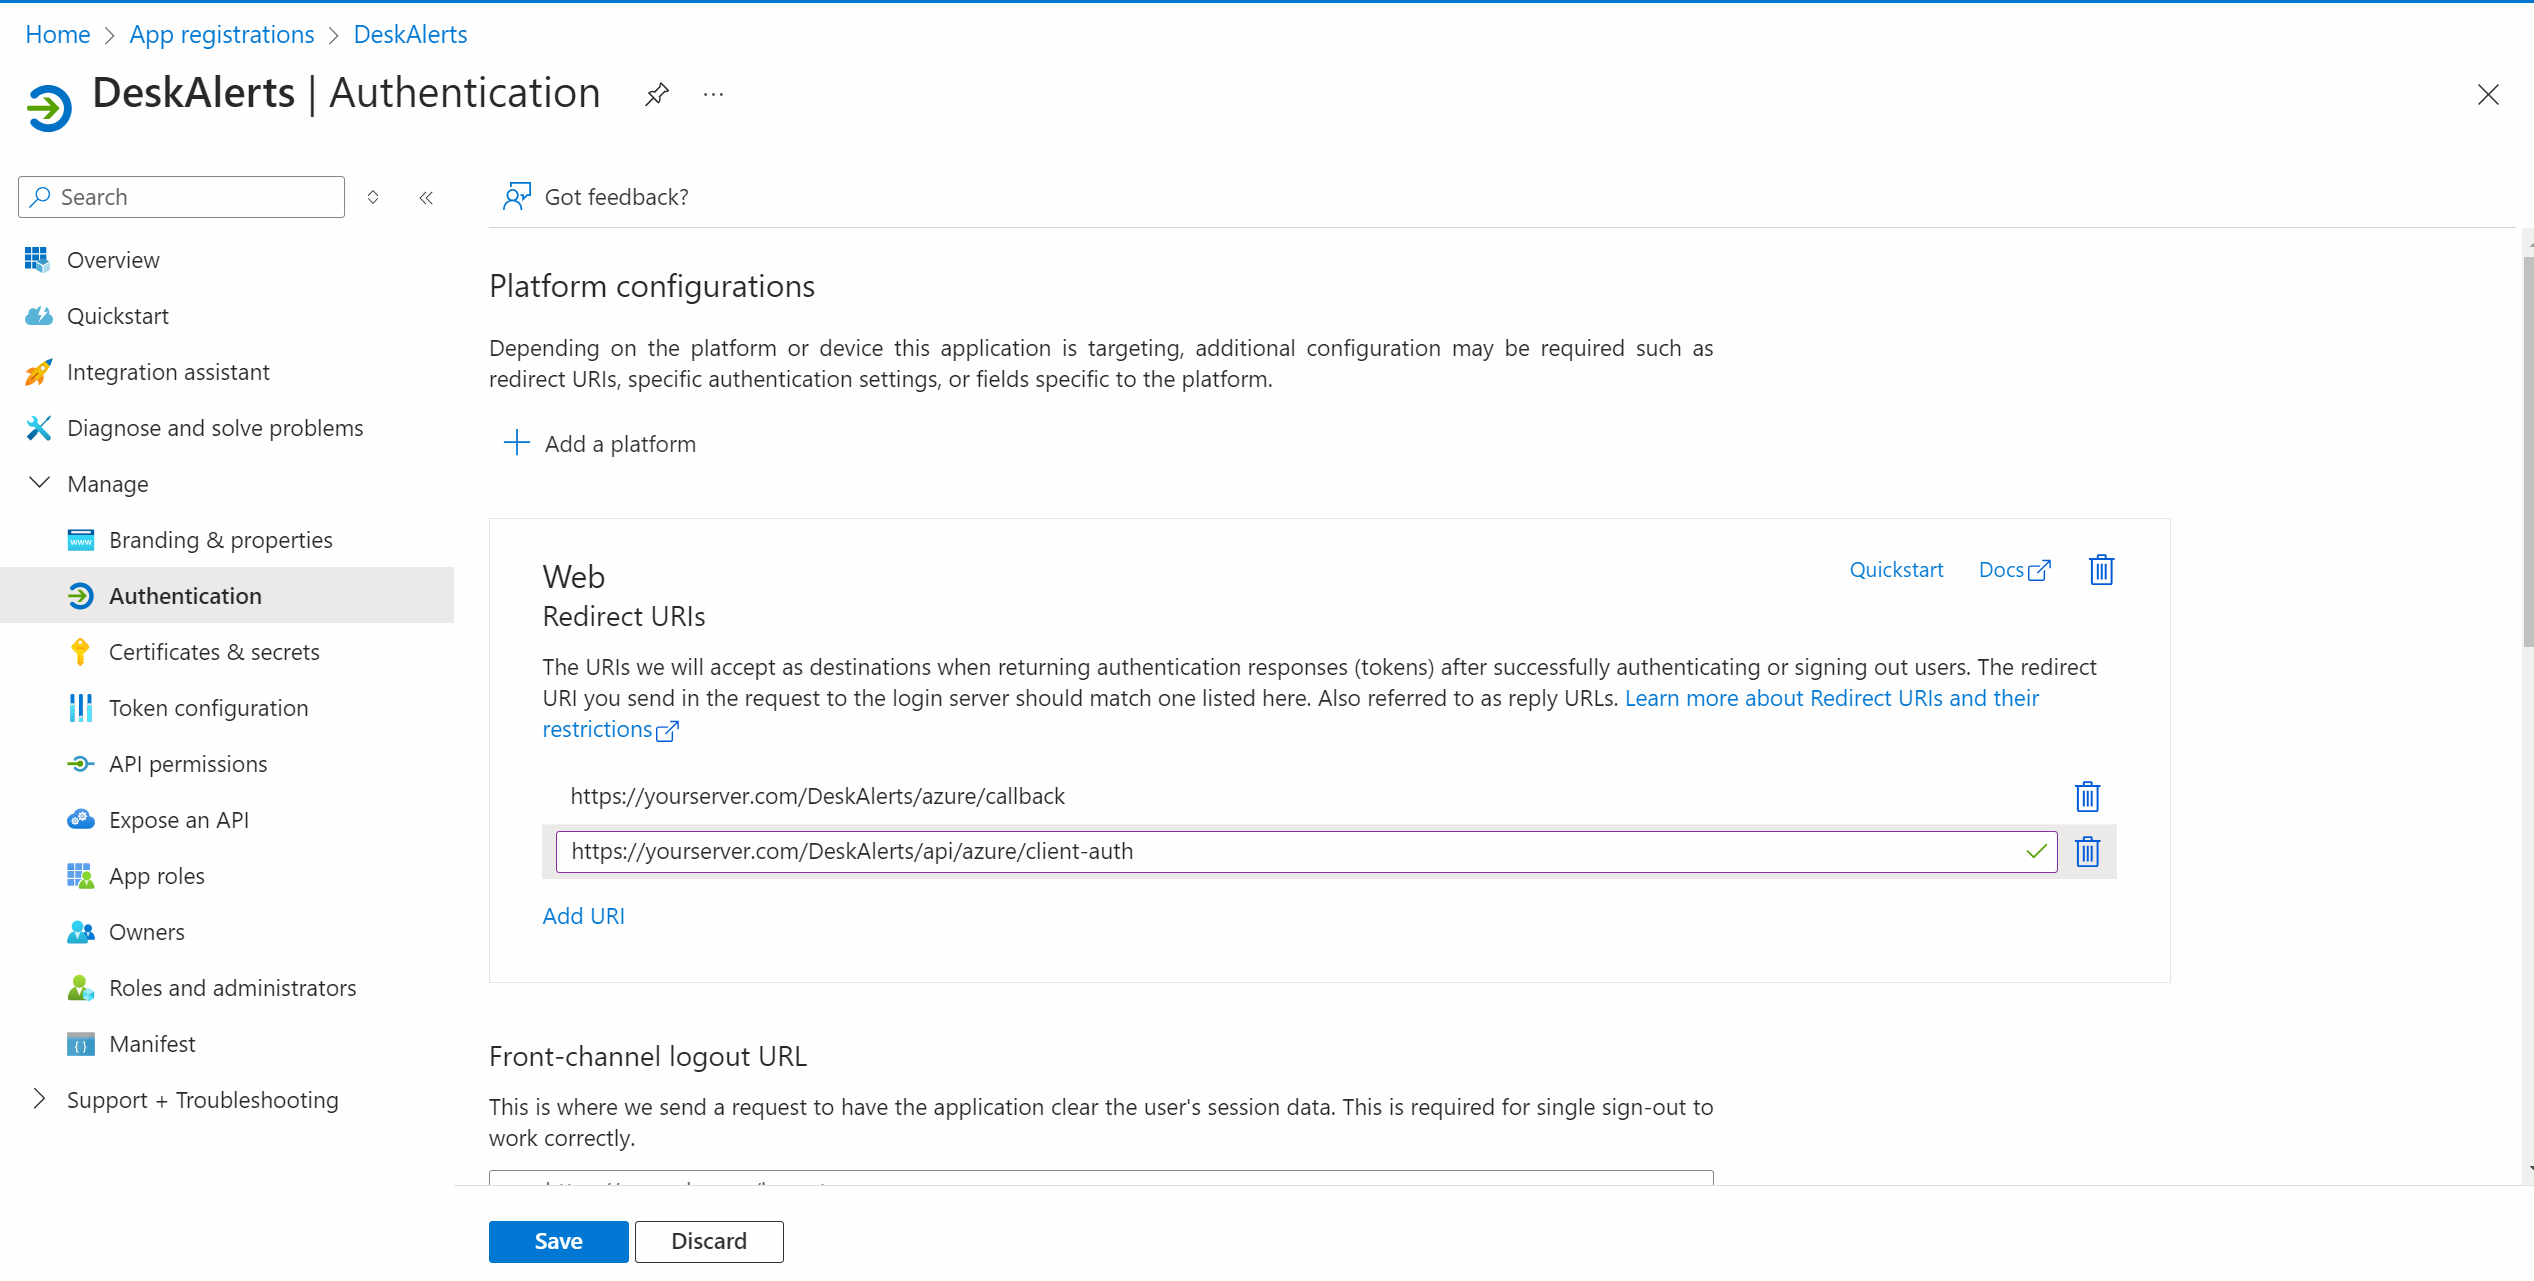
Click Add URI, enter https://yourdeskalertsserver.com/DeskAlerts/api/azure/client-authand click "Configure"
Replace yourdeskalertsserver.com with your DeskAlerts FQDN server name
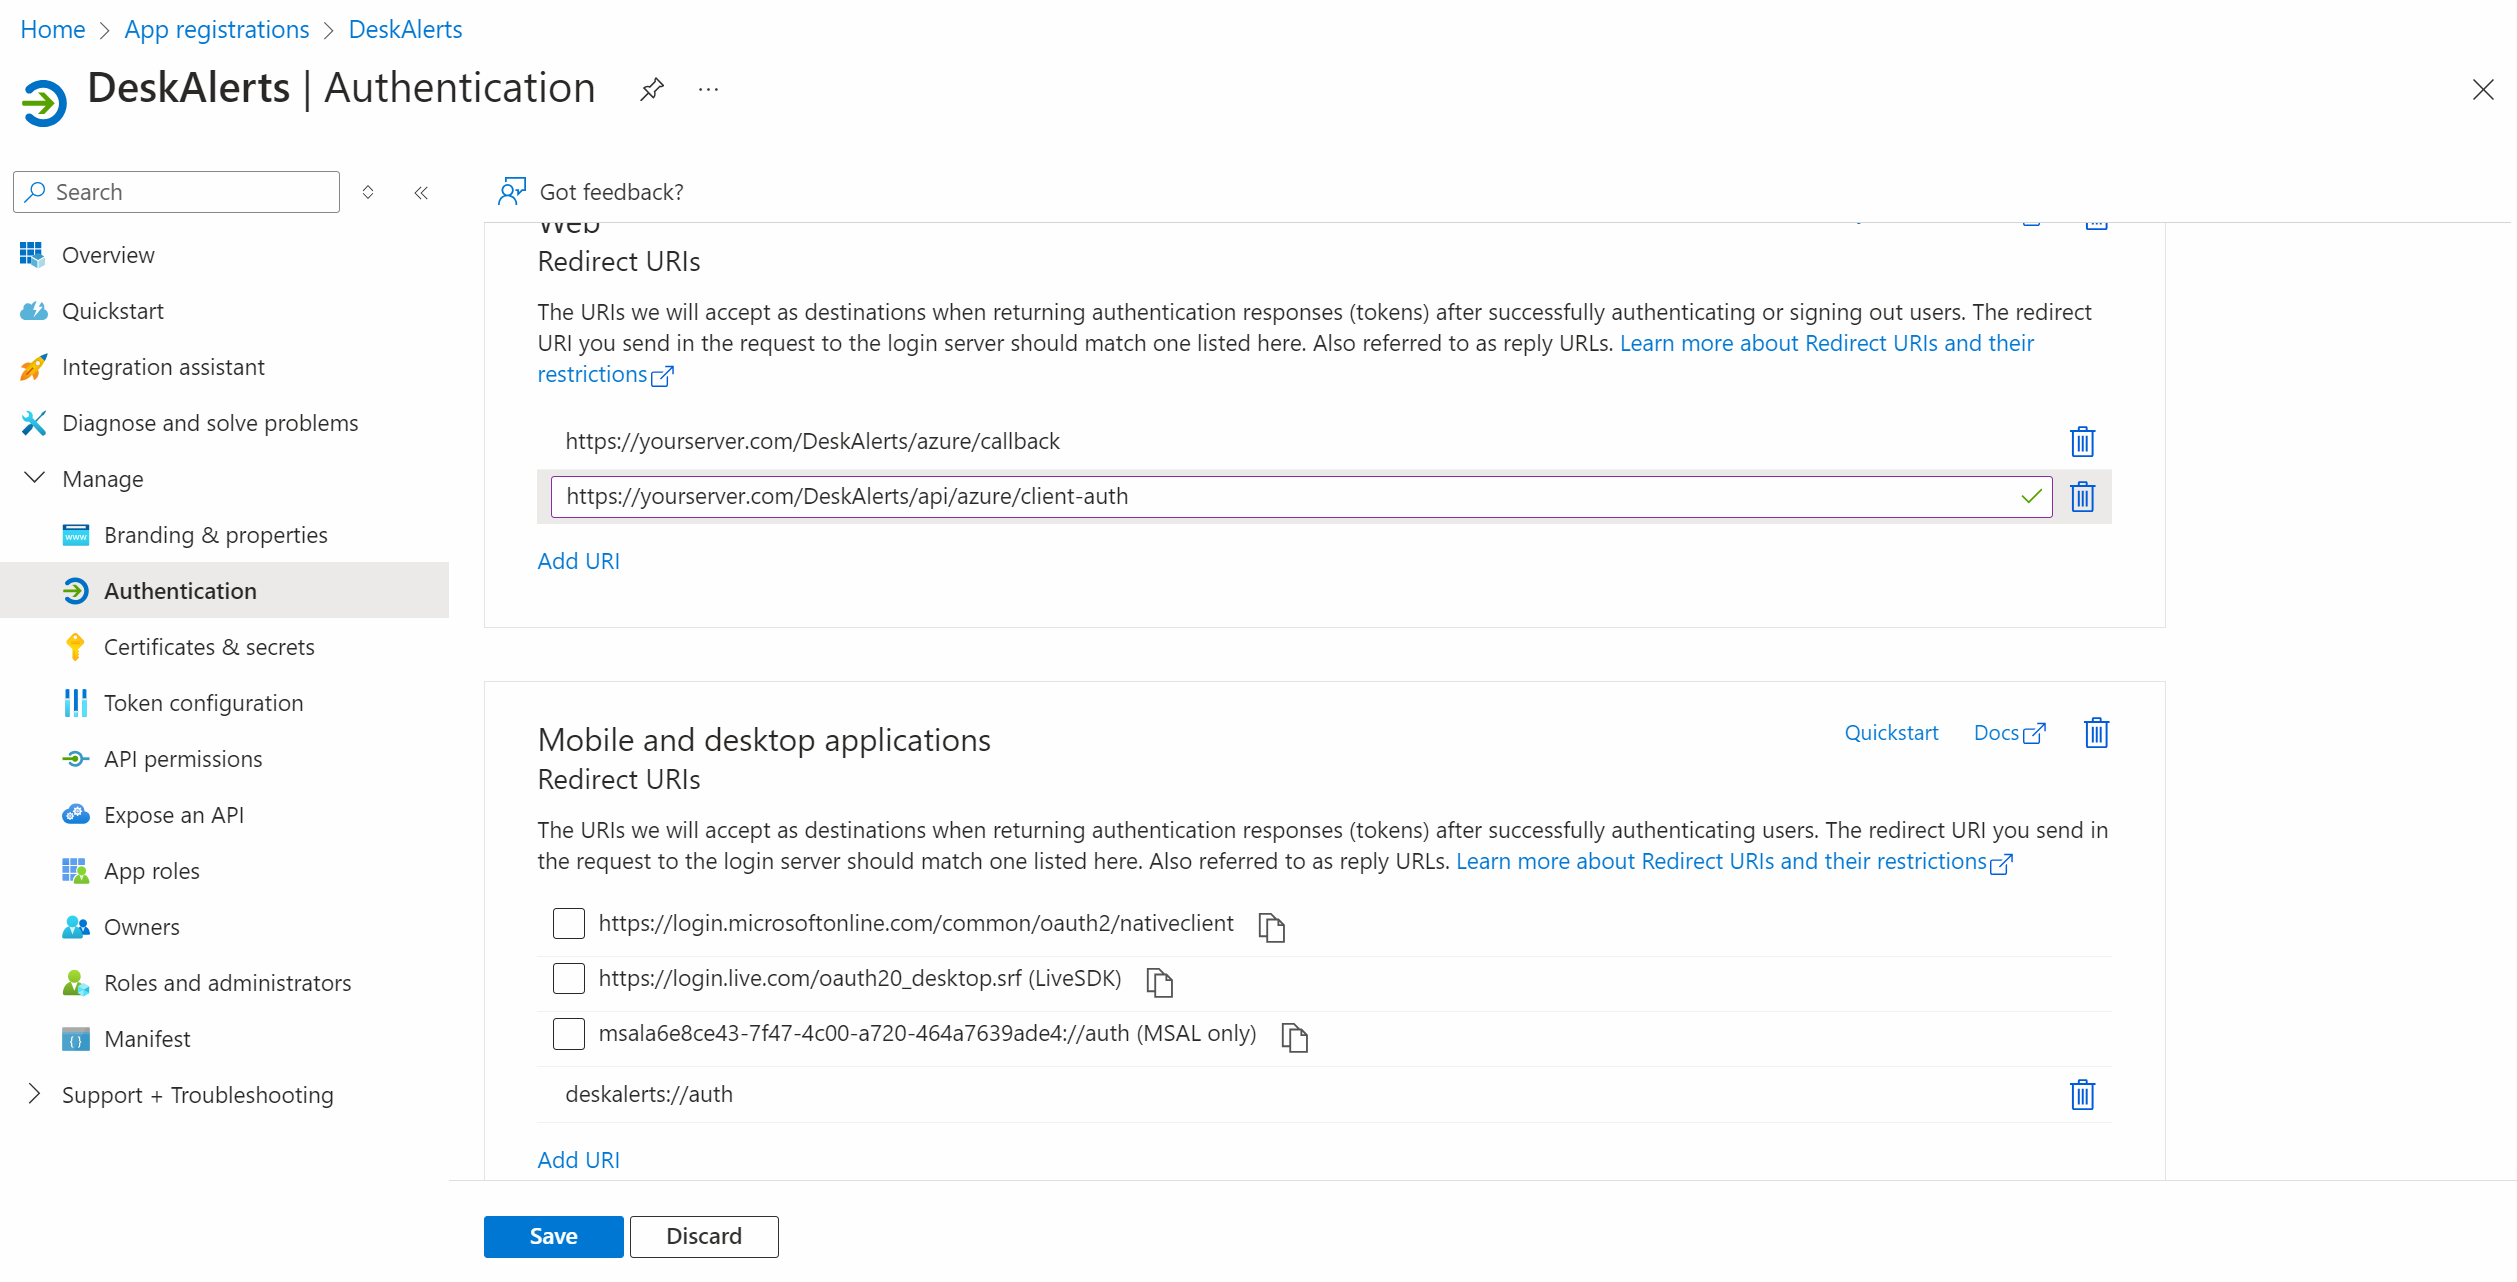
Configure agents platform
Click Add a platform and select Mobile and desktop applications
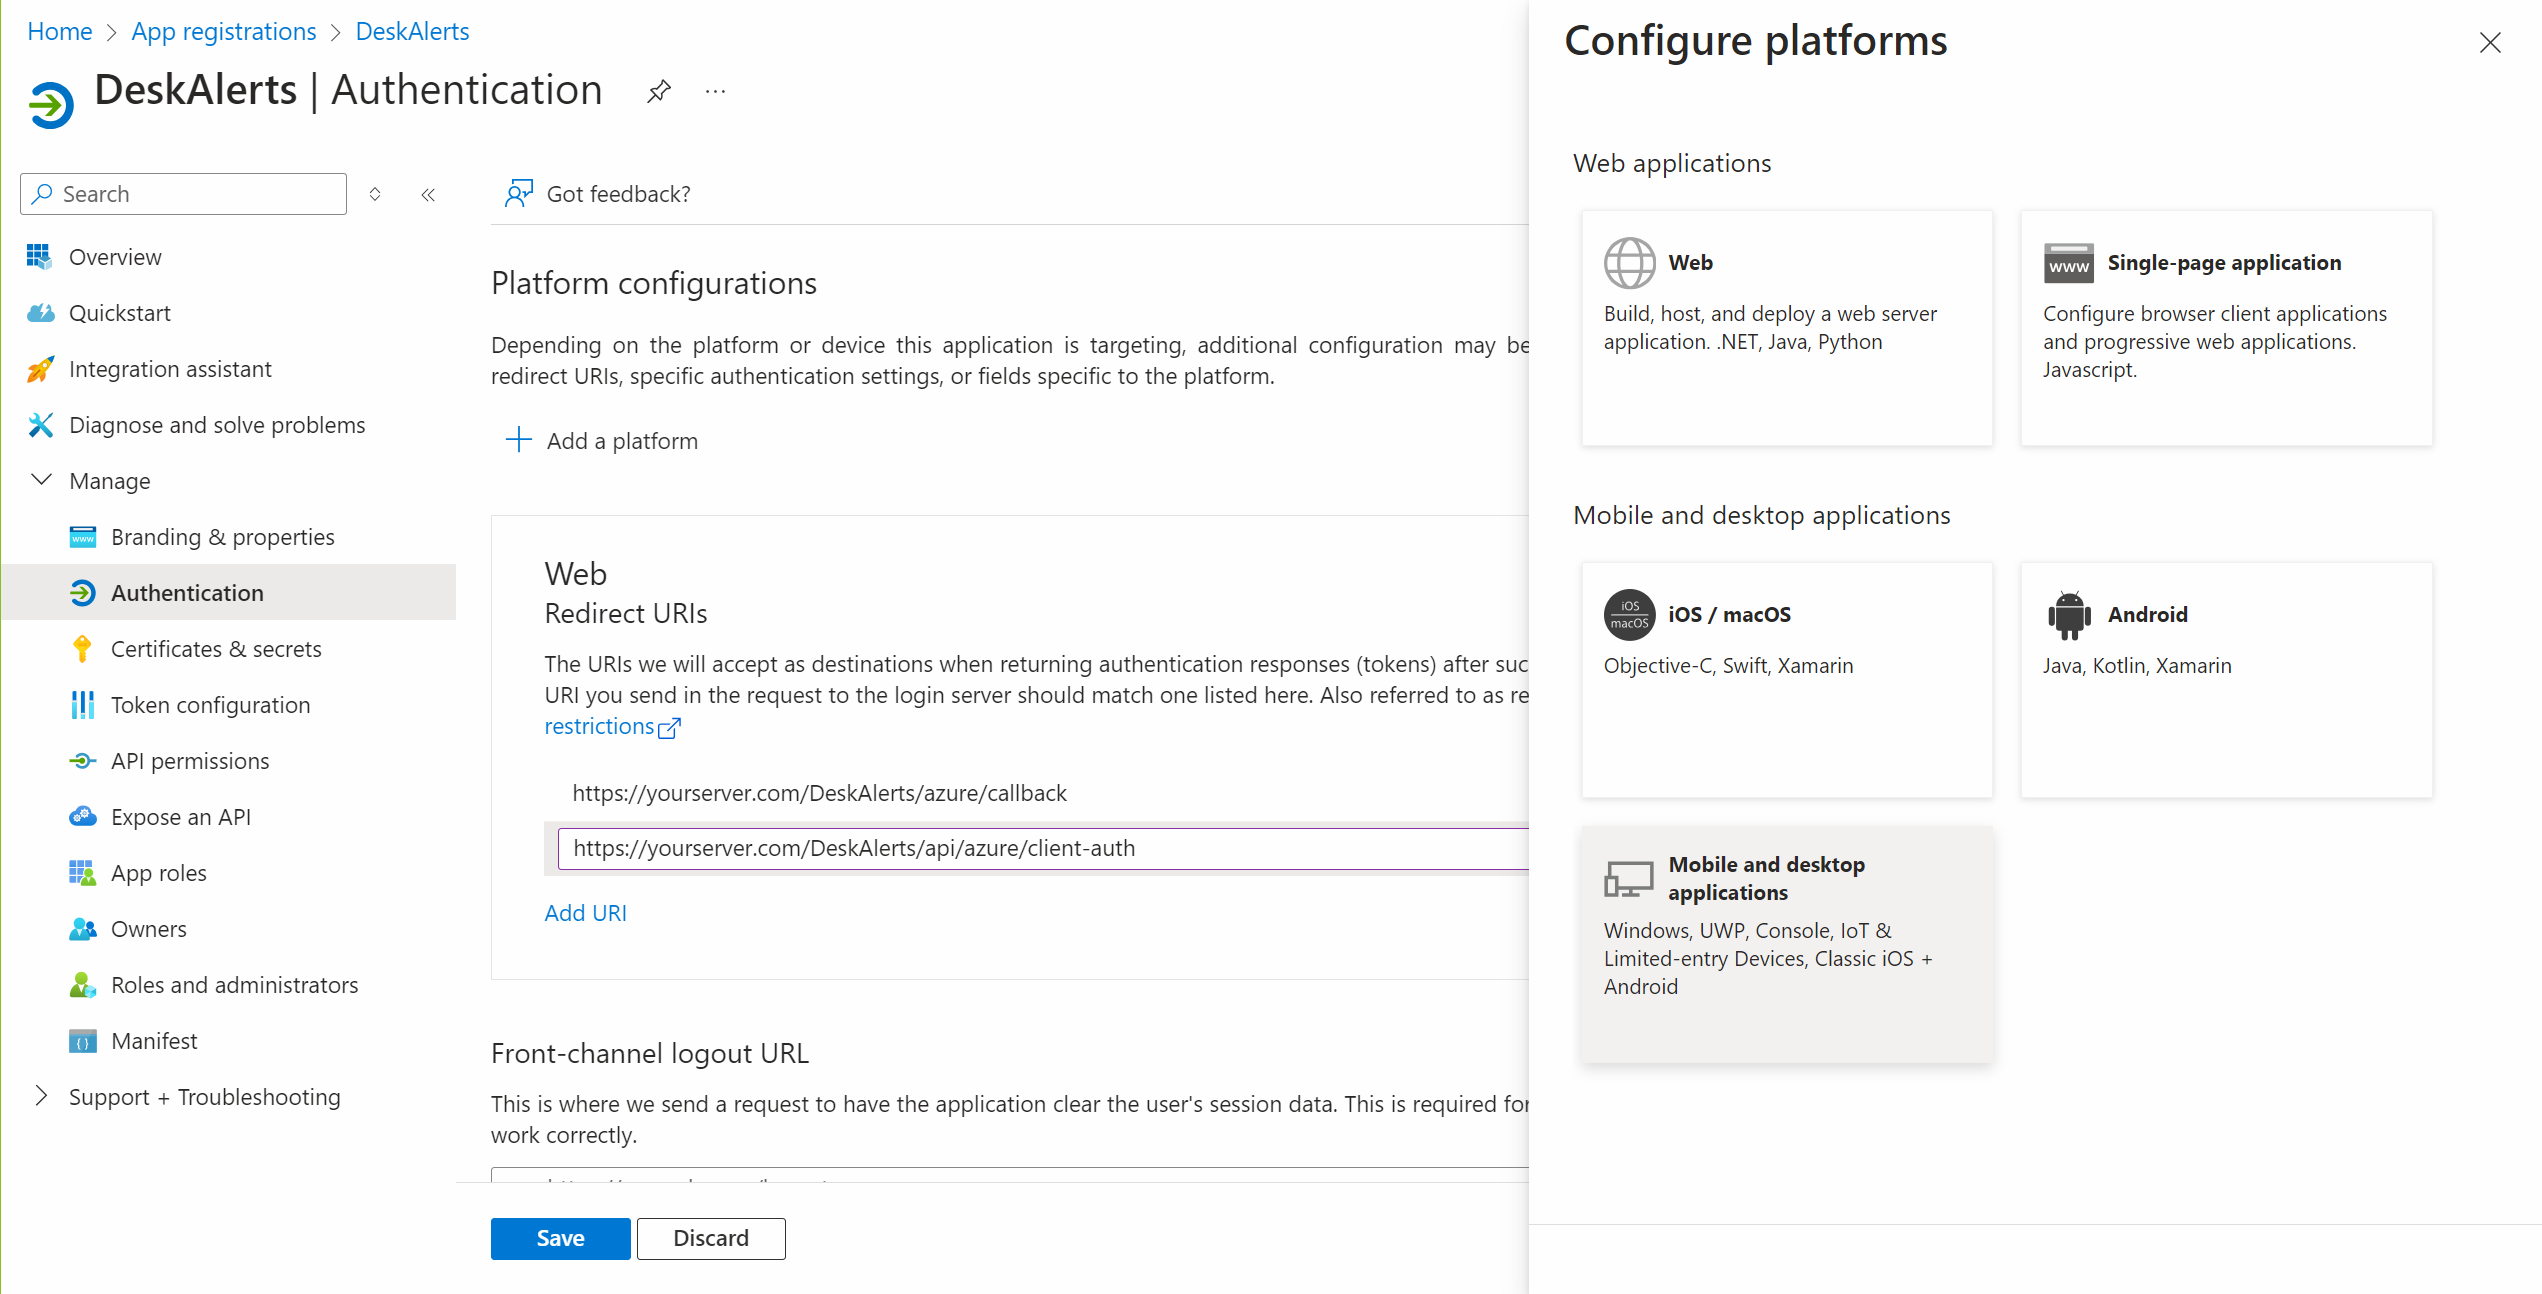
Enter deskalerts://auth and click "Configure"
Click Save
Configure DeskAlerts Server for Azure AD Integration
- Log in to the DeskAlerts dashboard as an administrator.
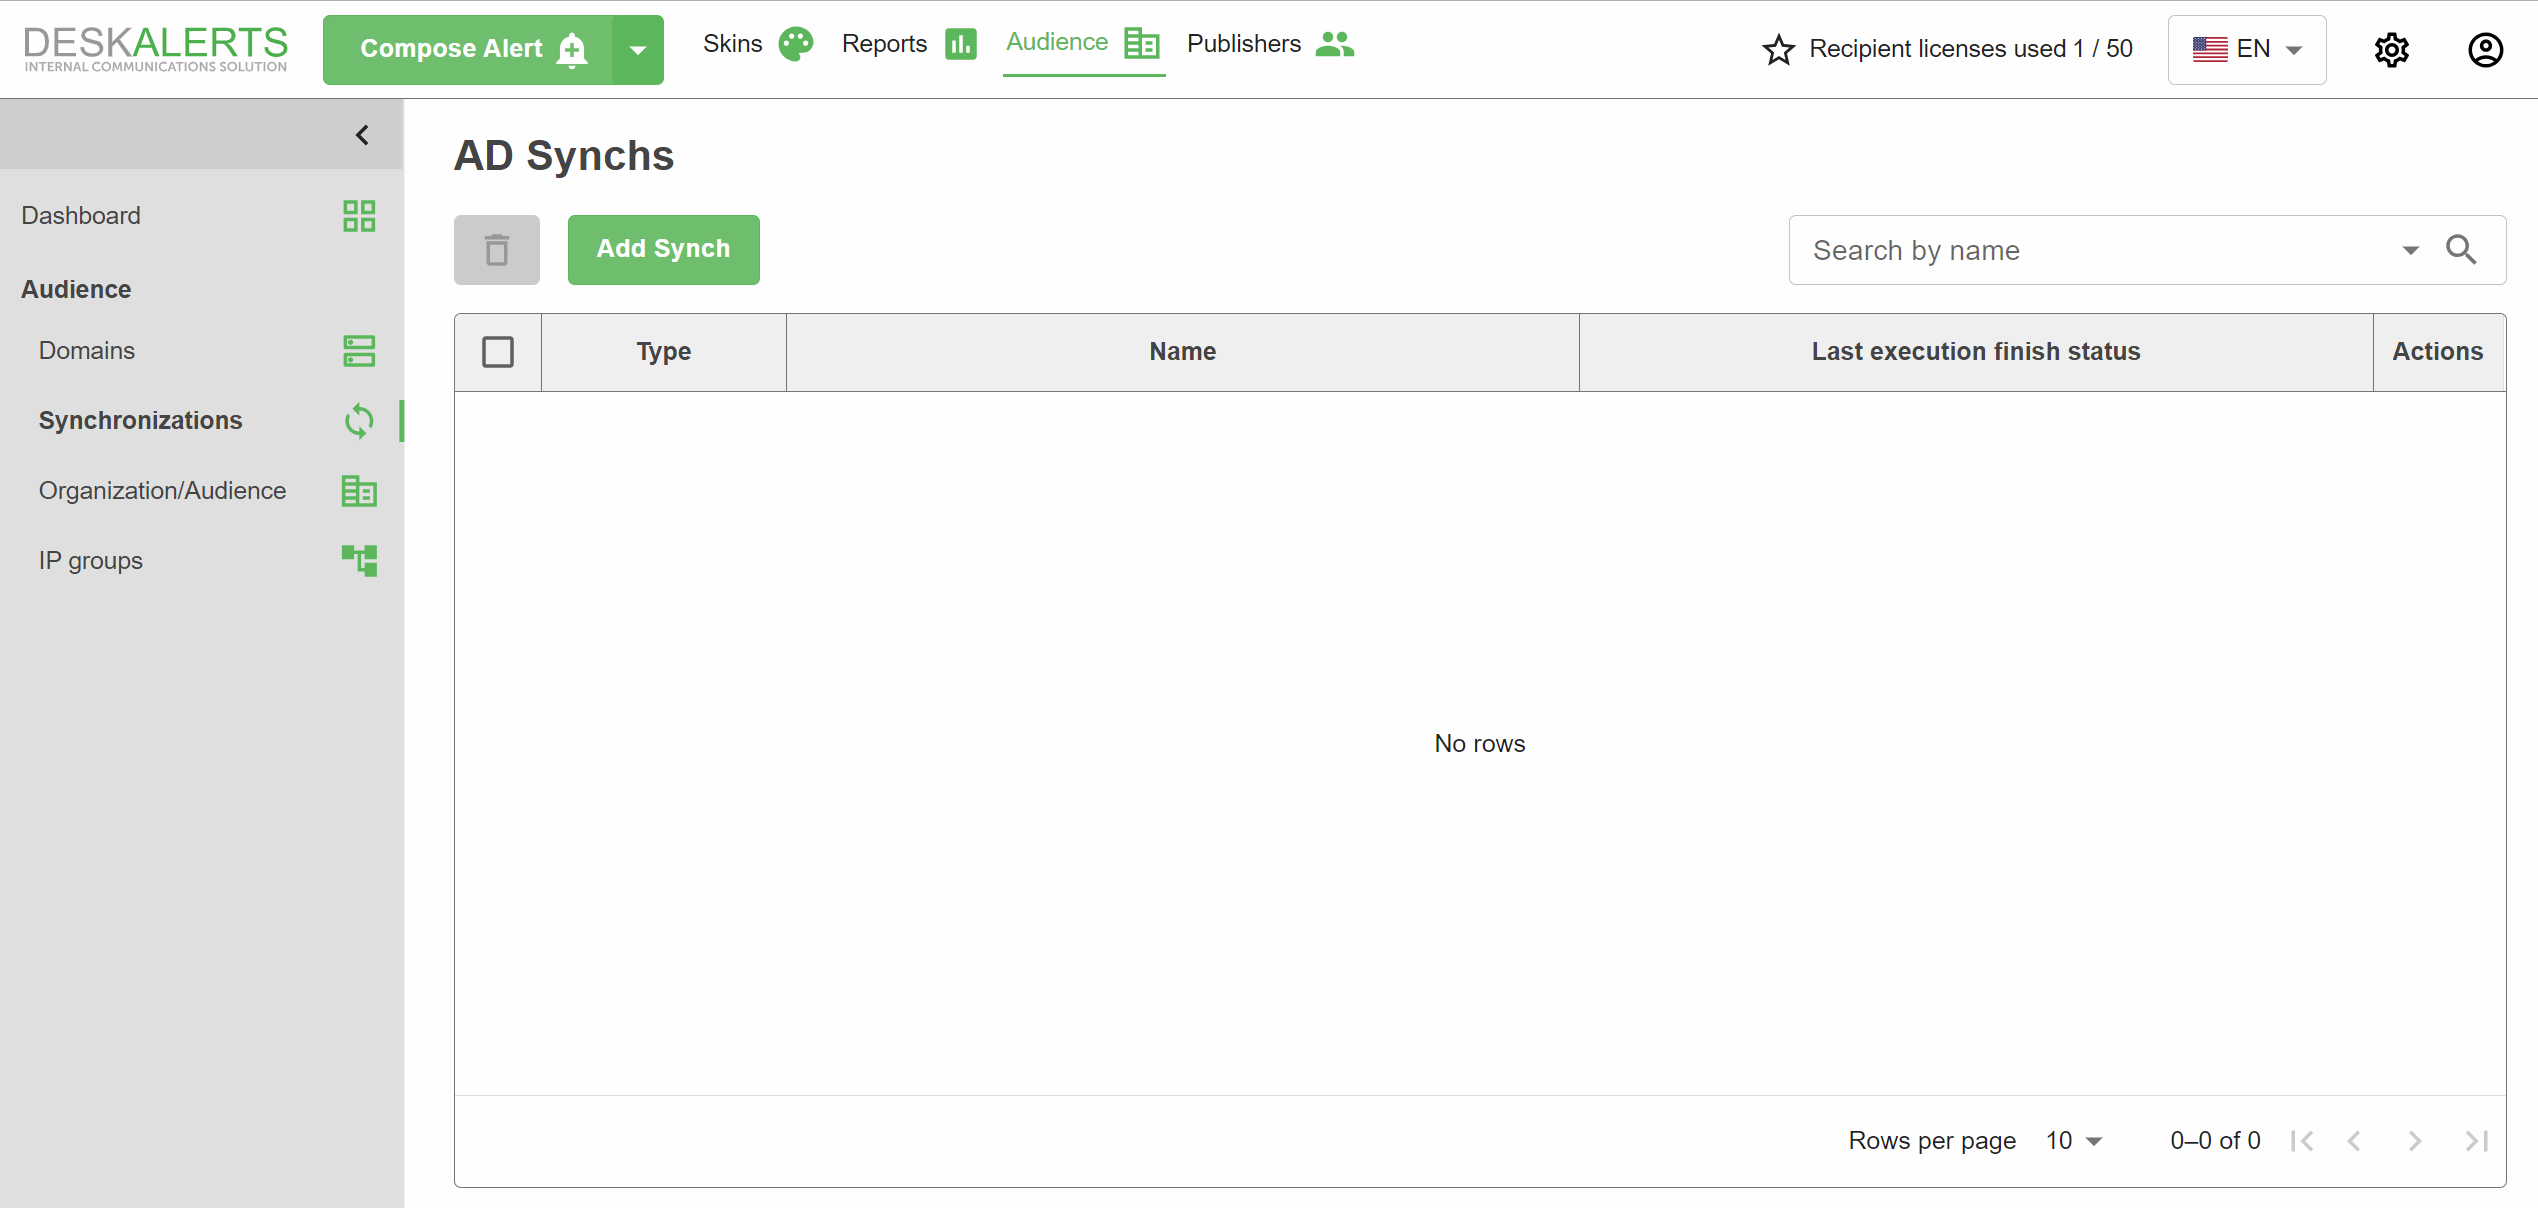
- Navigate to Audience → Synchronizations and click Add synch
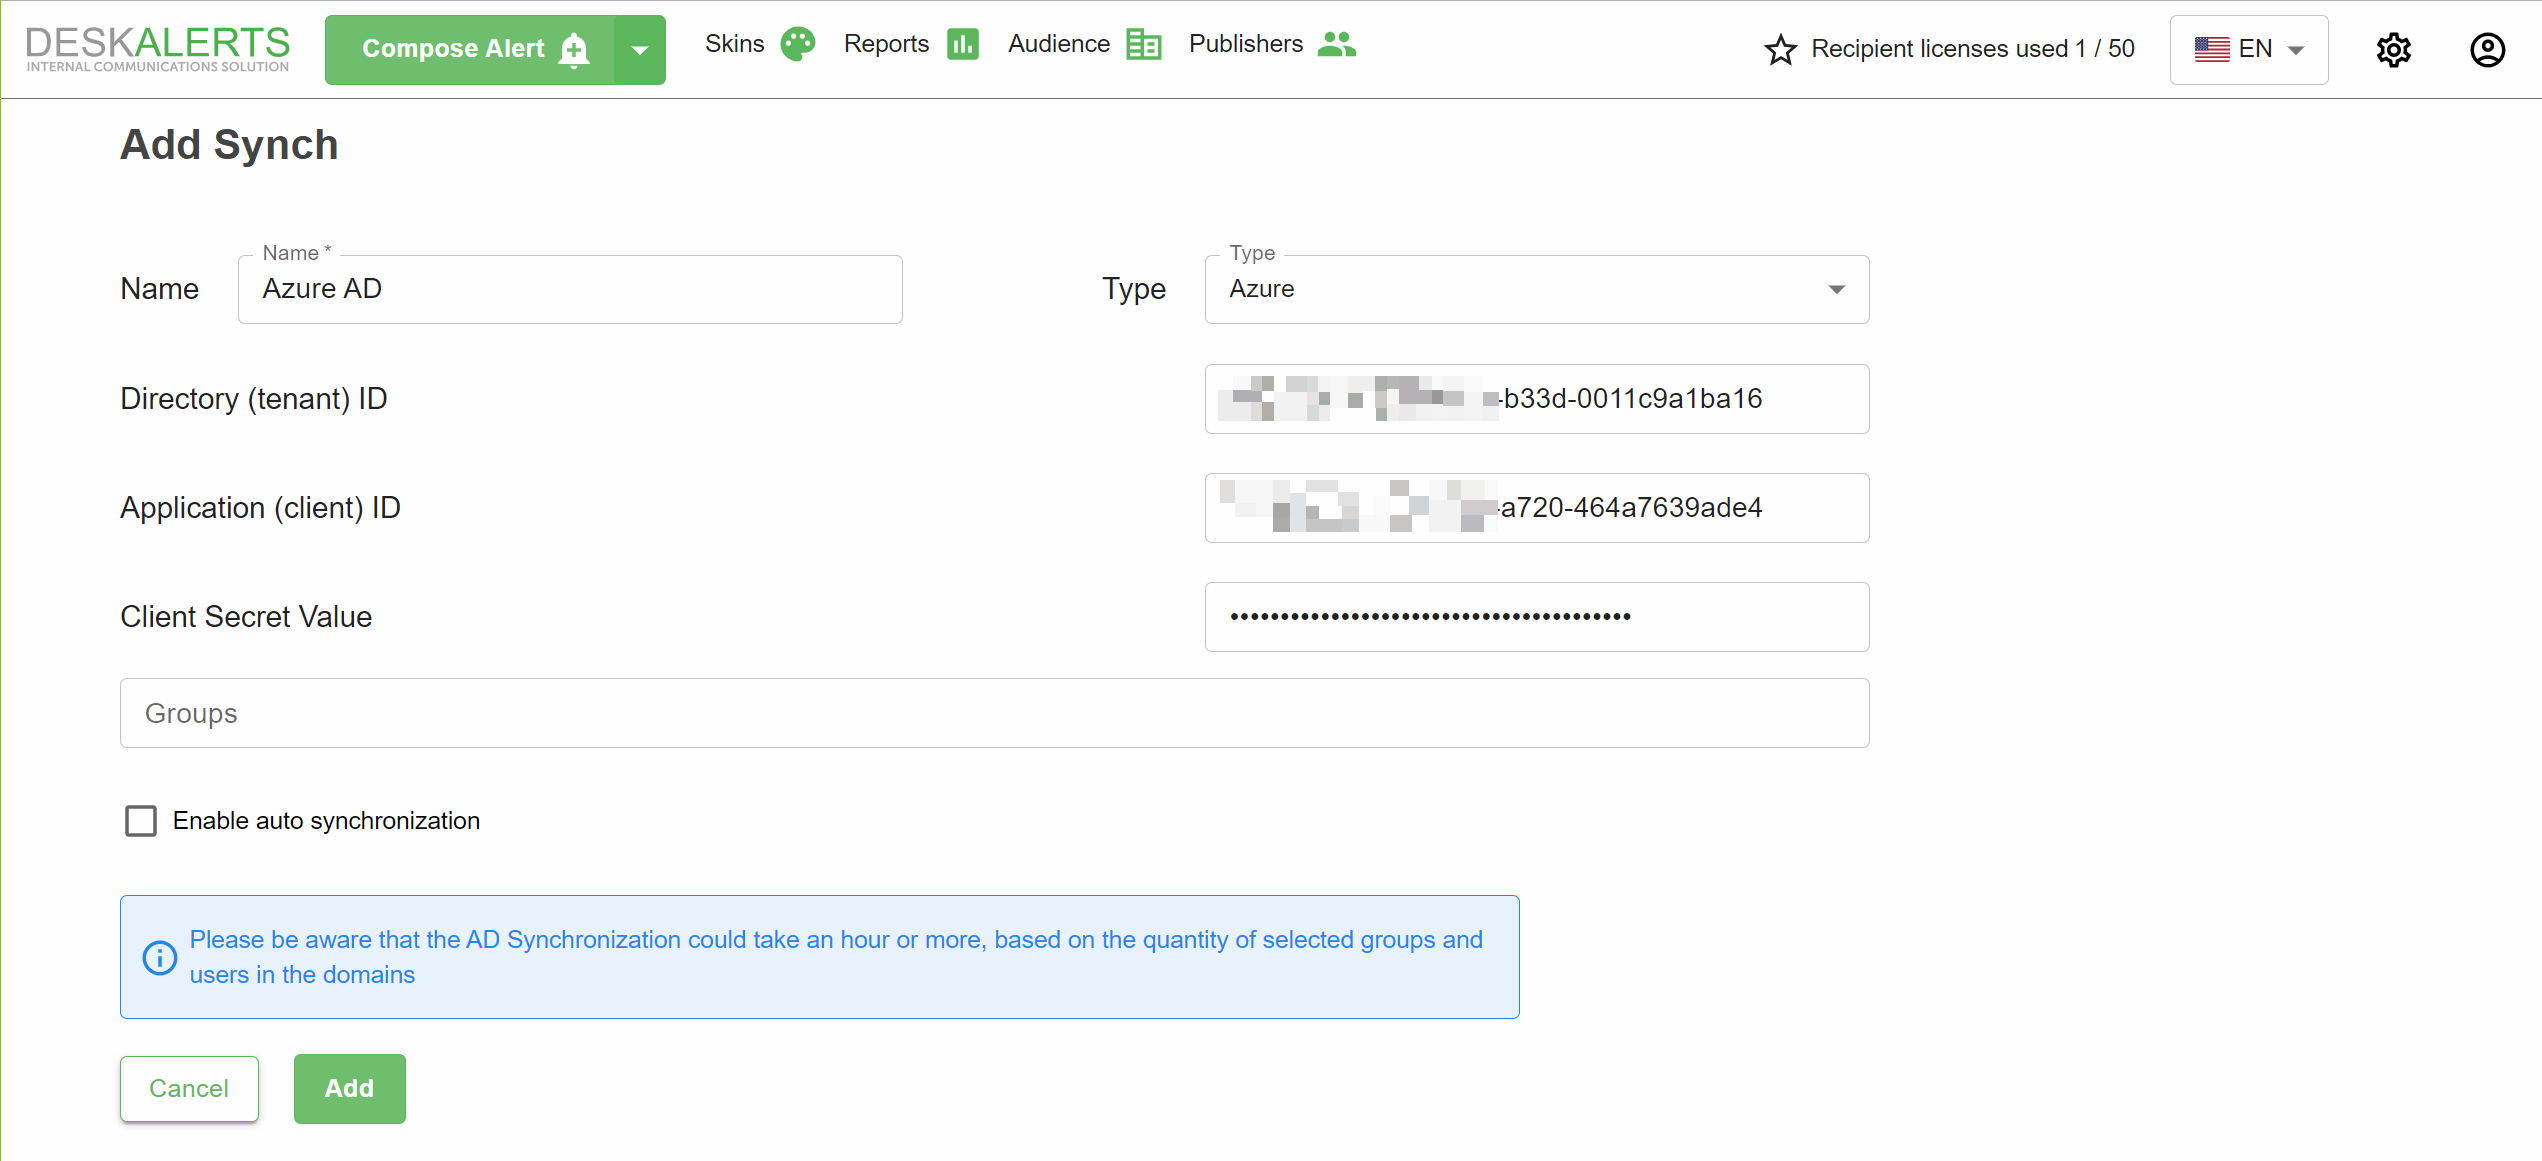
Fill in the required fields:
- Name: Descriptive name for the synchronization.
- Directory (tenant) ID
- Application (client) ID
- Client secret value You can also configure Groups to be synchronized and enable auto synchronization
Press Add
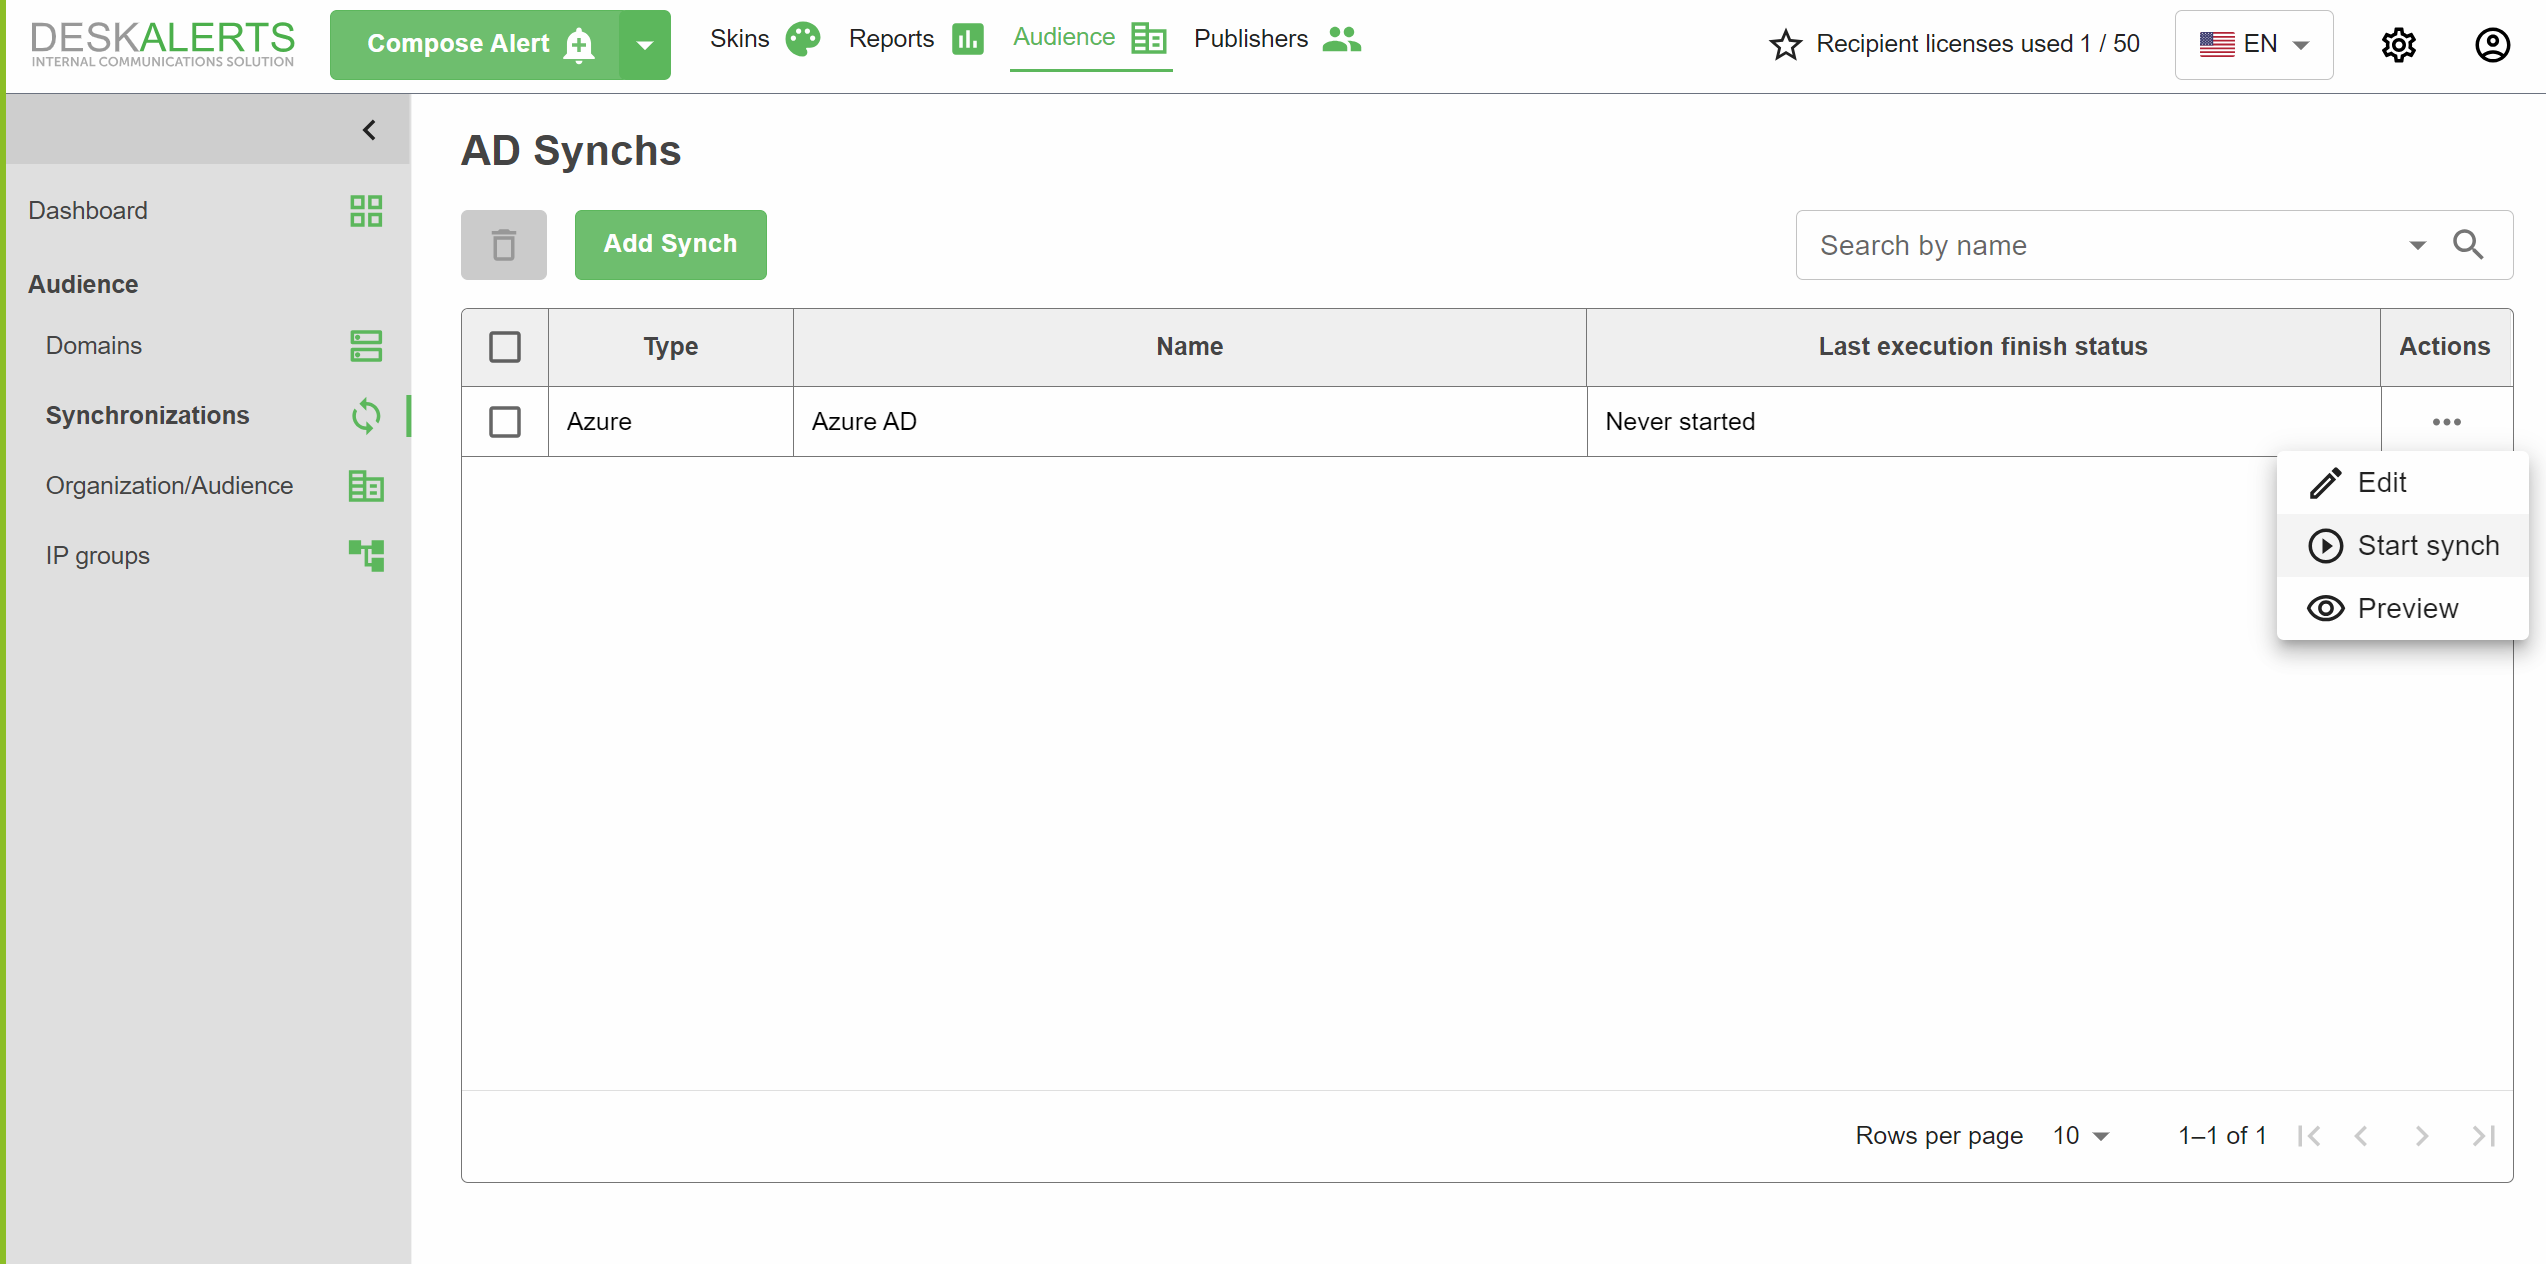
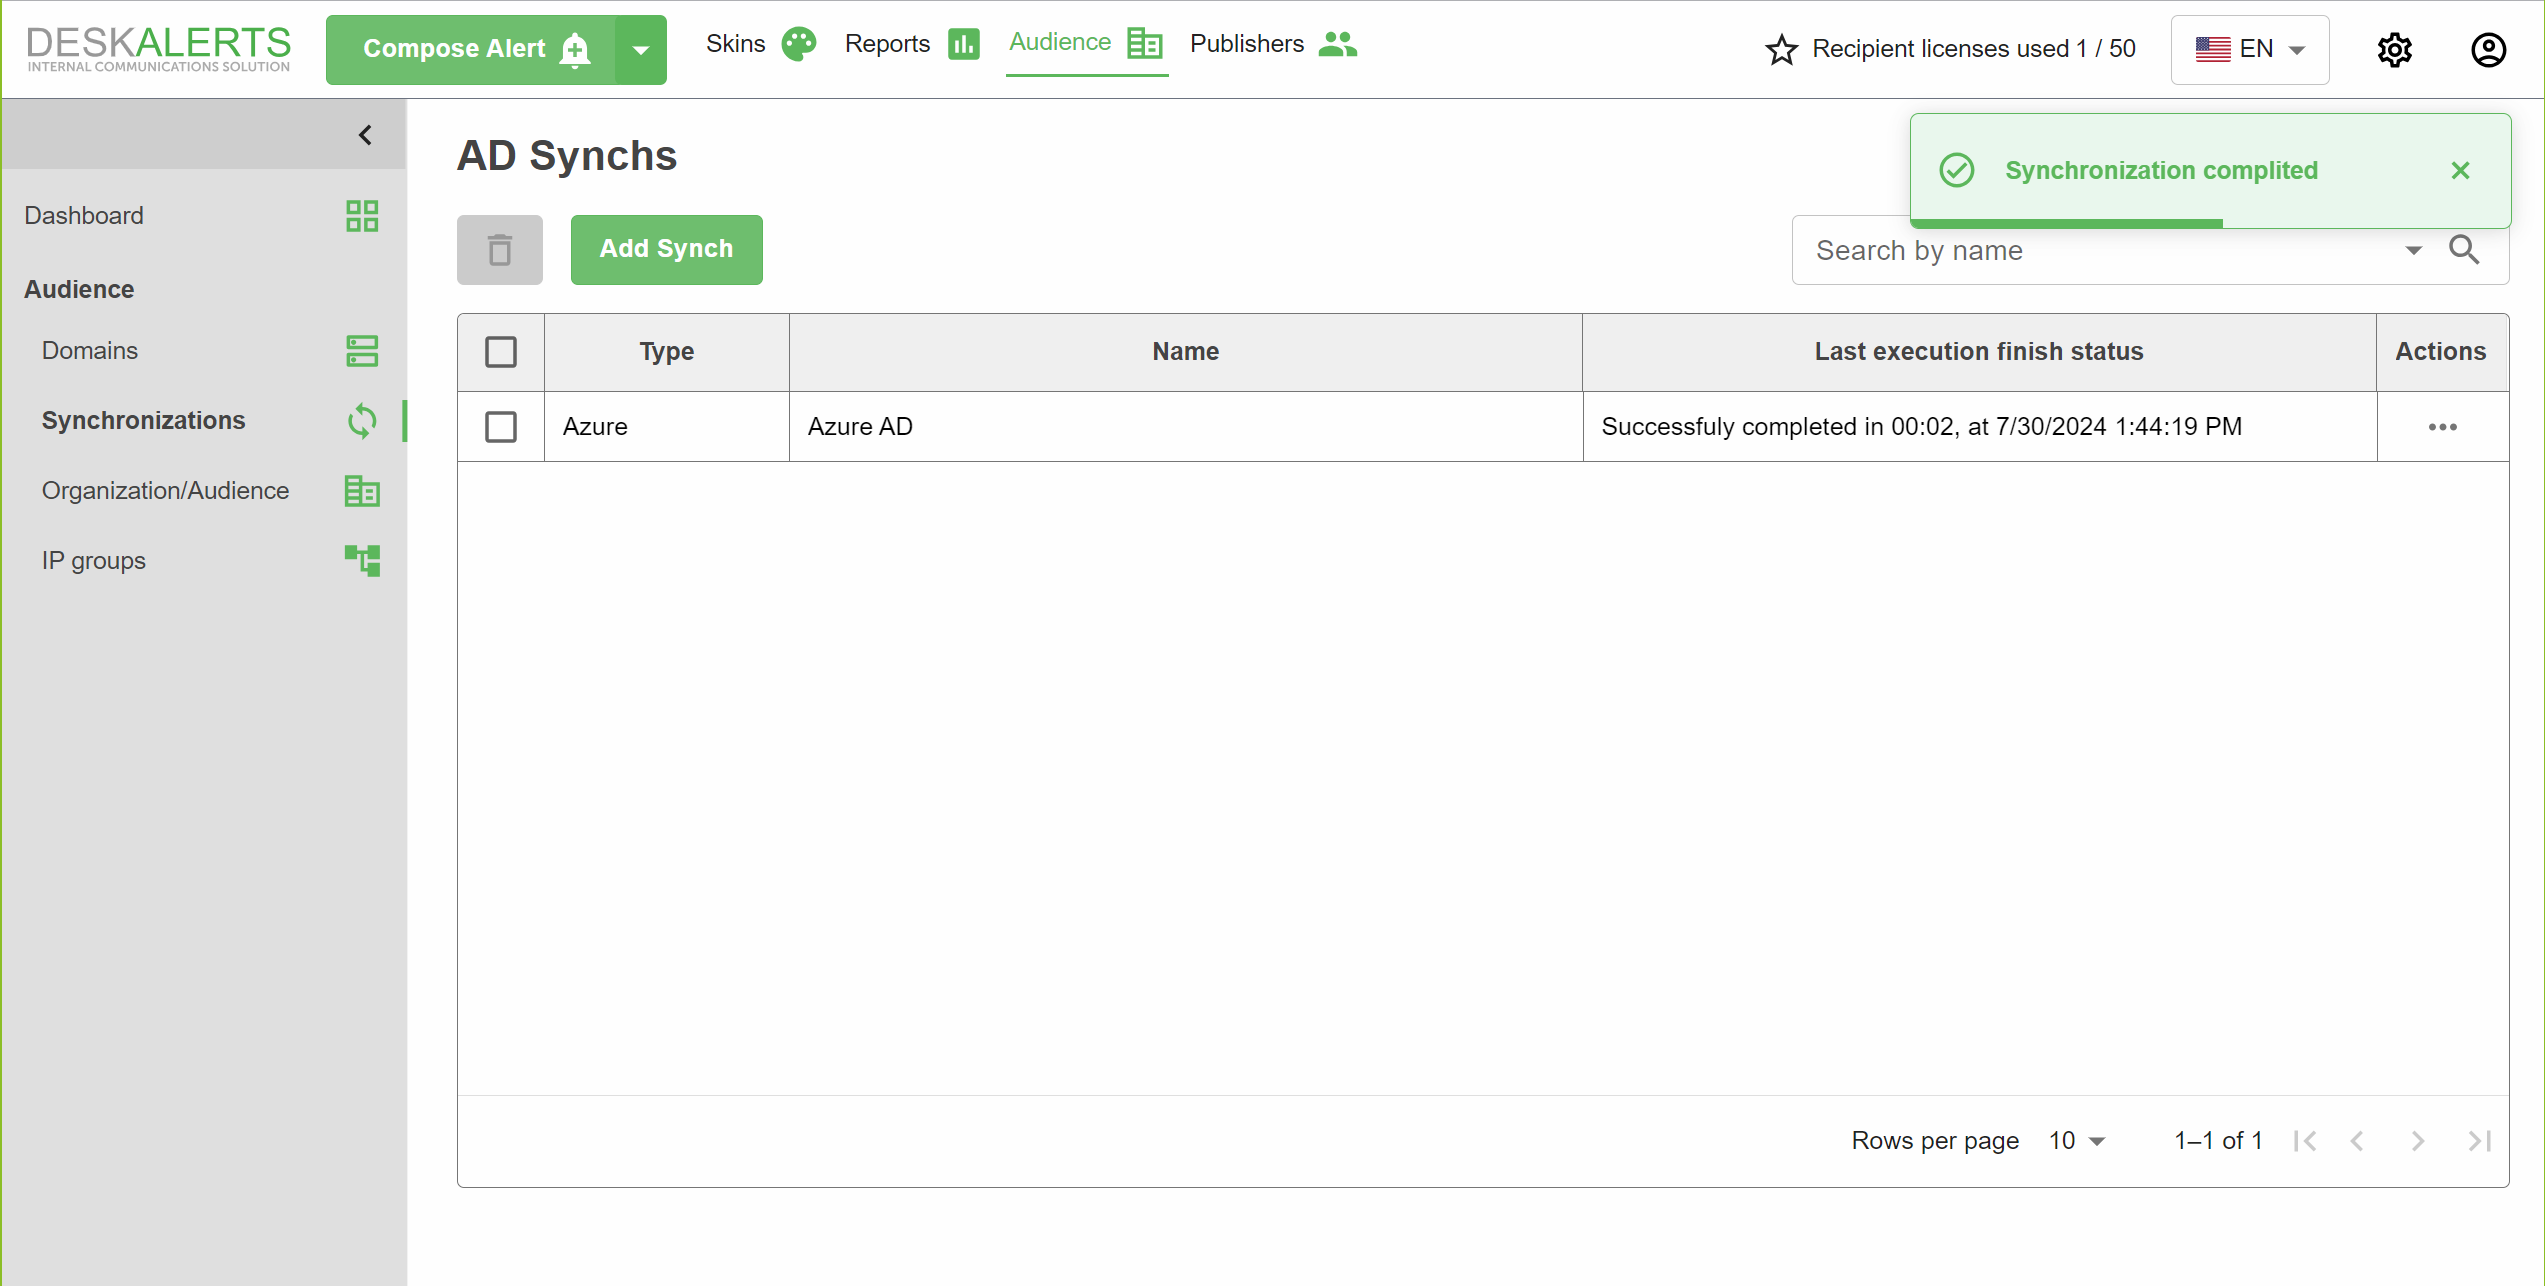
To start the Synch press three dots button and select Start synch
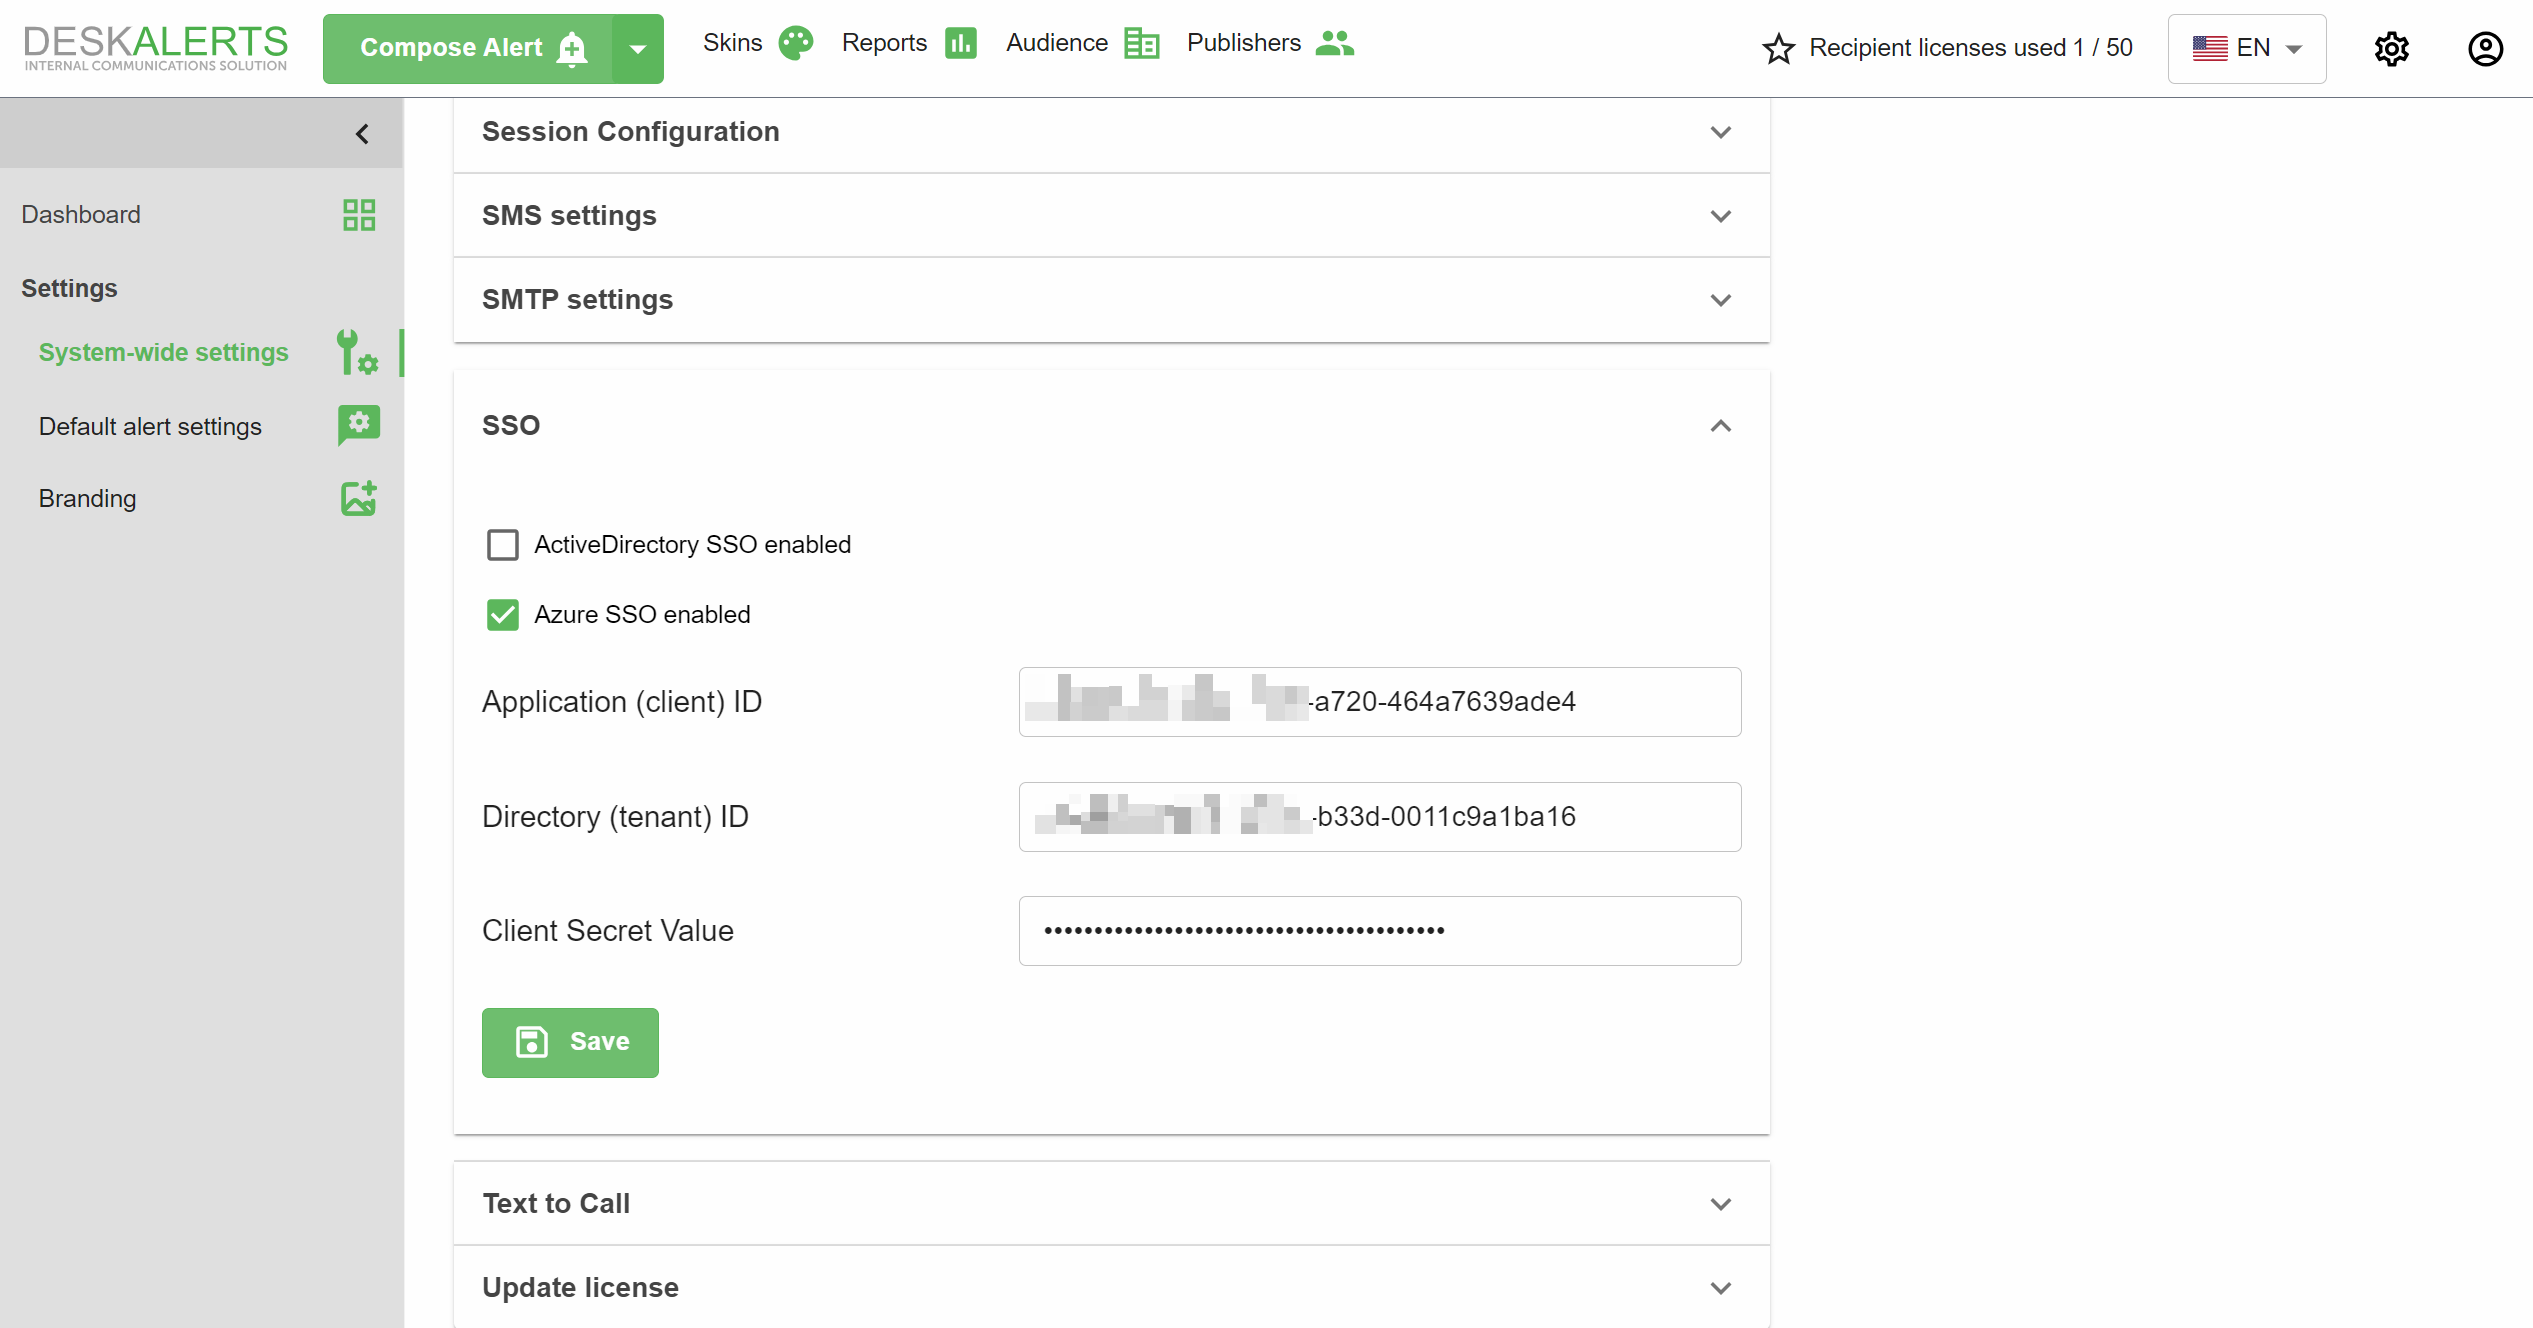
Configure SSO for publishers
- Navigate to Settings → SSO
- Enable the Azure SSO option
- Fill in the required fields and click Save
- Directory (tenant) ID
- Application (client) ID
- Client secret value
Add a Publisher
To enable Azure SSO for a publisher, you must manually add the publisher account to DeskAlerts using the same User Principal Name (UPN) as in Azure Active Directory.
For example, if the publisher’s UPN is john.doe@contosocorp.onmicrosoft.com, follow these steps:
- Log in to DeskAlerts as an administrator.
- Navigate to Publishers → Add Publisher.
- Enter the exact UPN (e.g., john.doe@contosocorp.onmicrosoft.com) in the Name field.
- Enter any placeholder password (this password will not be used for authentication).
- Select the appropriate user type (Admin or Publisher).
- If you select Publisher, assign a policy as required.
- Click OK to save.
The UPN must exactly match the one used in Azure Active Directory for SSO to work correctly.