DeskAlerts Agent Installation
Overview
This guide describes how to install the DeskAlerts Agent on end-user devices. The DeskAlerts Agent is a lightweight application that receives alerts and messages from the DeskAlerts Server and displays them on the user’s screen, ensuring fast and reliable communication across the organization.
Installation Prerequisites
Network Requirements
By default, the DeskAlerts 11 Agent connects to the server using TCP port 443.
If the server is configured with additional connection services (which is required for deployments with more than 7,000 agent devices), the agent application will use both port 443 and TCP ports 40000–40010 to communicate with the server.
- Manual installation
- Installation using Command Line
Manual Installation
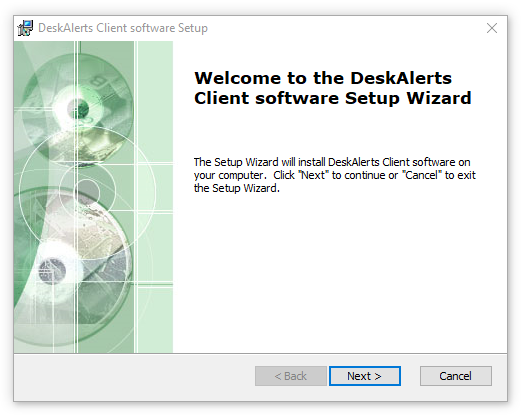
Step 1: Launch the Installer
Run the DeskAlerts Agent installer (.msi) file. The DeskAlerts Agent Setup Wizard welcome screen will appear. Click Next to continue.
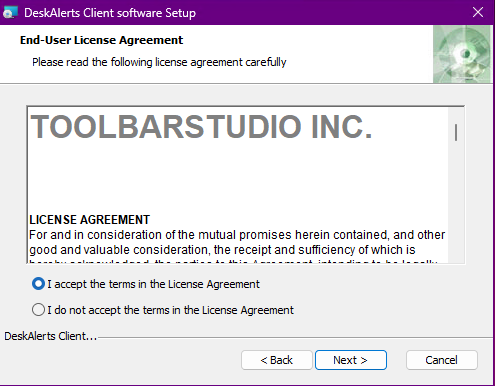
Step 2: Accept the License Agreement
Read the End User License Agreement. To proceed with the installation, select I accept the terms in the License Agreement, then click Next.
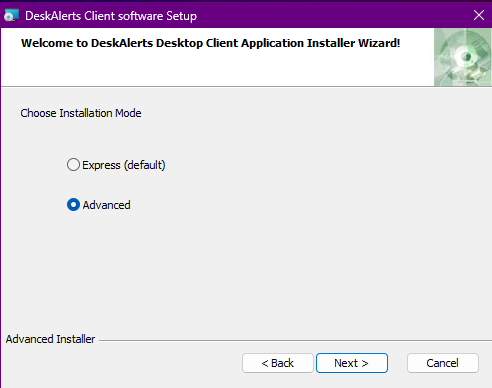
Step 3: Choose the Installation Mode
Select the desired DeskAlerts Agent installation mode:
- Express Mode – Installs the application using the Simple user registration method and default configuration parameters.
- Advanced Mode – Allows you to choose a different registration type and customize additional installation options.
Choose the appropriate mode based on your deployment scenario, then click Next to proceed.
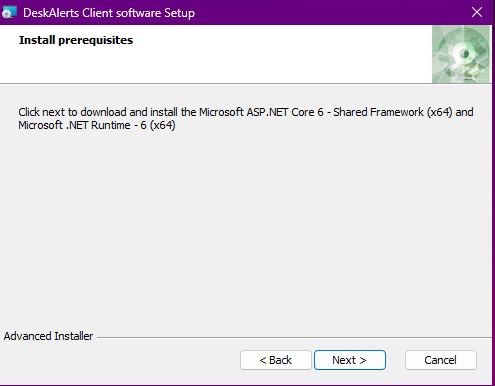
Step 4: Install Required Components
The installer will check for required prerequisites. If any components are missing, they will be automatically downloaded and installed. If already present, the system will validate them in the background.
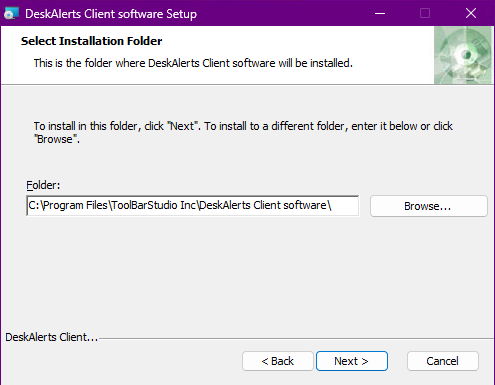
Step 5: Choose Installation Path
You may change the default installation directory if needed. Click Next to continue.
Step 6: Enter the Server URL
Provide the DeskAlerts Server URL that the agent will connect to. Ensure the URL uses the HTTPS protocol. Click Next.

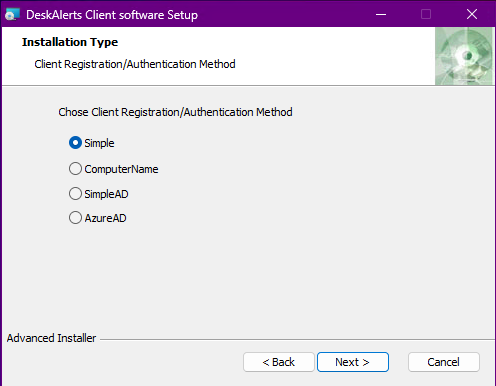
Step 7: Select Registration Method
Choose how users will be registered/authenticated with the DeskAlerts Server. Available options:
- Simple Registration – Prompts the user to create a new account (available only in Mixed mode on the server).
- ComputerName – Registers the user based on the host/computer name.
- Simple Active Directory – Registers users based on their Active Directory attributes.
- AzureAD – Registers users using Azure Active Directory attributes.
- Seamless – A fully non-interactive method introduced xin version 11.5.0.0. Automatically uses the current Windows username and computer name to create both user and computer objects in the Audience.
- SeamlessHybridUserAD - Registers users in hybrid Azure AD environments by matching
Environment.UserNamewith theOnPremisesUserPrincipalNamevalue stored in the user profile. Authentication is performed using the user’sBase64-encoded SIDas the password. Requires pre-synchronization of user properties in the DeskAlerts database.
When using the AzureAD registration type, users will be prompted to confirm their identity via Microsoft MFA upon first launch of the DeskAlerts Client. This is a standard part of the Azure authentication flow.
Click Next to proceed.
Step 8: Select Additional Options
You can enable optional modules:
- Wallpaper
- Lockscreen
- Screensaver
Enabling these options will also install the DeskAlerts Windows Service, which modifies specific system registry entries.

⚠️ In version 11.3.0.x, the option Enable sending alert on locked screen is not available for Windows 11. Please leave this option at its default “No” setting when installing on Windows 11 systems.
Click Next to continue.
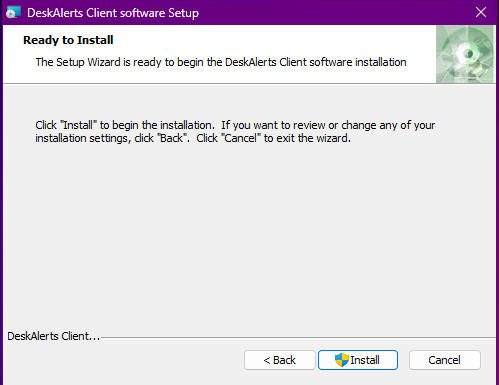
Step 9: Start Installation
Click Install to begin the installation process.
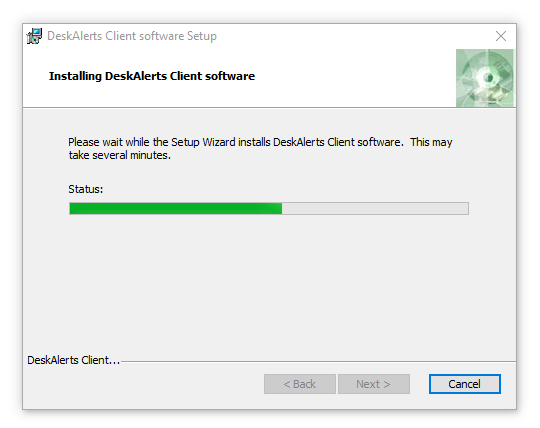
Step 10: Installing DeskAlerts Agent
The installer will copy files and configure the system. This may take a few moments.
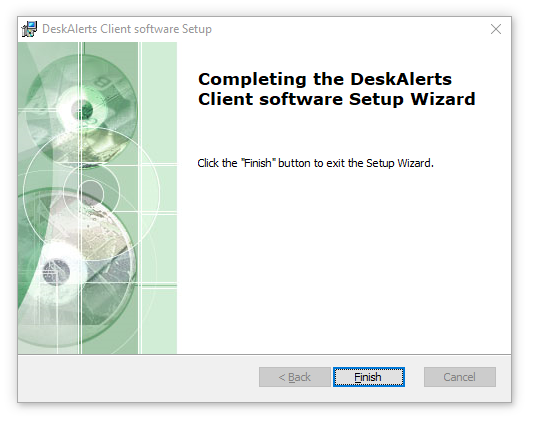
Step 11: Complete the Installation
When the installation is complete, click Finish to close the wizard. The DeskAlerts Agent is now installed and ready for use.
Installing DeskAlerts Agent in Quiet/Silent Mode (Command Line)
System administrators can install or uninstall the DeskAlerts Agent in quiet mode using the Windows command line. This method is ideal for mass deployment using centralized endpoint management systems such as Microsoft SCCM, Intune, or Group Policy.
Example Command
msiexec /i "DeskAlertsClient11.x.x.x.msi" ALLOWING_UNTRUSTED_SSL=true REGISTRATION_TYPE=0 BASE_URL=https://YOURSERVERURL/DeskAlerts DELETEPROFILE=1 /qn /quiet /lv log.txt
Parameter Breakdown
| Parameter | Description |
|---|---|
REGISTRATION_TYPE | Defines the user registration method |
BASE_URL | Specifies the URL of your DeskAlerts Server (e.g., https://server.company.com/DeskAlerts). |
ALLOWING_UNTRUSTED_SSL=true | Optional. Allows agents to connect to servers with self-signed or invalid SSL certificates. Skip if your server has a valid certificate. |
DELETEPROFILE=1 | Removes the user’s local alert history and content from previous installations. Default if omitted. |
APPDIR="C:\Path\To\Install" | (Optional) Specifies the installation directory. |
ENABLE_SERVICE=true | Installs the DeskAlerts Windows Service for Wallpaper, Lockscreen, and Screensaver features. |
DISABLE_WP_LS_SS=true | Disables Wallpaper, Lockscreen, and Screensaver functionality. |
/qn /quiet | Installs the application silently, with no user interface. |
/lv log.txt | Creates a detailed log file of the installation process. |
REGISTRATION_TYPE Values
| Value | Registration Type | Description |
|---|---|---|
| 0 | Simple | Prompts user for manual registration (login/password). |
| 1 | ComputerName | Uses the device hostname as the user ID. |
| 2 | SimpleAD | Automatically registers users using Active Directory (AD) attributes. |
| 3 | AzureAD | Automatically registers users using Azure Active Directory attributes. |
| 5 | Seamless | Automatically registers using current Windows user and device (silent). |
| 6 | SeamlessHybridUserAD | Registers users in hybrid Azure AD environments. |
When using the AzureAD registration type, users will be prompted to confirm their identity via Microsoft MFA upon first launch of the DeskAlerts Client. This is a standard part of the Azure authentication flow.
Additional Parameters
| Parameter | Description |
|---|---|
AI_DESKTOP_SH=0 | Prevents creation of a desktop shortcut |
AI_STARTMENU_SH=0 | Prevents creation of a Start Menu shortcut |
DISABLE_TRAY_MENU=true | Permanently hides the system tray menu, overriding server-side settings |
Uninstalling DeskAlerts Agent in Quiet/Silent Mode
To uninstall the DeskAlerts Agent silently (without user interaction), use the following command:
msiexec /x "DeskAlertsClient11.x.x.x.msi" /qn /quiet /lv log.txt
Parameters:
/x– Uninstalls the specified MSI package./qnor/quiet– Runs the uninstallation in silent mode (no UI)./lv log.txt– Generates a verbose log file for troubleshooting purposes.
💡 Ensure the path to the .msi file matches the version installed on the system.
Connecting DeskAlerts Agent to DeskAlerts Server
User credentials are not required for the following authentication types:
- ComputerName
- Seamless
- Simple AD If one of these methods is used, you may skip to Step 2.
Step 1: Register the User (For Simple Registration Only)
On first launch, the DeskAlerts Agent will display a registration form. Fill in the following fields:
- Username (required)
- Password (required)
- Email (optional)
- Mobile phone (optional)

Click Submit to complete registration.
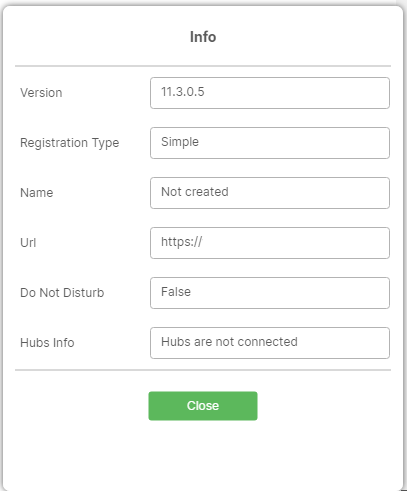
Step 2: Verify client-server Connectivity
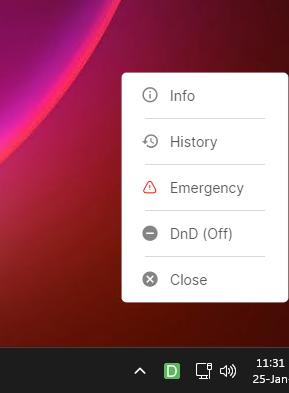
- Right-click the DeskAlerts icon in the Windows system tray.
- Select the Info menu option.
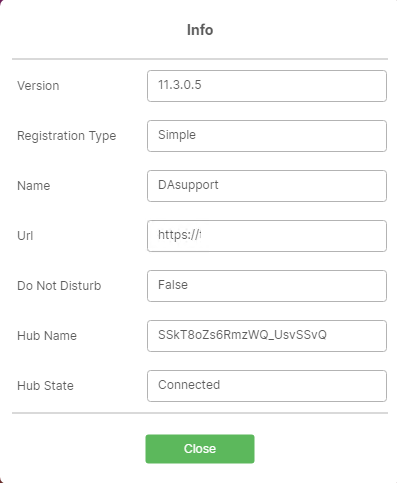
- In the Info window, review the following fields to confirm connection status:
- Hub State – should display a connected status.
- Name – should show the assigned device or user identity.
If the information is correct, the DeskAlerts Agent is successfully connected to the server.
Troubleshooting Connectivity Issues
If the Hub State shows “Hubs are not connected” or the Name field displays “Not created”, it may indicate:
- The DeskAlerts Server is not reachable.
- The SSL certificate used by the server is not trusted by the agent.
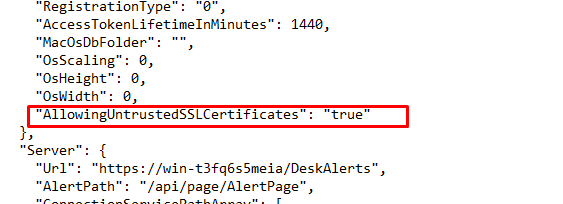
Workaround for Untrusted SSL Certificates
To allow the DeskAlerts Agent to connect to a server with an untrusted SSL certificate, follow these steps:
-
Open the following file as an Administrator:
C:\Program Files\ToolBarStudio Inc\DeskAlerts Client software\DeskAlertsClient\appsettings.json -
Locate the line containing
ALLOWING_UNTRUSTED_SSL. -
Change the value to true:
"ALLOWING_UNTRUSTED_SSL": true -
Save the file and restart the DeskAlerts Agent.
⚠️ Use this option only in trusted internal environments where certificate validation can be bypassed safely.