Installing DeskAlerts Agent on macOS
This guide explains how to install the DeskAlerts Agent on macOS devices. Unlike the Windows version, the macOS installer file cannot be customized during installation — all configuration parameters (such as the server URL and registration type) are embedded in the .pkg file.
Before installation, make sure to provide the DeskAlerts Support team (support@deskalerts.com) with your desired server URL and registration method. They will generate a customized installation package for your organization.
Installation Steps
Step 1: Launch the Installer
Double-click the .pkg file you received from the DeskAlerts Support team to begin the installation.
You’ll be guided through the necessary steps by the macOS Installer wizard.
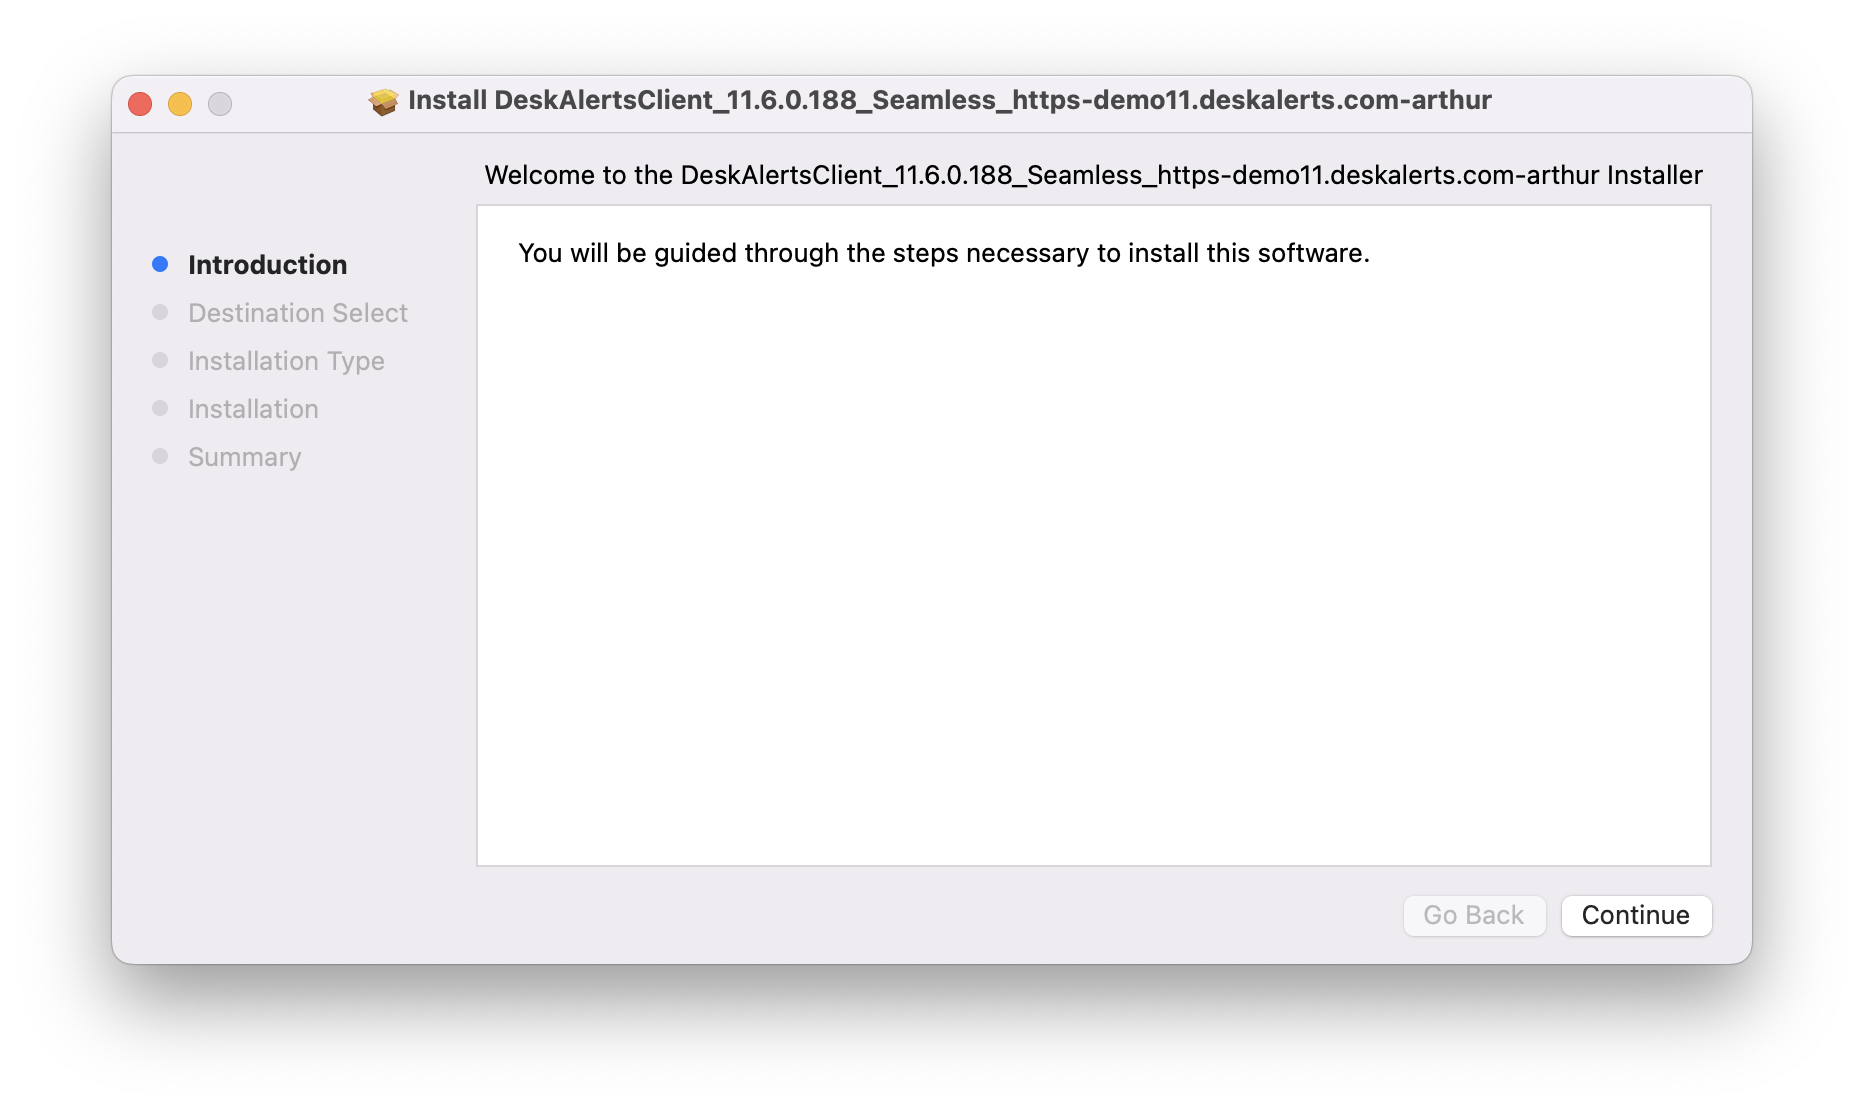
Step 2: Follow the Installation Wizard
Proceed through the standard macOS installation steps:
- Introduction — Click Continue.
- Destination Select — Choose the target disk (usually Macintosh HD), then click Continue.
- Installation Type — Click Install.
- Installation — Wait for the process to complete.
- Summary — Once the installation is complete, click Close.
💡 No additional configuration is needed during the installation process.
Step 3: Verify the Agent
After installation, the DeskAlerts Agent will launch automatically. A green “D” icon will appear in the macOS menu bar.
This indicates that the agent has successfully connected to the DeskAlerts Server.

Step 4: Check Connection Info
To verify the agent connection:
- Right-click the DeskAlerts icon in the menu bar.
- Select Info.
- Review the following information:
- Version
- Registration Type
- Name
- Server URL
- Hub State (should be Connected)
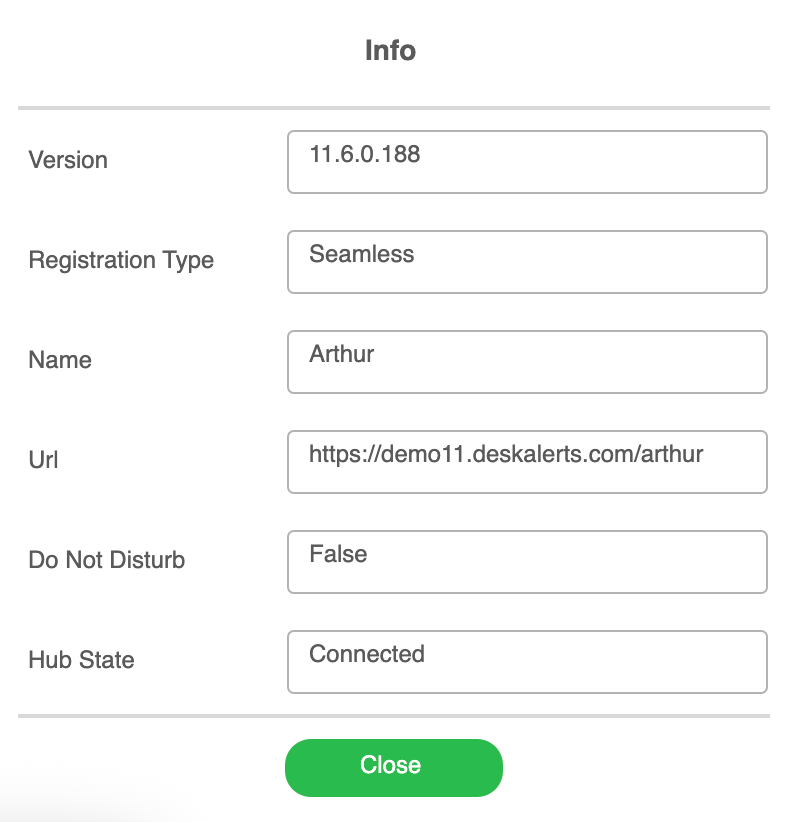
If everything looks correct, the agent is fully installed and connected.