Audience explorer
Overview
Audience explorer is the recipient directory of the DeskAlerts web portal. Use it to browse everyone an alert can reach — users, bundles, groups, organizational units, computers, and IP ranges — check who is online, and assemble a targeted audience before creating an alert. Instead of picking recipients inside the alert composer, you collect them here in the Selected audience panel and start the alert with the audience already filled in.
The page is available under Everyday communications → Audience explorer in the left navigation panel.
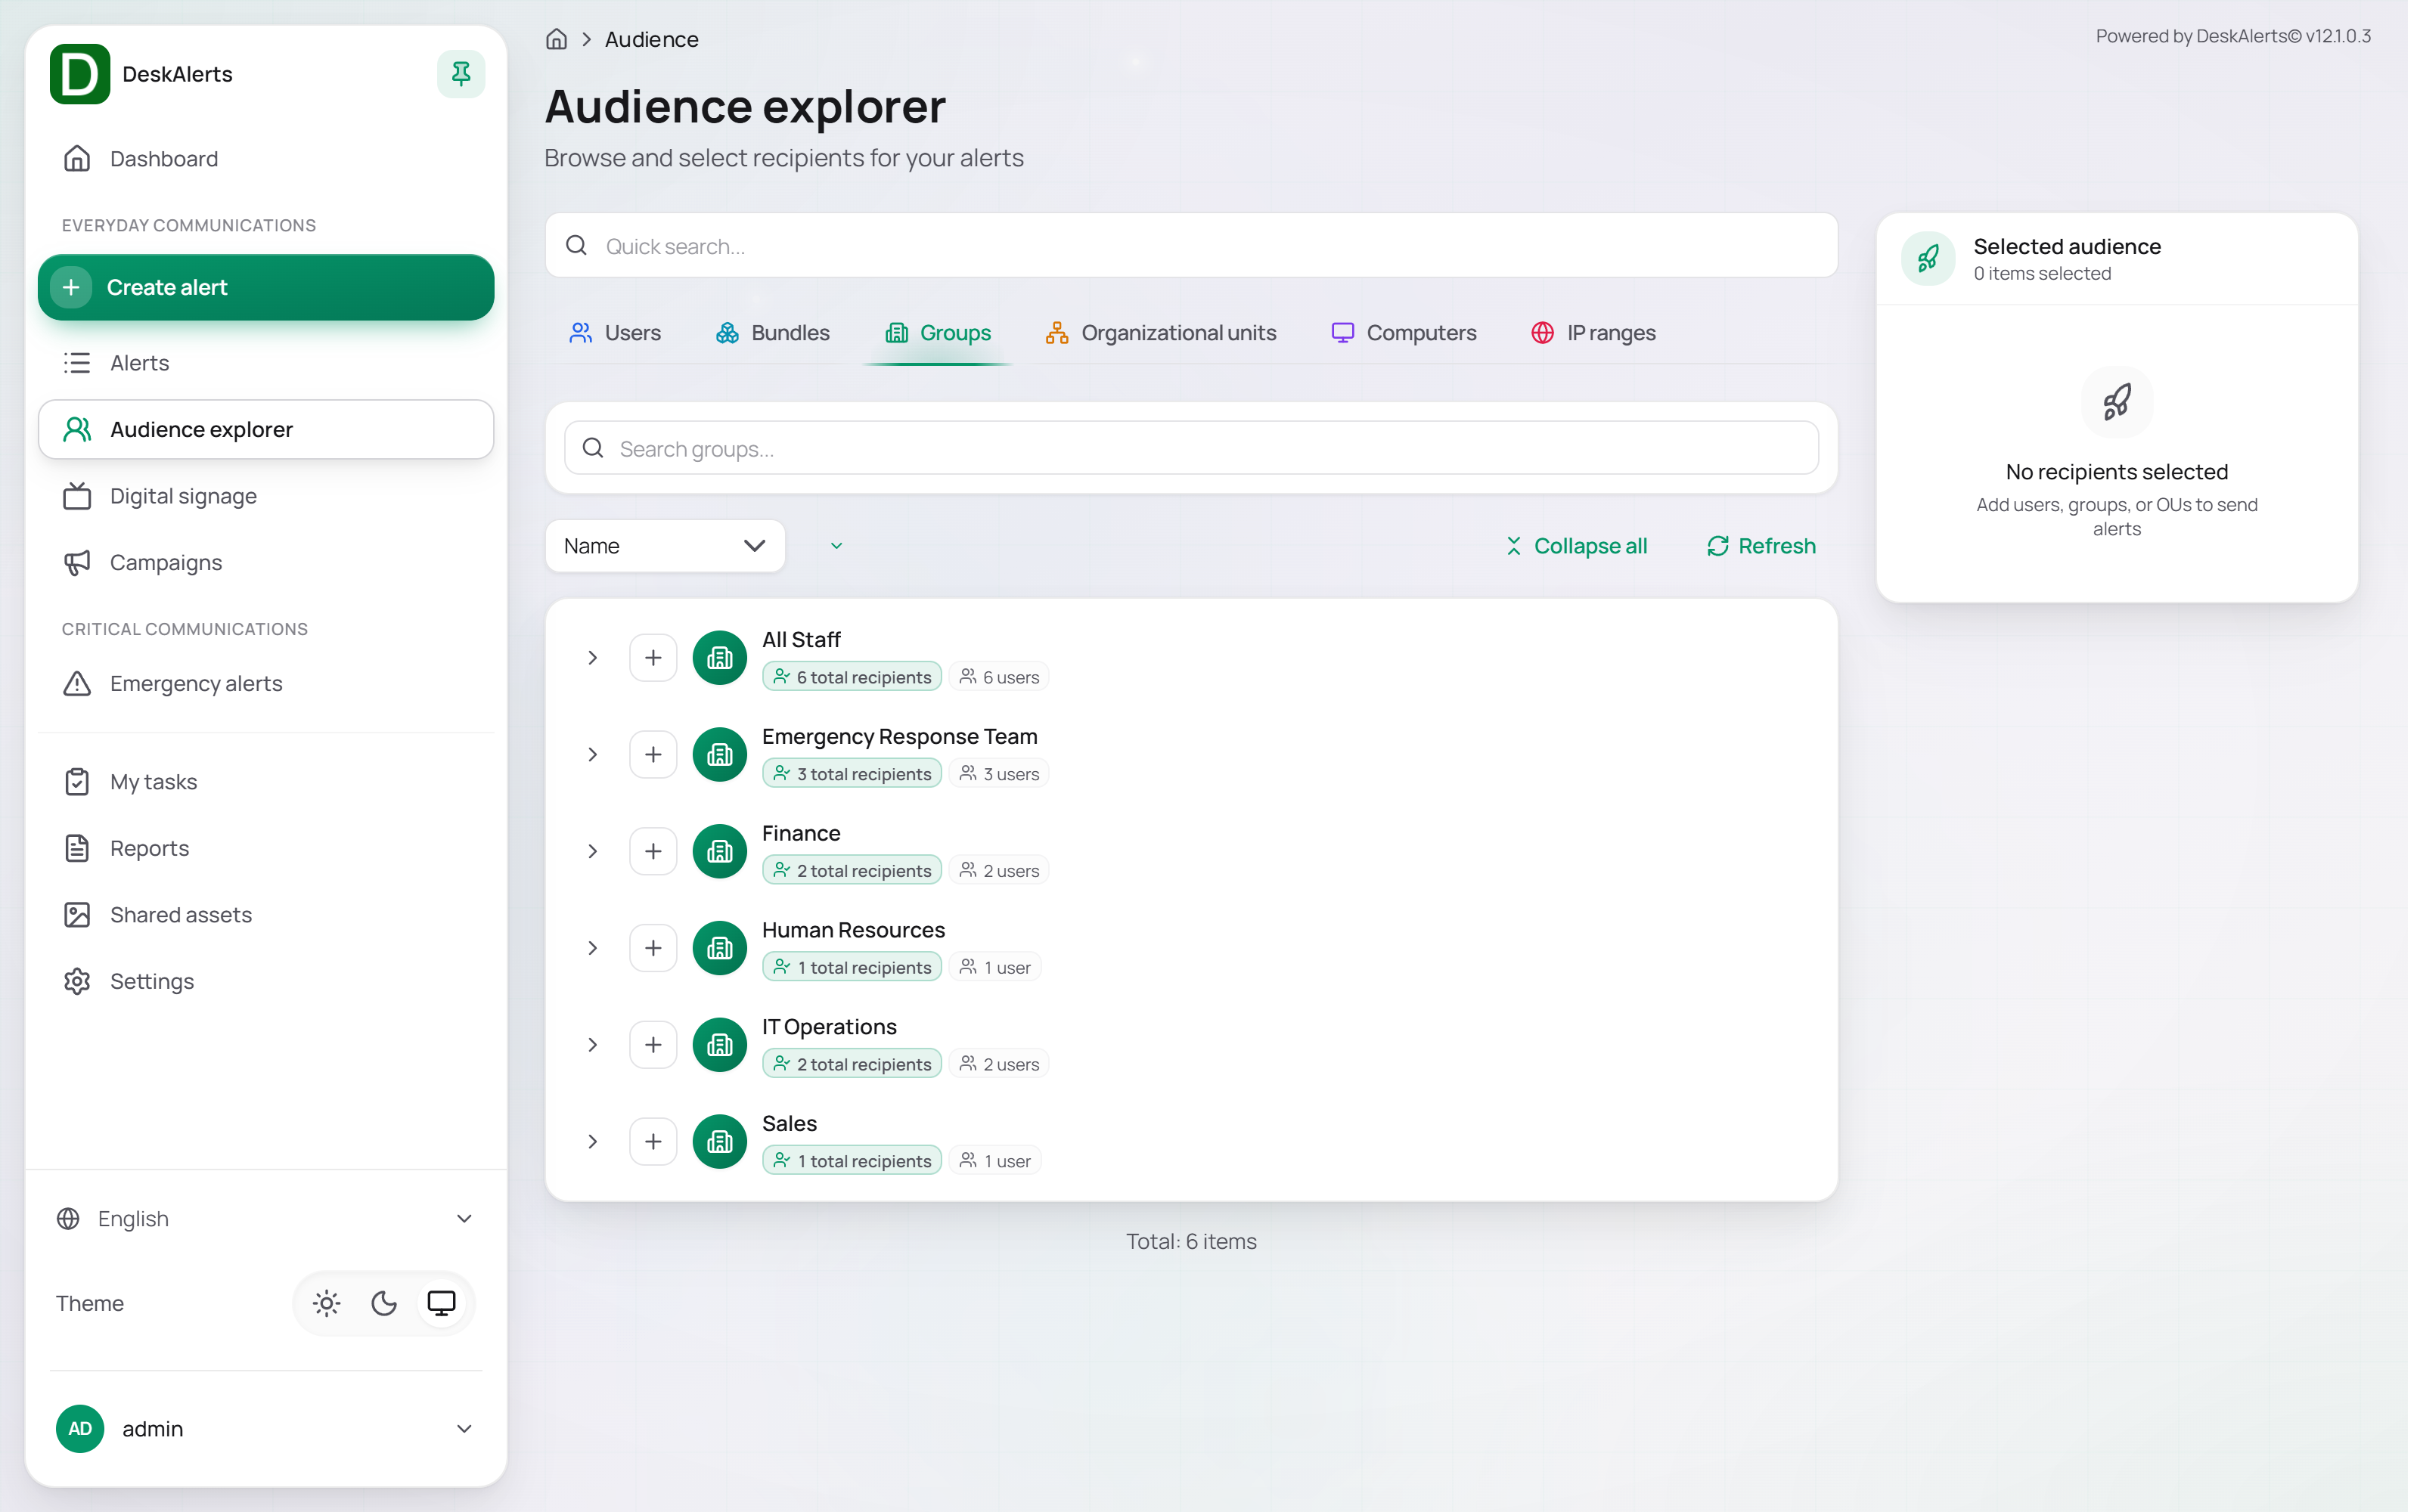 The Audience explorer page
Page layout
| Area | Description |
|---|---|
| Directory tabs | Users, Bundles, Groups, Organizational units, Computers, and IP ranges — one tab per recipient type. See Directory tabs |
| Tab toolbar | A search box for the current tab, a sort selector (Name), Collapse all (Groups and Organizational units), and Refresh |
| List | The recipients of the selected type. The footer shows the total number of items (Total: 6 items) |
| Selected audience | The panel on the right where added recipients accumulate. See Selected audience panel |
Every row in the directory has an Add to selected audience button on the right. Click it to add the recipient to the Selected audience; the row is highlighted while the recipient is selected. The current tab is reflected in the page URL (for example, /audience?tab=users), so a tab can be bookmarked.
Directory tabs
Groups
The Groups tab lists the user groups known to the server — groups synchronized from the directory (for example, Active Directory) and groups created under Settings → Users & access → Static audience setup (in the demo organization: All Staff, Emergency Response Team, Finance, Human Resources, IT Operations, Sales).
| Element | Description |
|---|---|
| Group name | The name of the group; click the row to expand it and show its members |
| Membership summary | The number of recipients the group resolves to and how many of them are users (for example, 4 total recipients · 4 users) |
| Add to selected audience | Adds the whole group to the Selected audience |
Expand a group to see its members. Each member row shows the display name, login and email, the last activity, and the current Online / Offline status, with its own Add to selected audience button, so you can add individual members instead of the whole group.
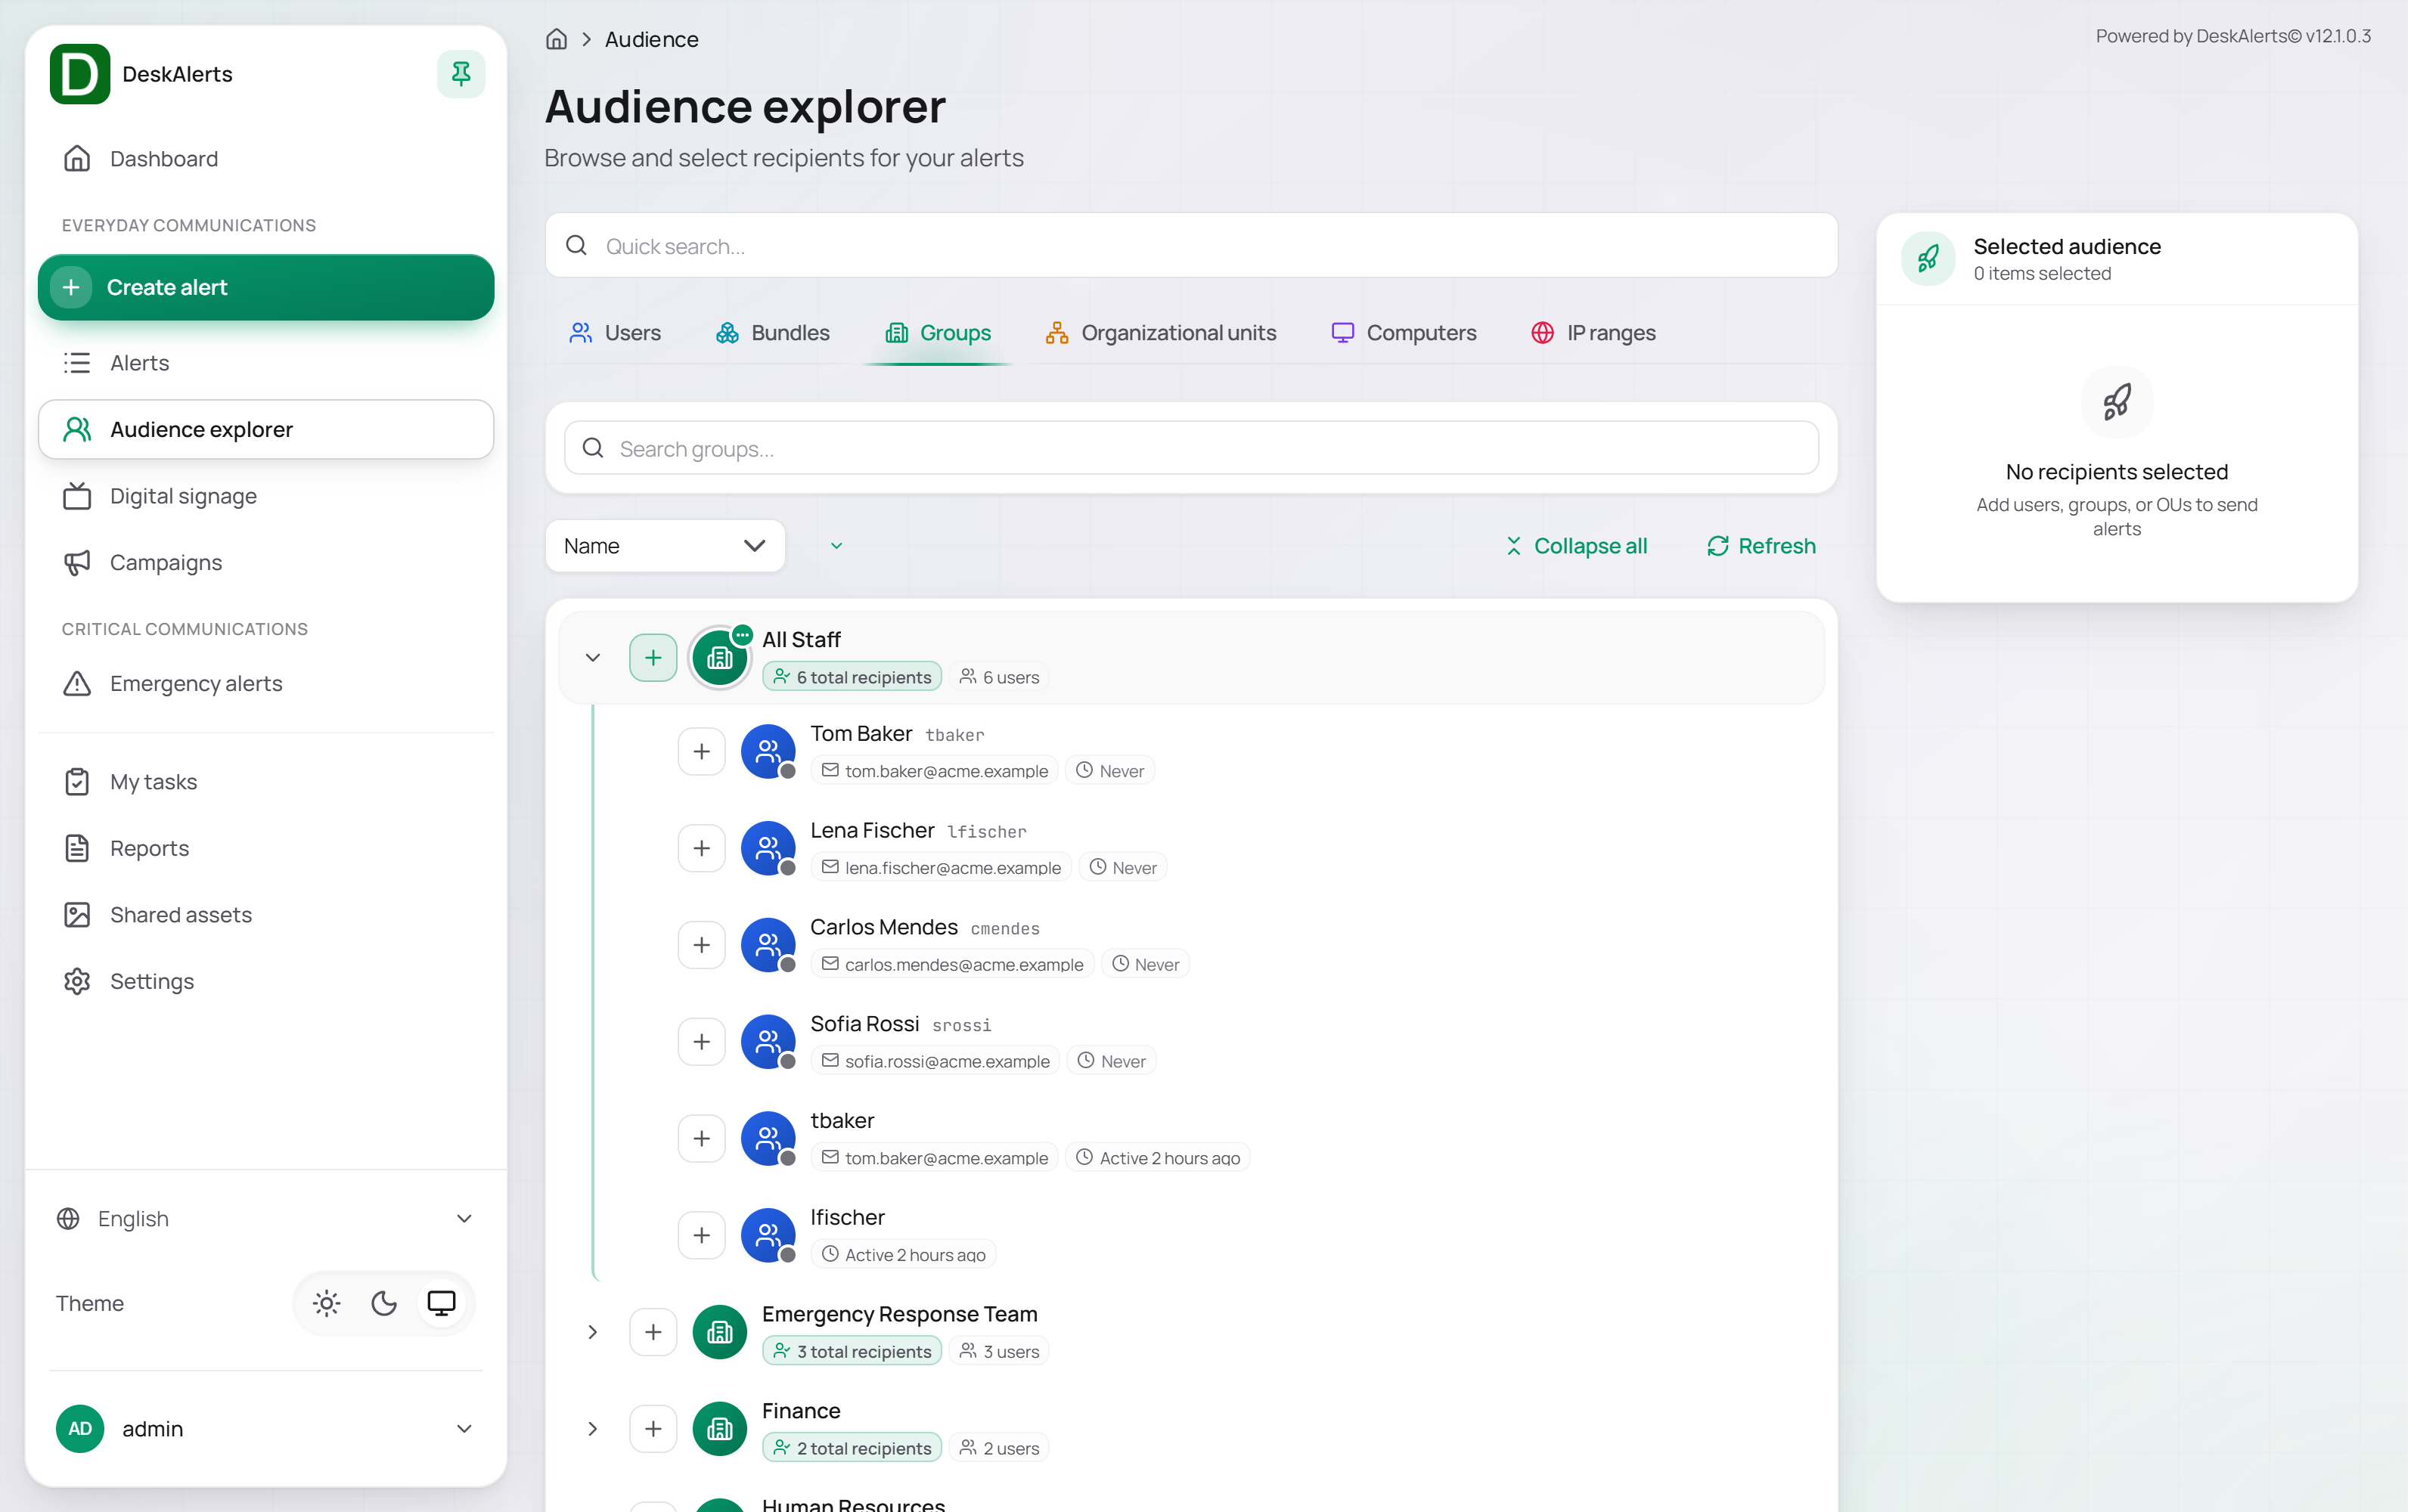 An expanded group with its members
The toolbar of the Groups tab offers Search groups…, sorting by Name (with the arrow next to the selector switching between ascending and descending order), Collapse all to close every expanded group, and Refresh.
Users
The Users tab is a flat list of every registered user.
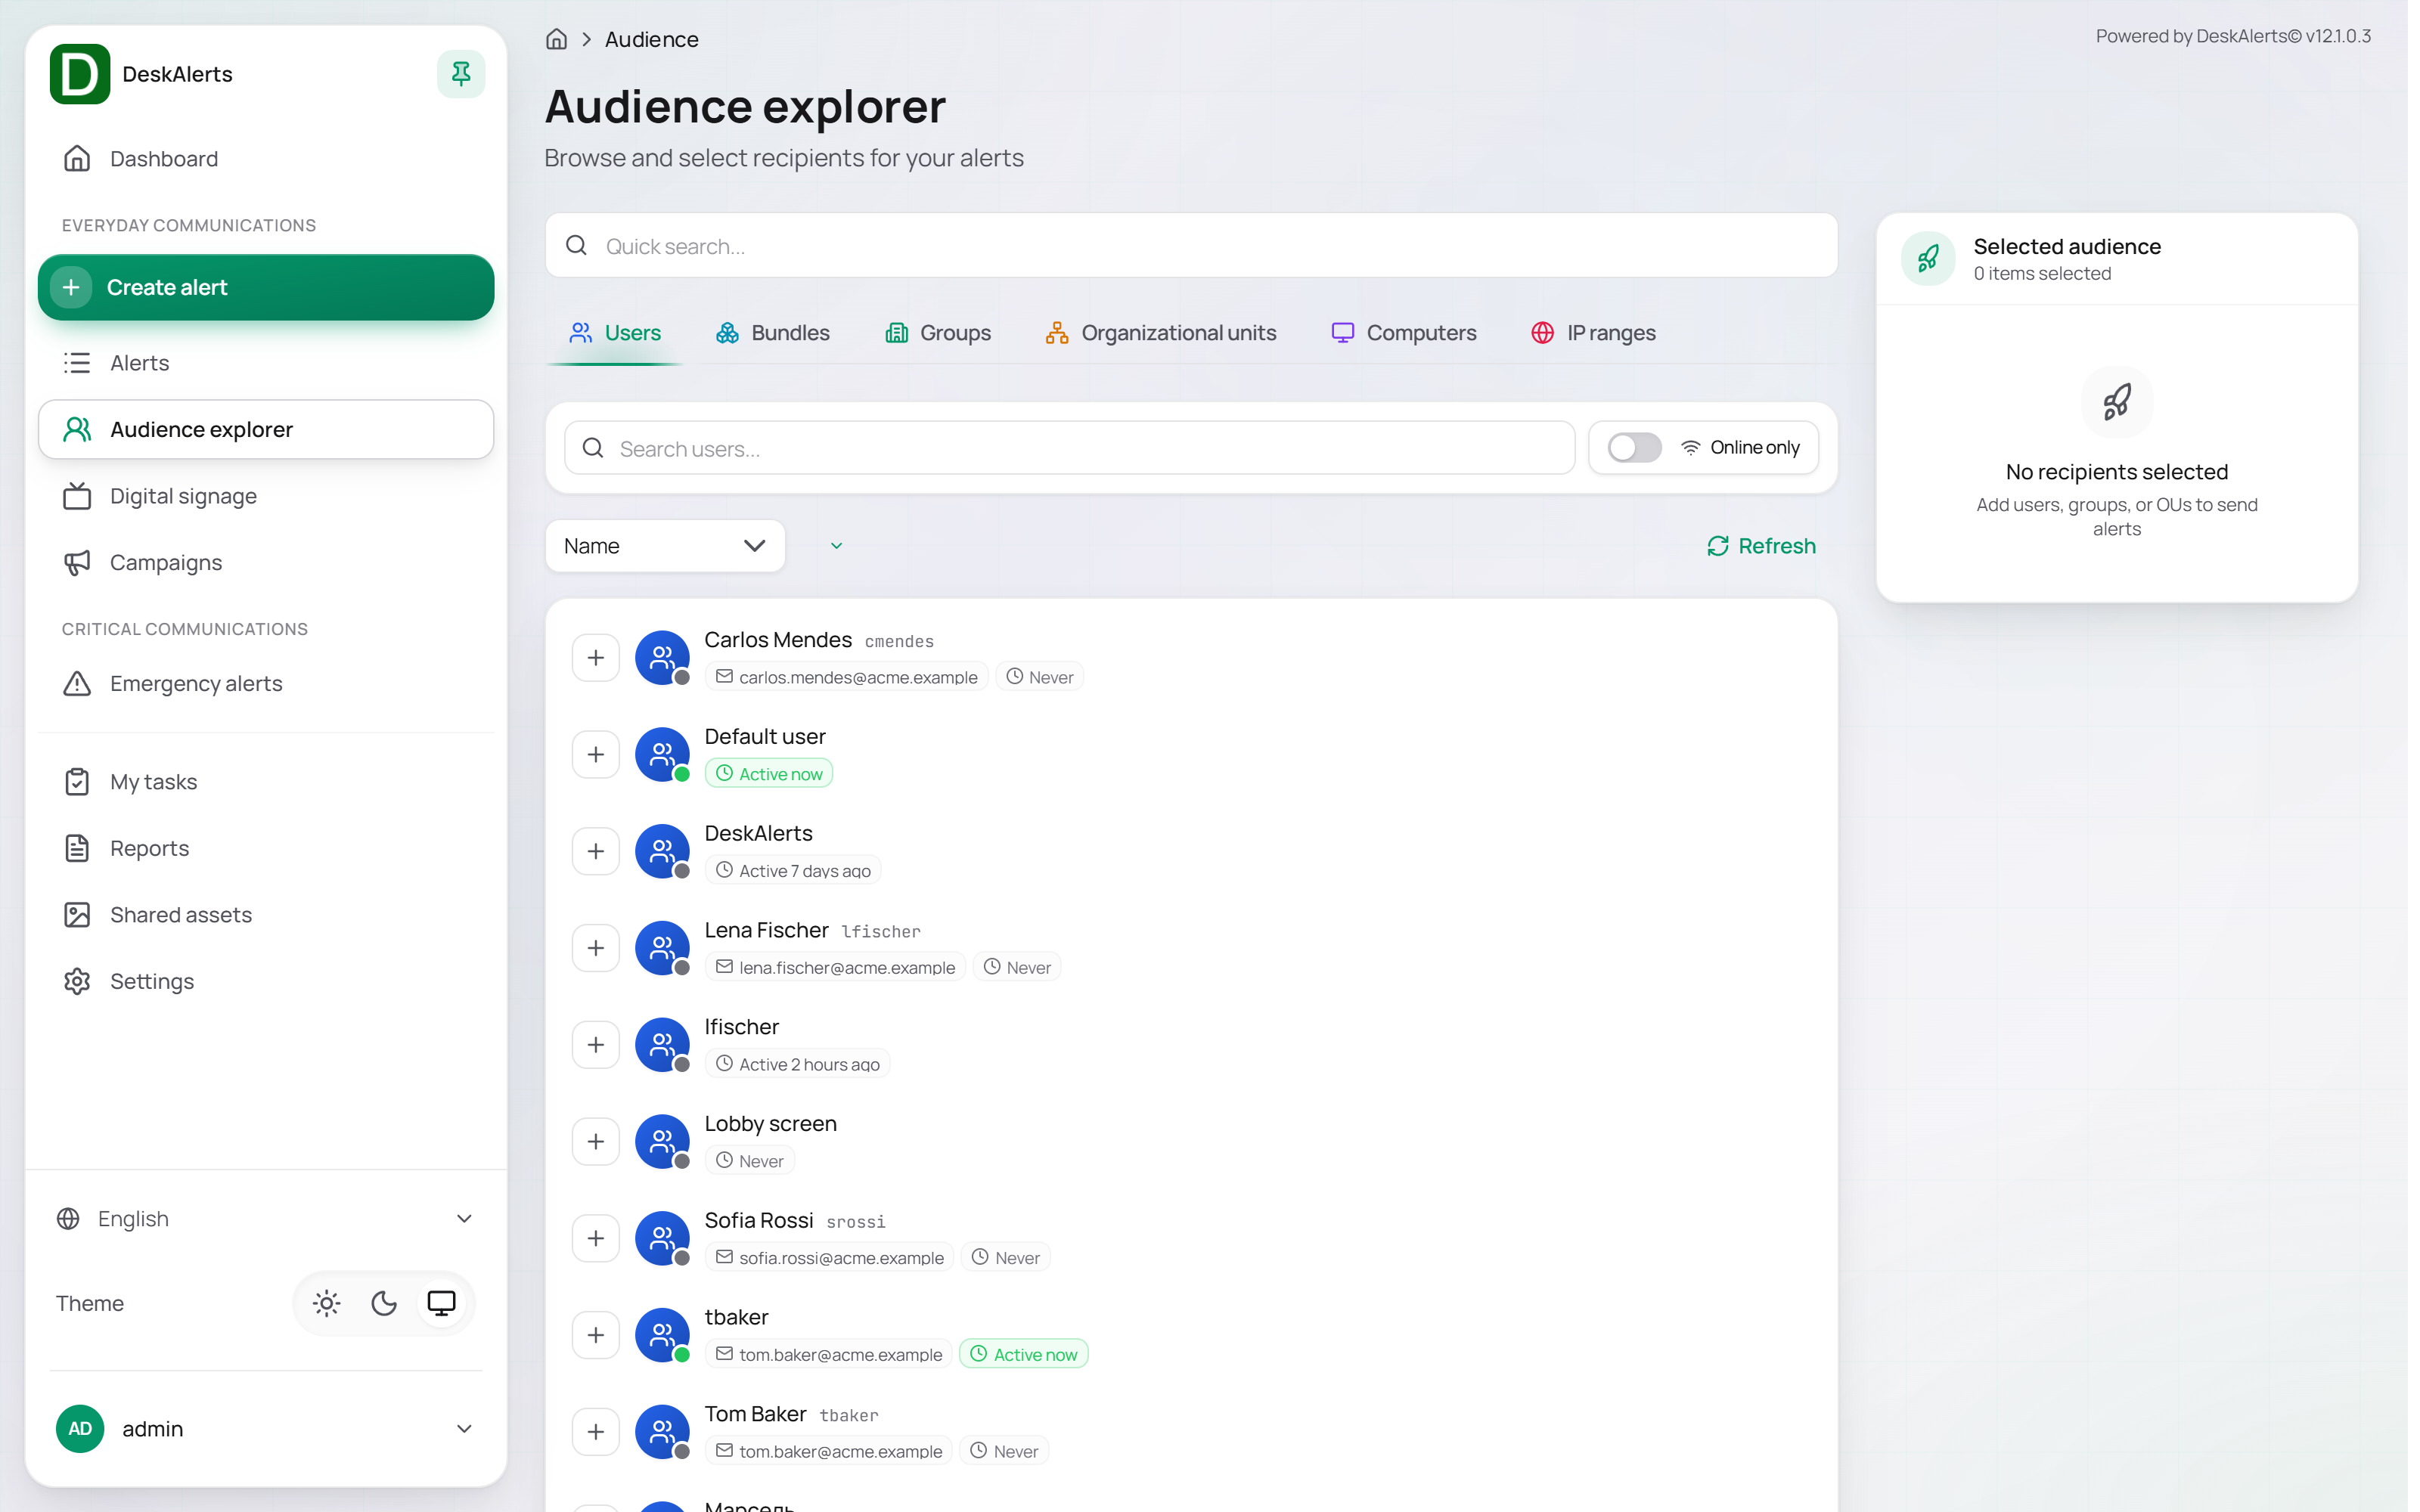
| Element | Description |
|---|---|
| Display name, login, and email | The user's name, login, and email address |
| Last activity | When the user's agent was last active (Active now for a connected agent, Never for a user who has not signed in yet) |
| Online / Offline | Whether the user's agent is connected right now |
| Open card | Opens the user's card |
| Add to selected audience | Adds the user to the Selected audience |
Bundles, Organizational units, Computers, and IP ranges
| Tab | Content |
|---|---|
| Bundles | Saved combinations of recipients |
| Organizational units | The organizational units synchronized from the directory; expand an OU to drill down into its child OUs, groups, and users |
| Computers | The computers on which the DeskAlerts agent is installed, with their online status |
| IP ranges | The IP groups defined under Settings → Users & access → Static audience setup → IP groups (for example, Head office) |
On a server without a directory synchronization the Organizational units tab is empty.
Selected audience panel
The Selected audience panel on the right collects the recipients you add from any tab. Recipients of different types can be combined freely — a group, an OU, several users, and a computer can all be targeted by one alert.
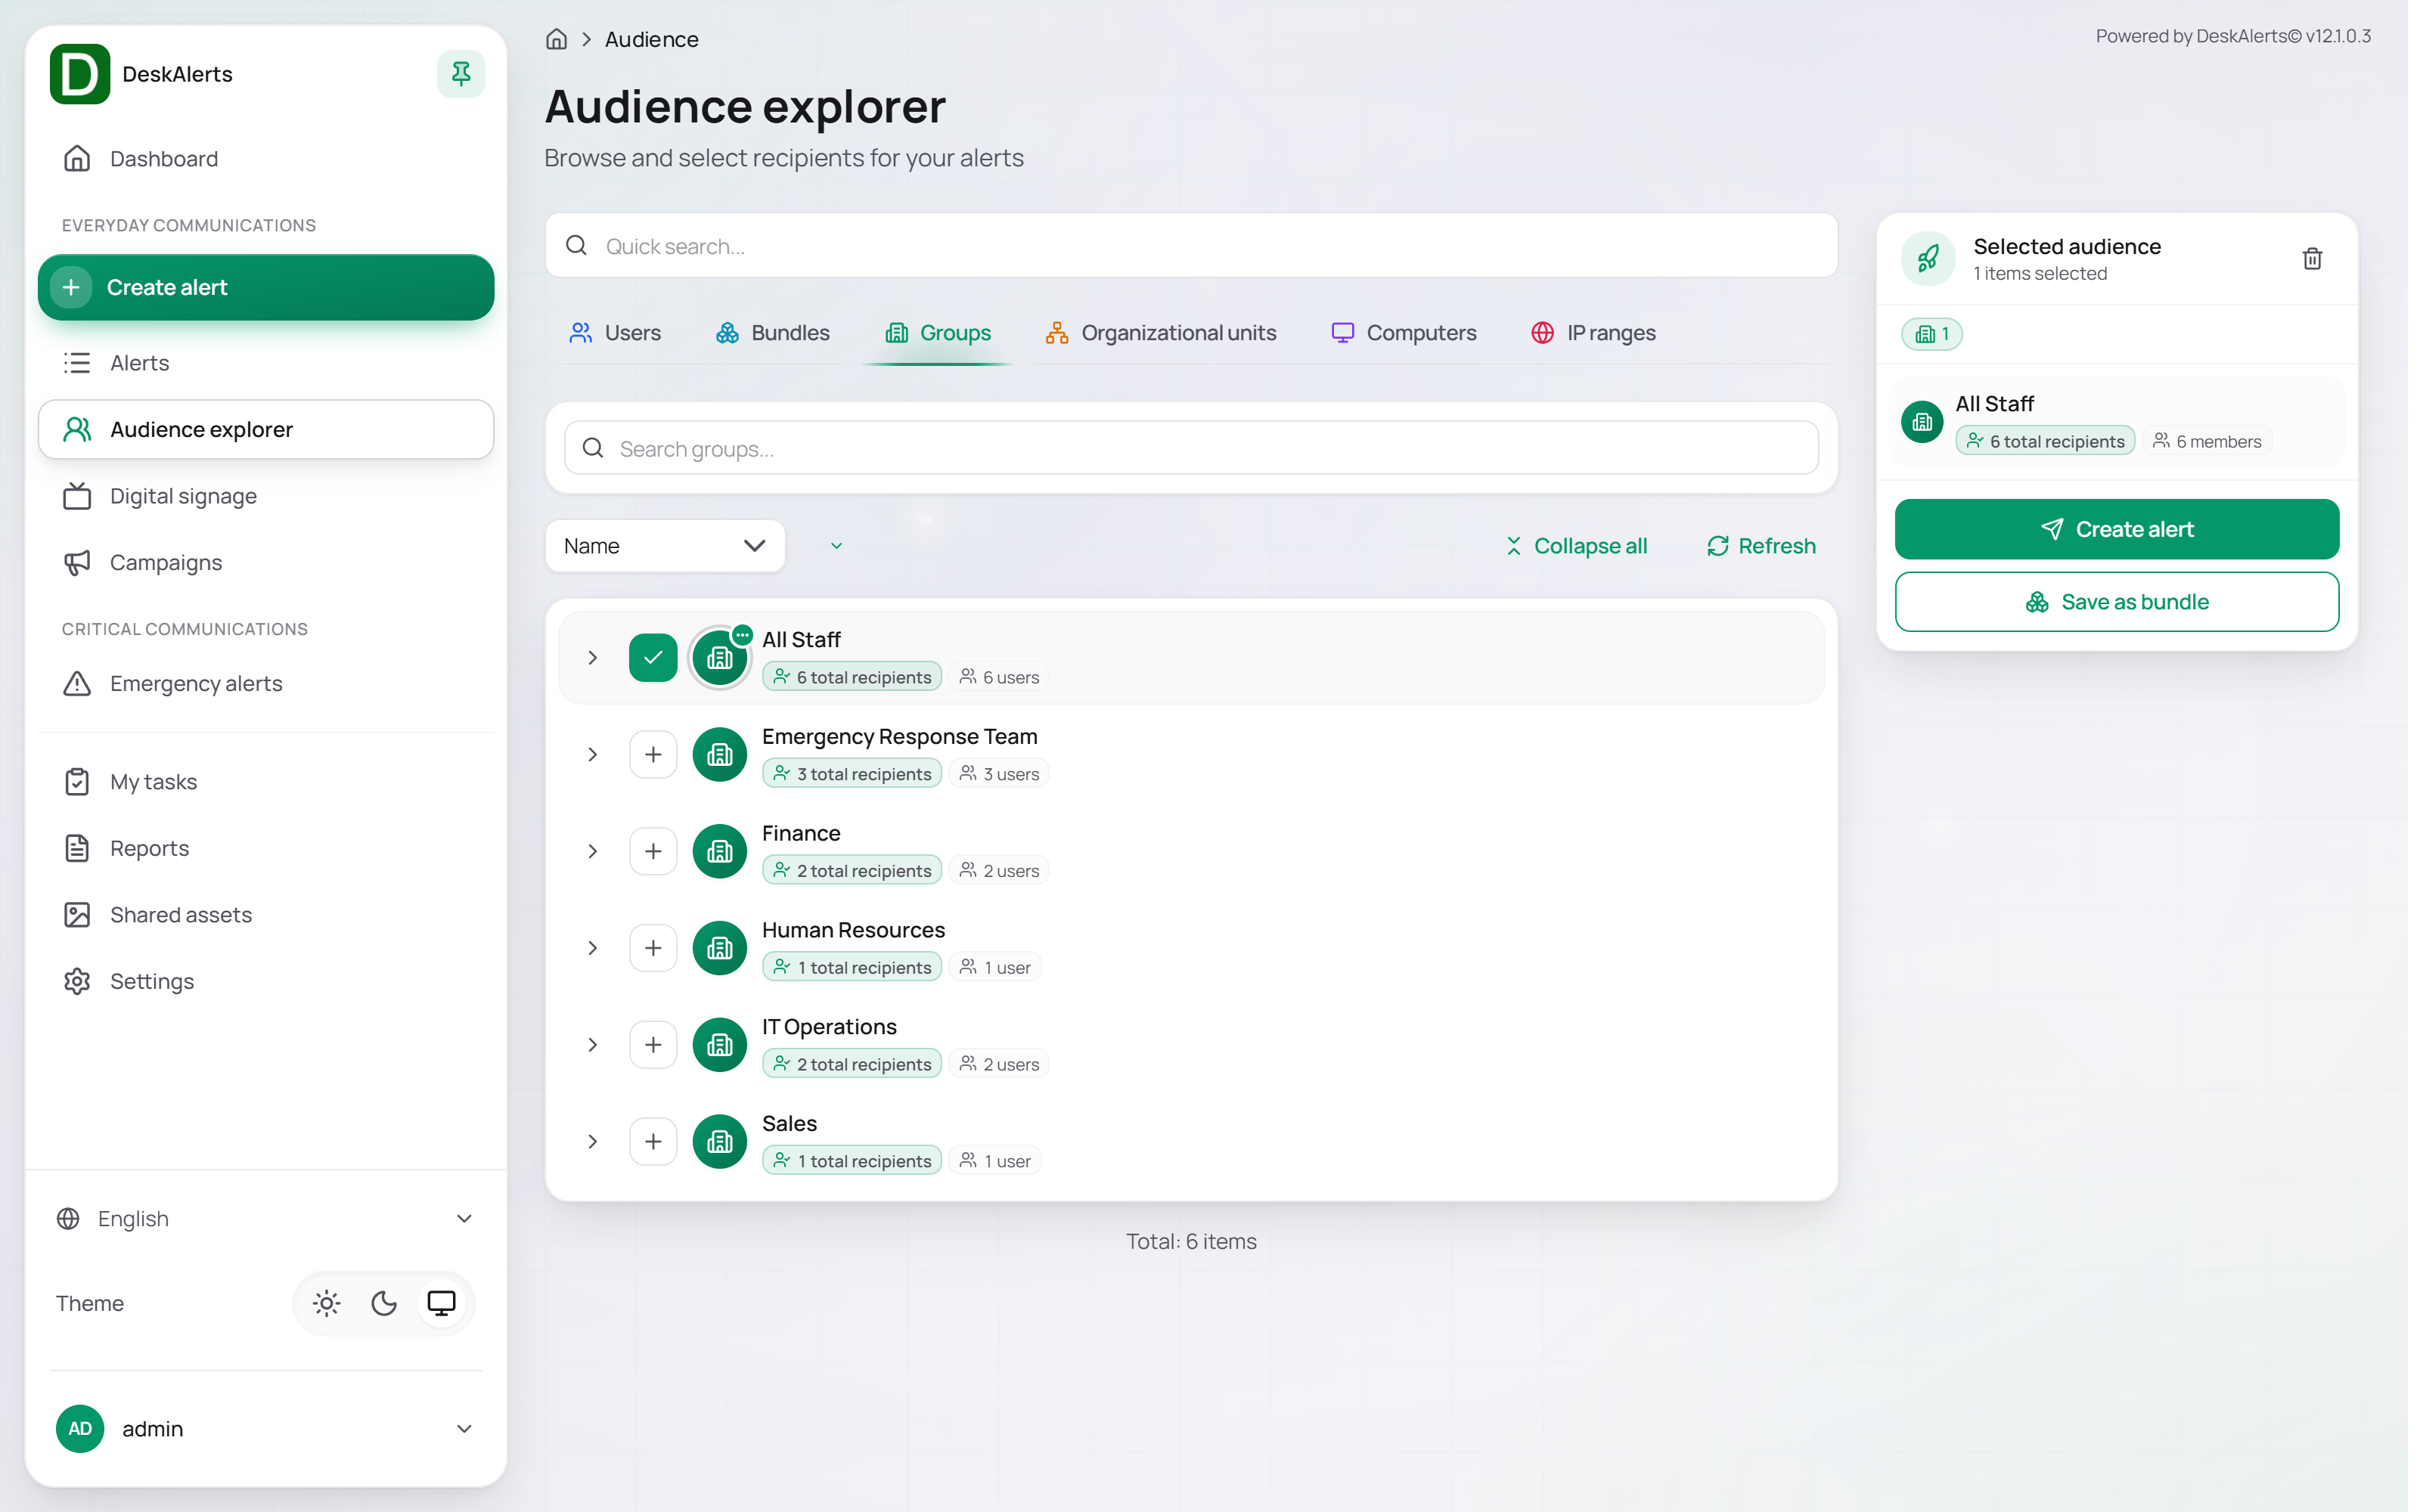 The Selected audience panel with the All Staff group
| Element | Description |
|---|---|
| Header | The number of selected items (0 items selected — No recipients selected when empty) |
| Item list | One row per selected recipient with its icon and name; remove a row with its × |
| Create alert | Starts a new alert for the selected audience. The button appears as soon as at least one recipient is selected |
Note: The selection lives on this page only. It is not kept when you navigate to another page of the web portal.
Creating an alert for the selected audience
- Add recipients to the Selected audience.
- Click Create alert. The Create alert dialog lists the alert types in three categories — Core alerts (Popup, Content Plus, Scrolling ticker, Video), Interactive (Meeting, RSVP, Survey/quiz/poll, Microtraining), and Ambient (Wallpaper, Lock screen, Screensaver).
- Click an alert type. The creation page opens with the Recipients section already filled in with your selection, so you can go straight to the content.
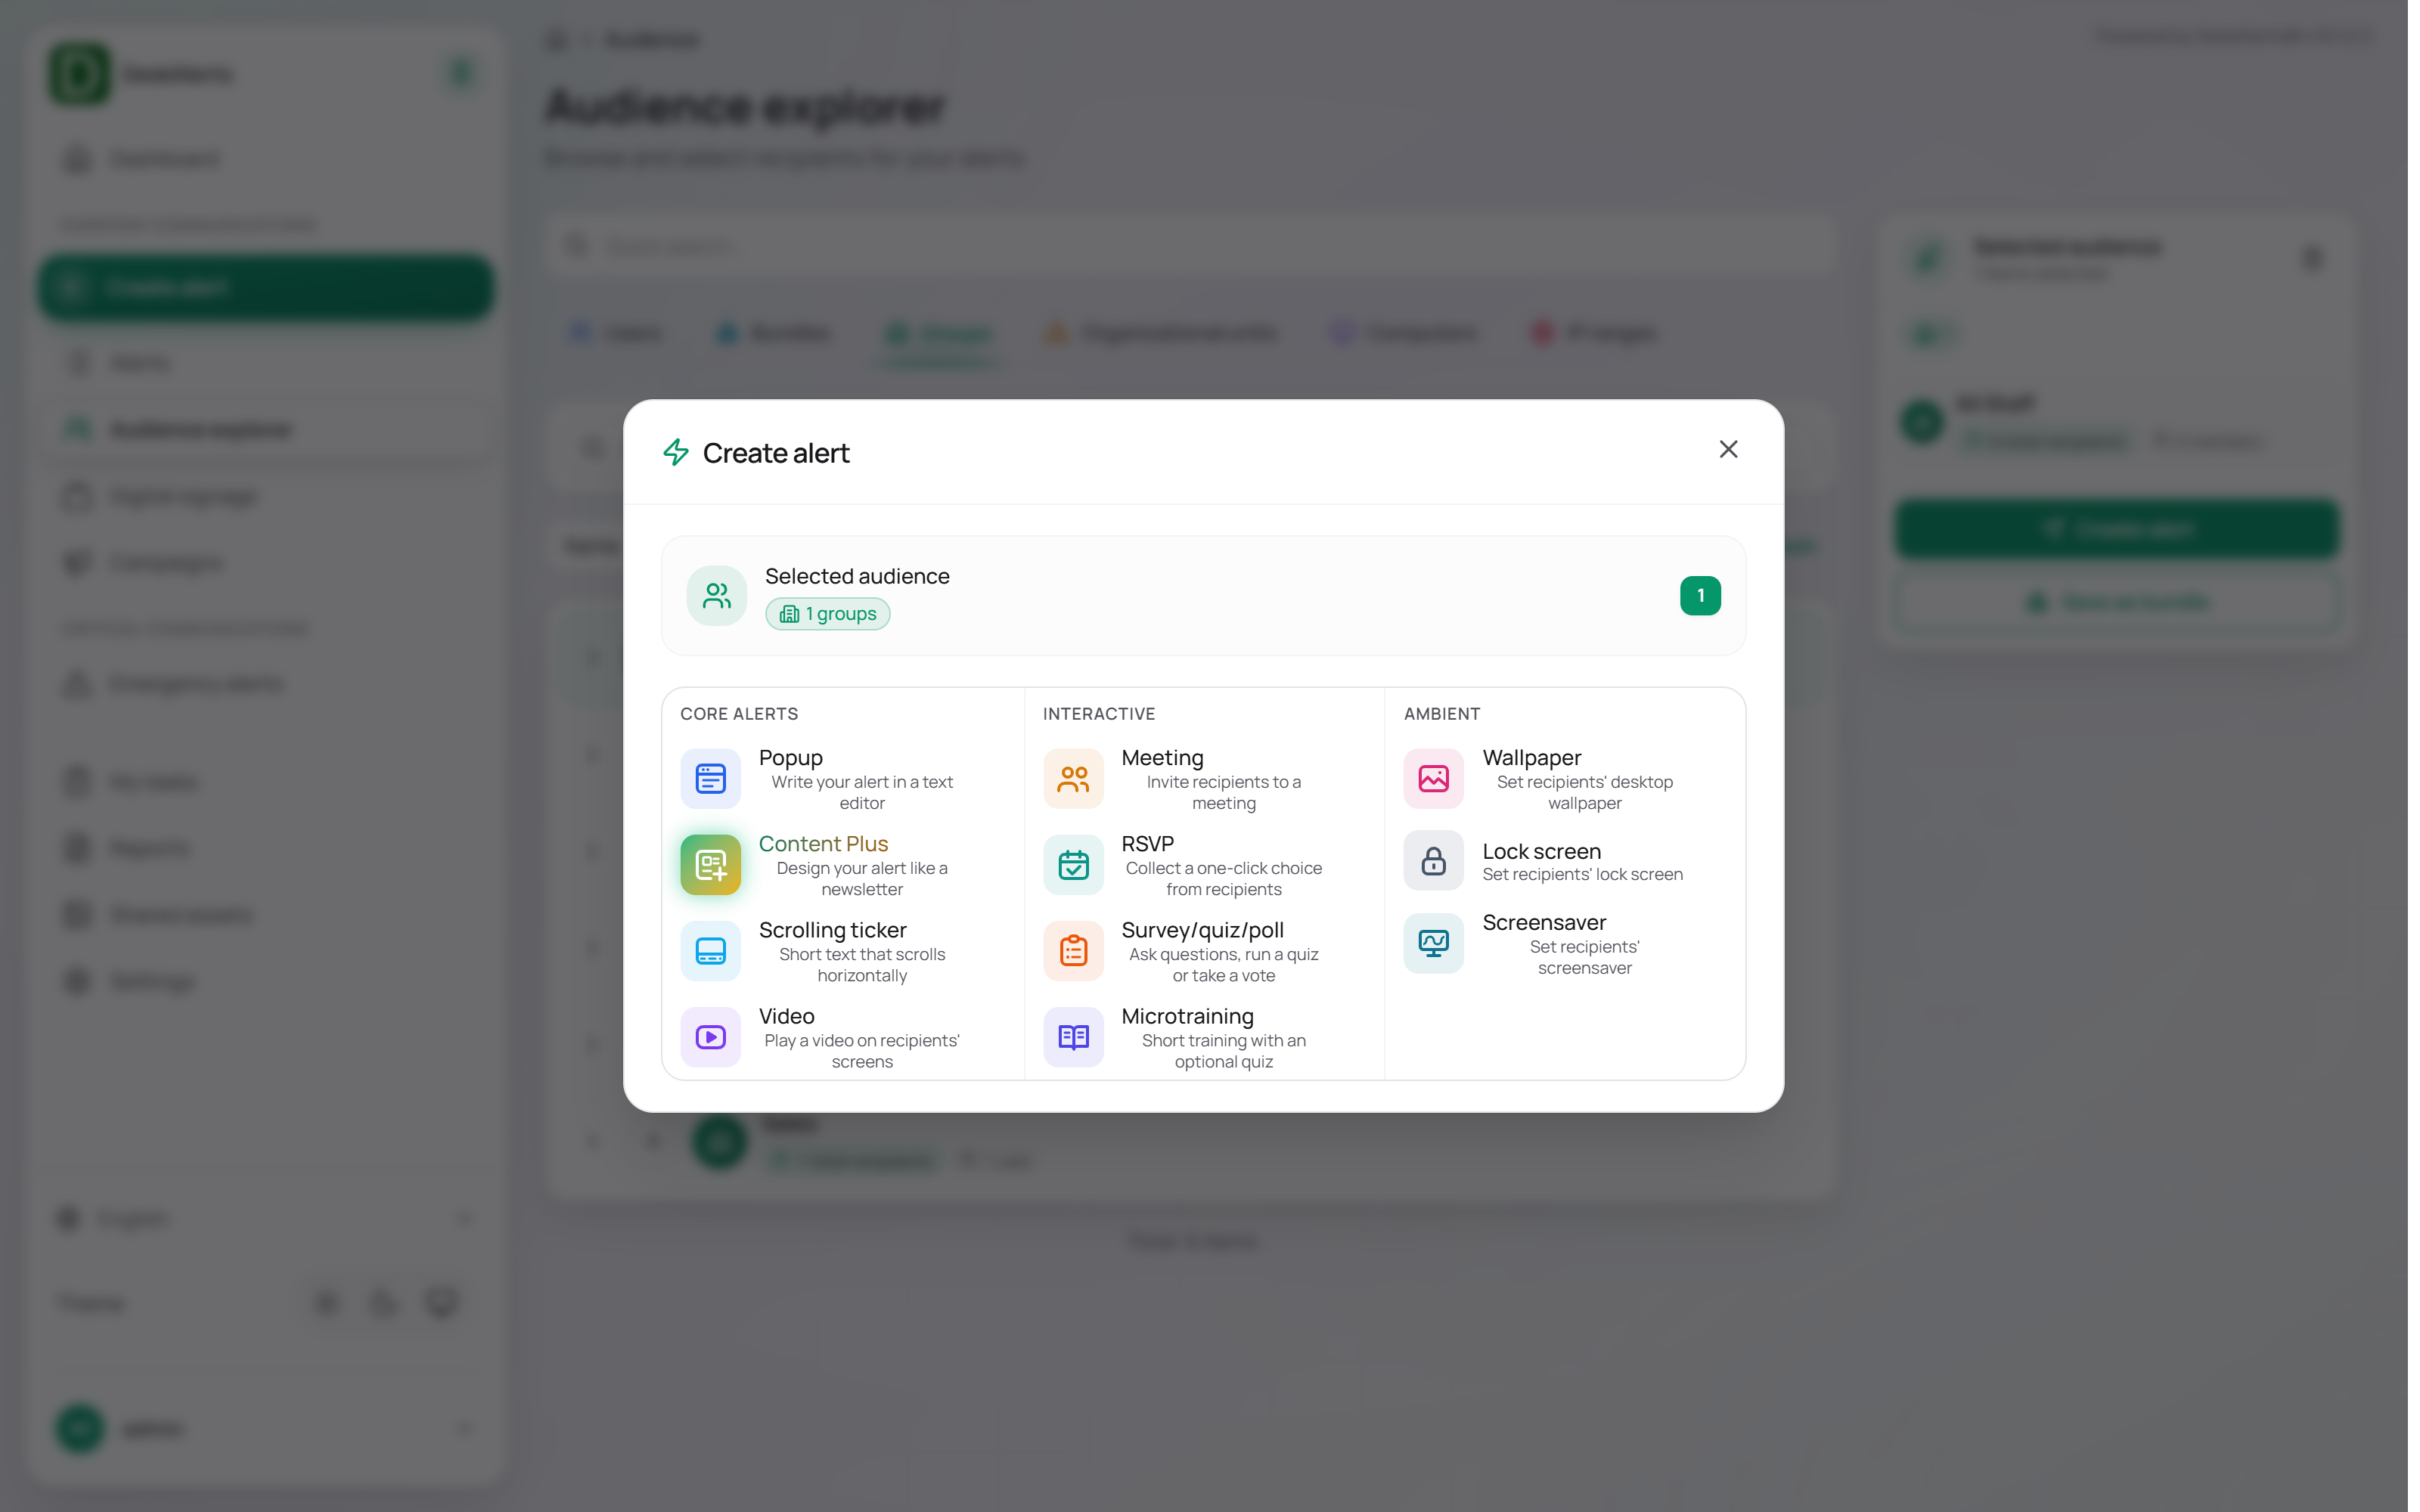 The Create alert dialog
The creation page itself is described in the Alerts section.