Digital Signage
Overview
Digital Signage turns any display with a web browser — in a lobby, hallway, meeting room, or production floor — into a DeskAlerts screen. Each screen has a name, a public viewer link, a layout that divides the display into zones, and a playlist of clips (images, videos, HTML pages, or web pages) for every zone. The physical display simply opens the screen's link; everything else is managed from the web portal.
Emergency alerts can also be delivered to digital signage screens: Digital Signage is one of the delivery channels of an emergency alert template (see Emergency Alerts).
The page is available under Everyday communications → Digital signage in the left navigation panel and has two tabs: Screens and Layouts.
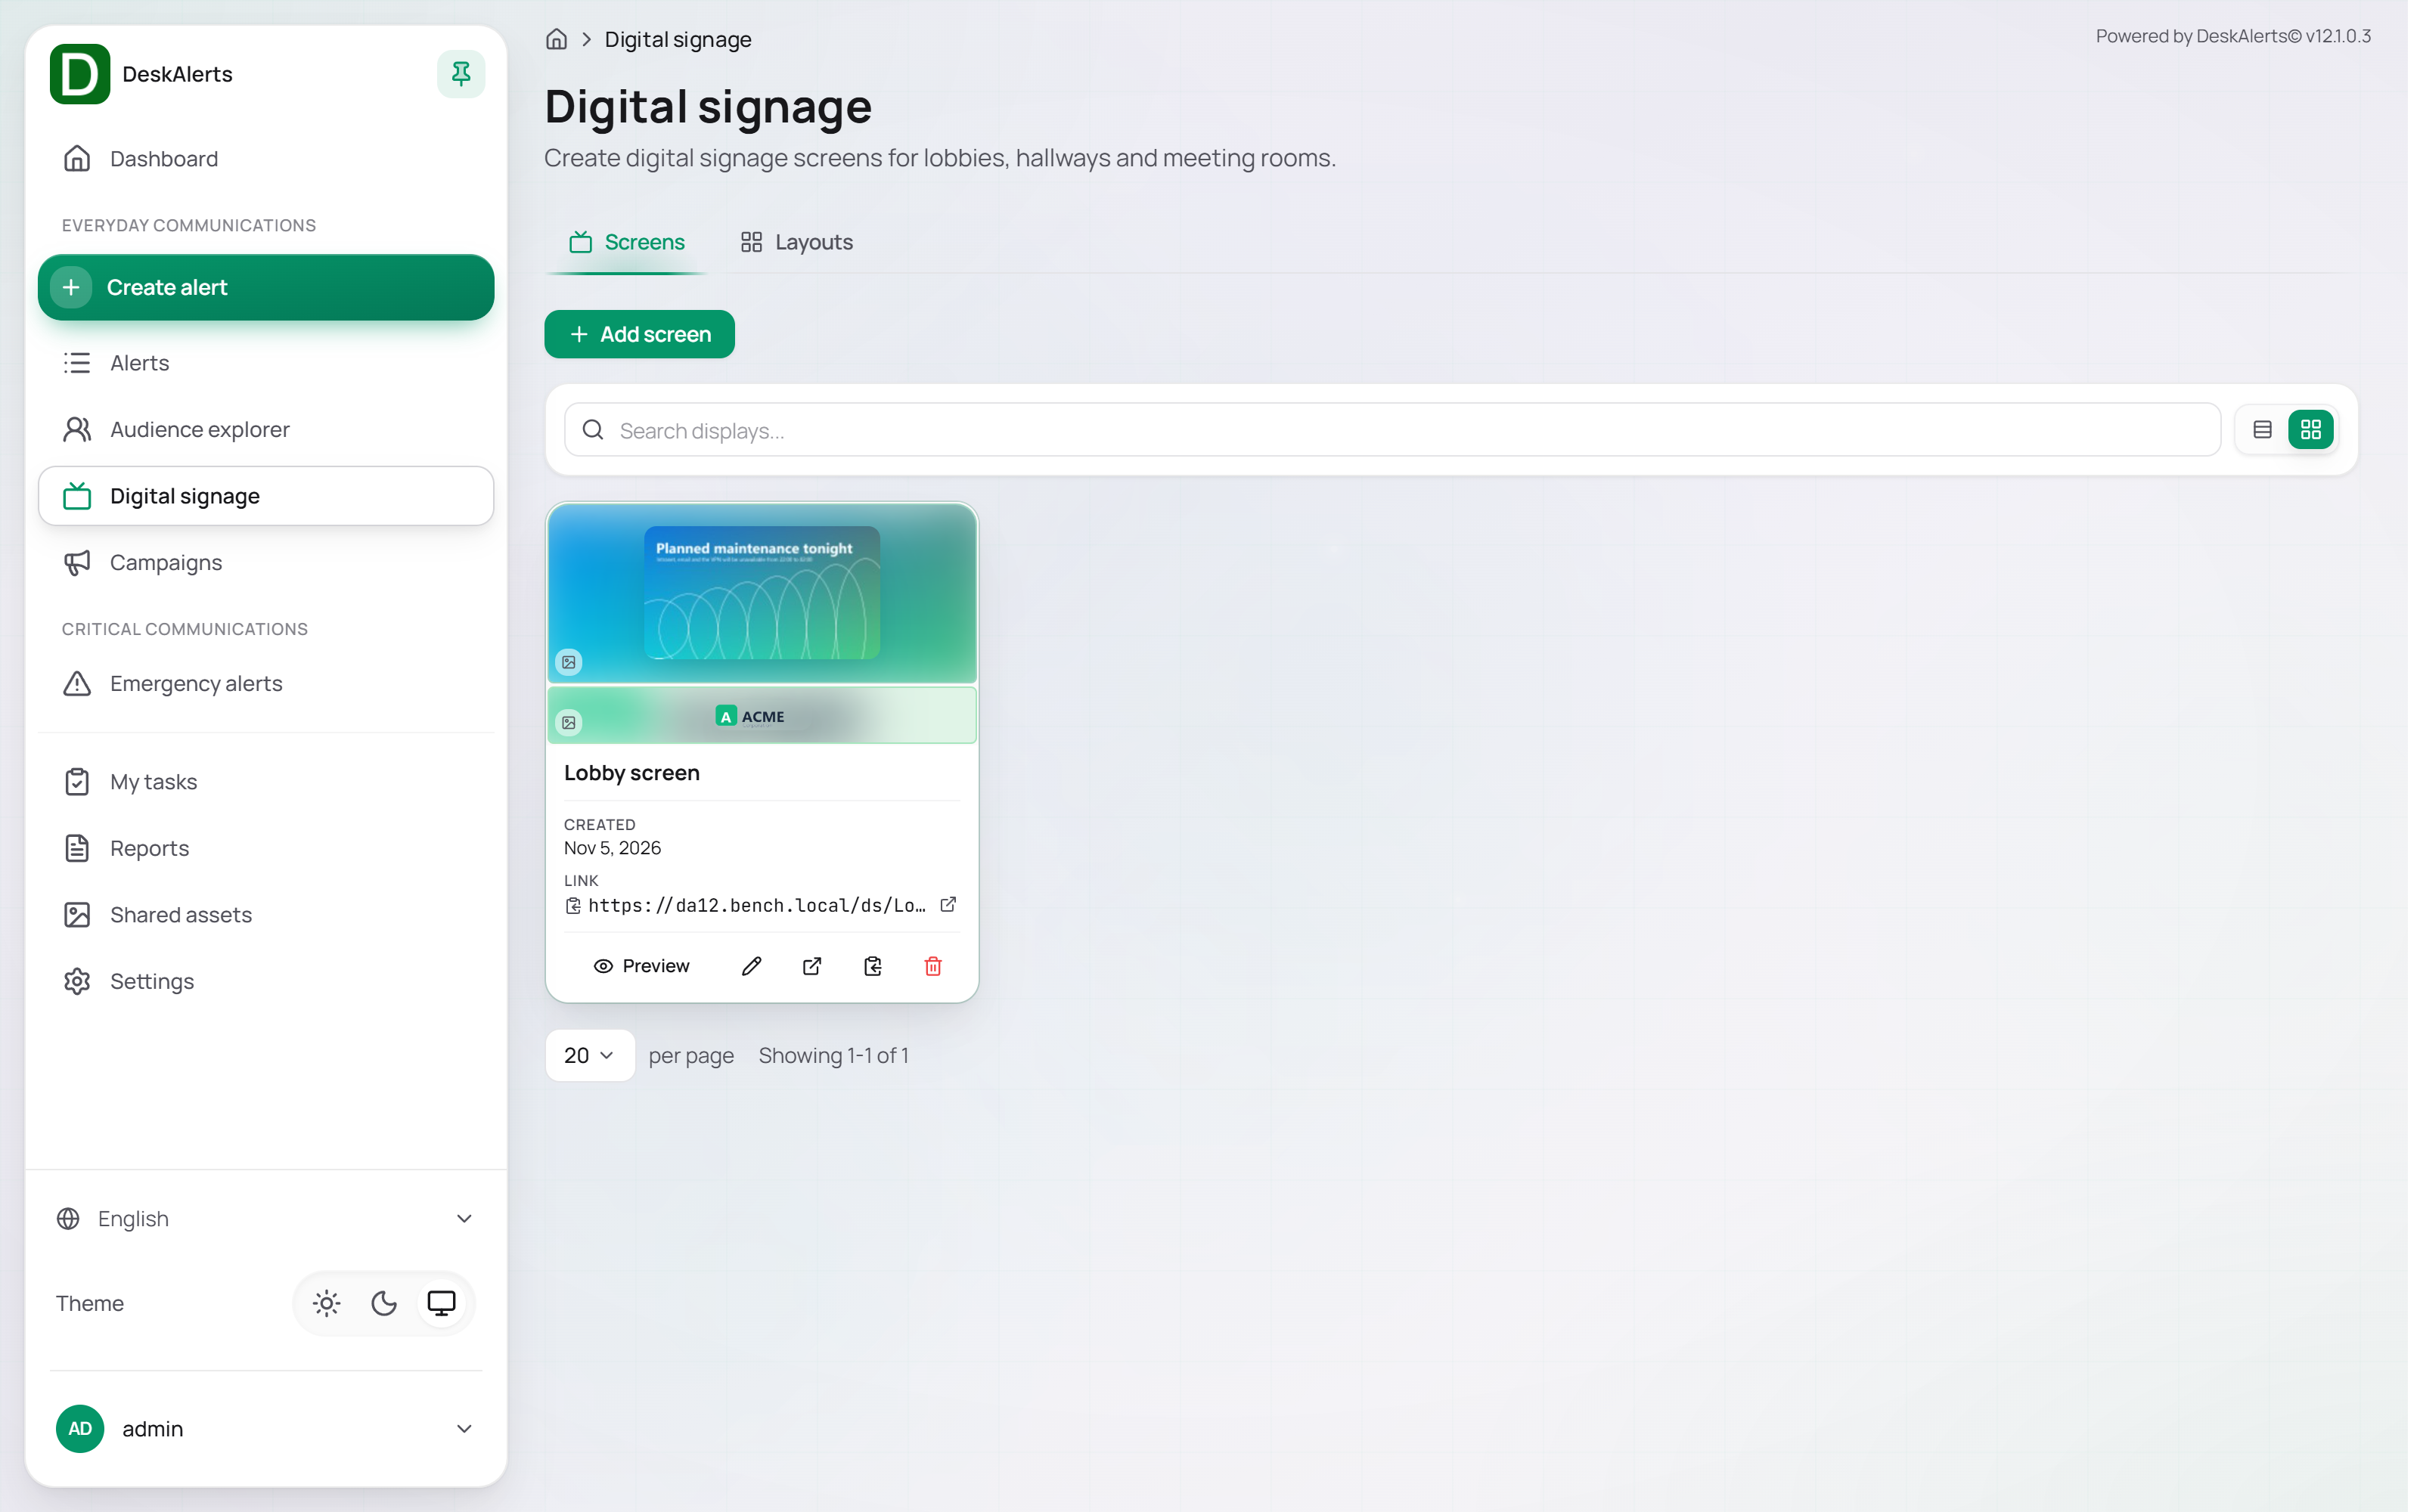 The Screens tab with the demo screen
Screens
The Screens tab lists every configured screen (No displays yet — Create your first digital signage display to get started on a fresh server). Each card shows:
| Element | Description |
|---|---|
| Layout preview | A thumbnail of the screen's layout. Each zone shows the type of content assigned to it and a counter such as ×2 when the zone has several clips |
| Name | The screen name |
| Created | The creation date |
| Link | The public viewer link of the screen (https://<server>/ds/<name>), with Open link next to it |
| Preview | Opens the Digital signage preview window — the screen rendered at 1920 × 1080 (16:9) with zone labels, playing the assigned content |
| Edit | Opens the screen in the editor |
| Open by link | Opens the public viewer link in a new browser tab |
| Copy link | Copies the viewer link to the clipboard |
| Delete | Deletes the screen after a confirmation |
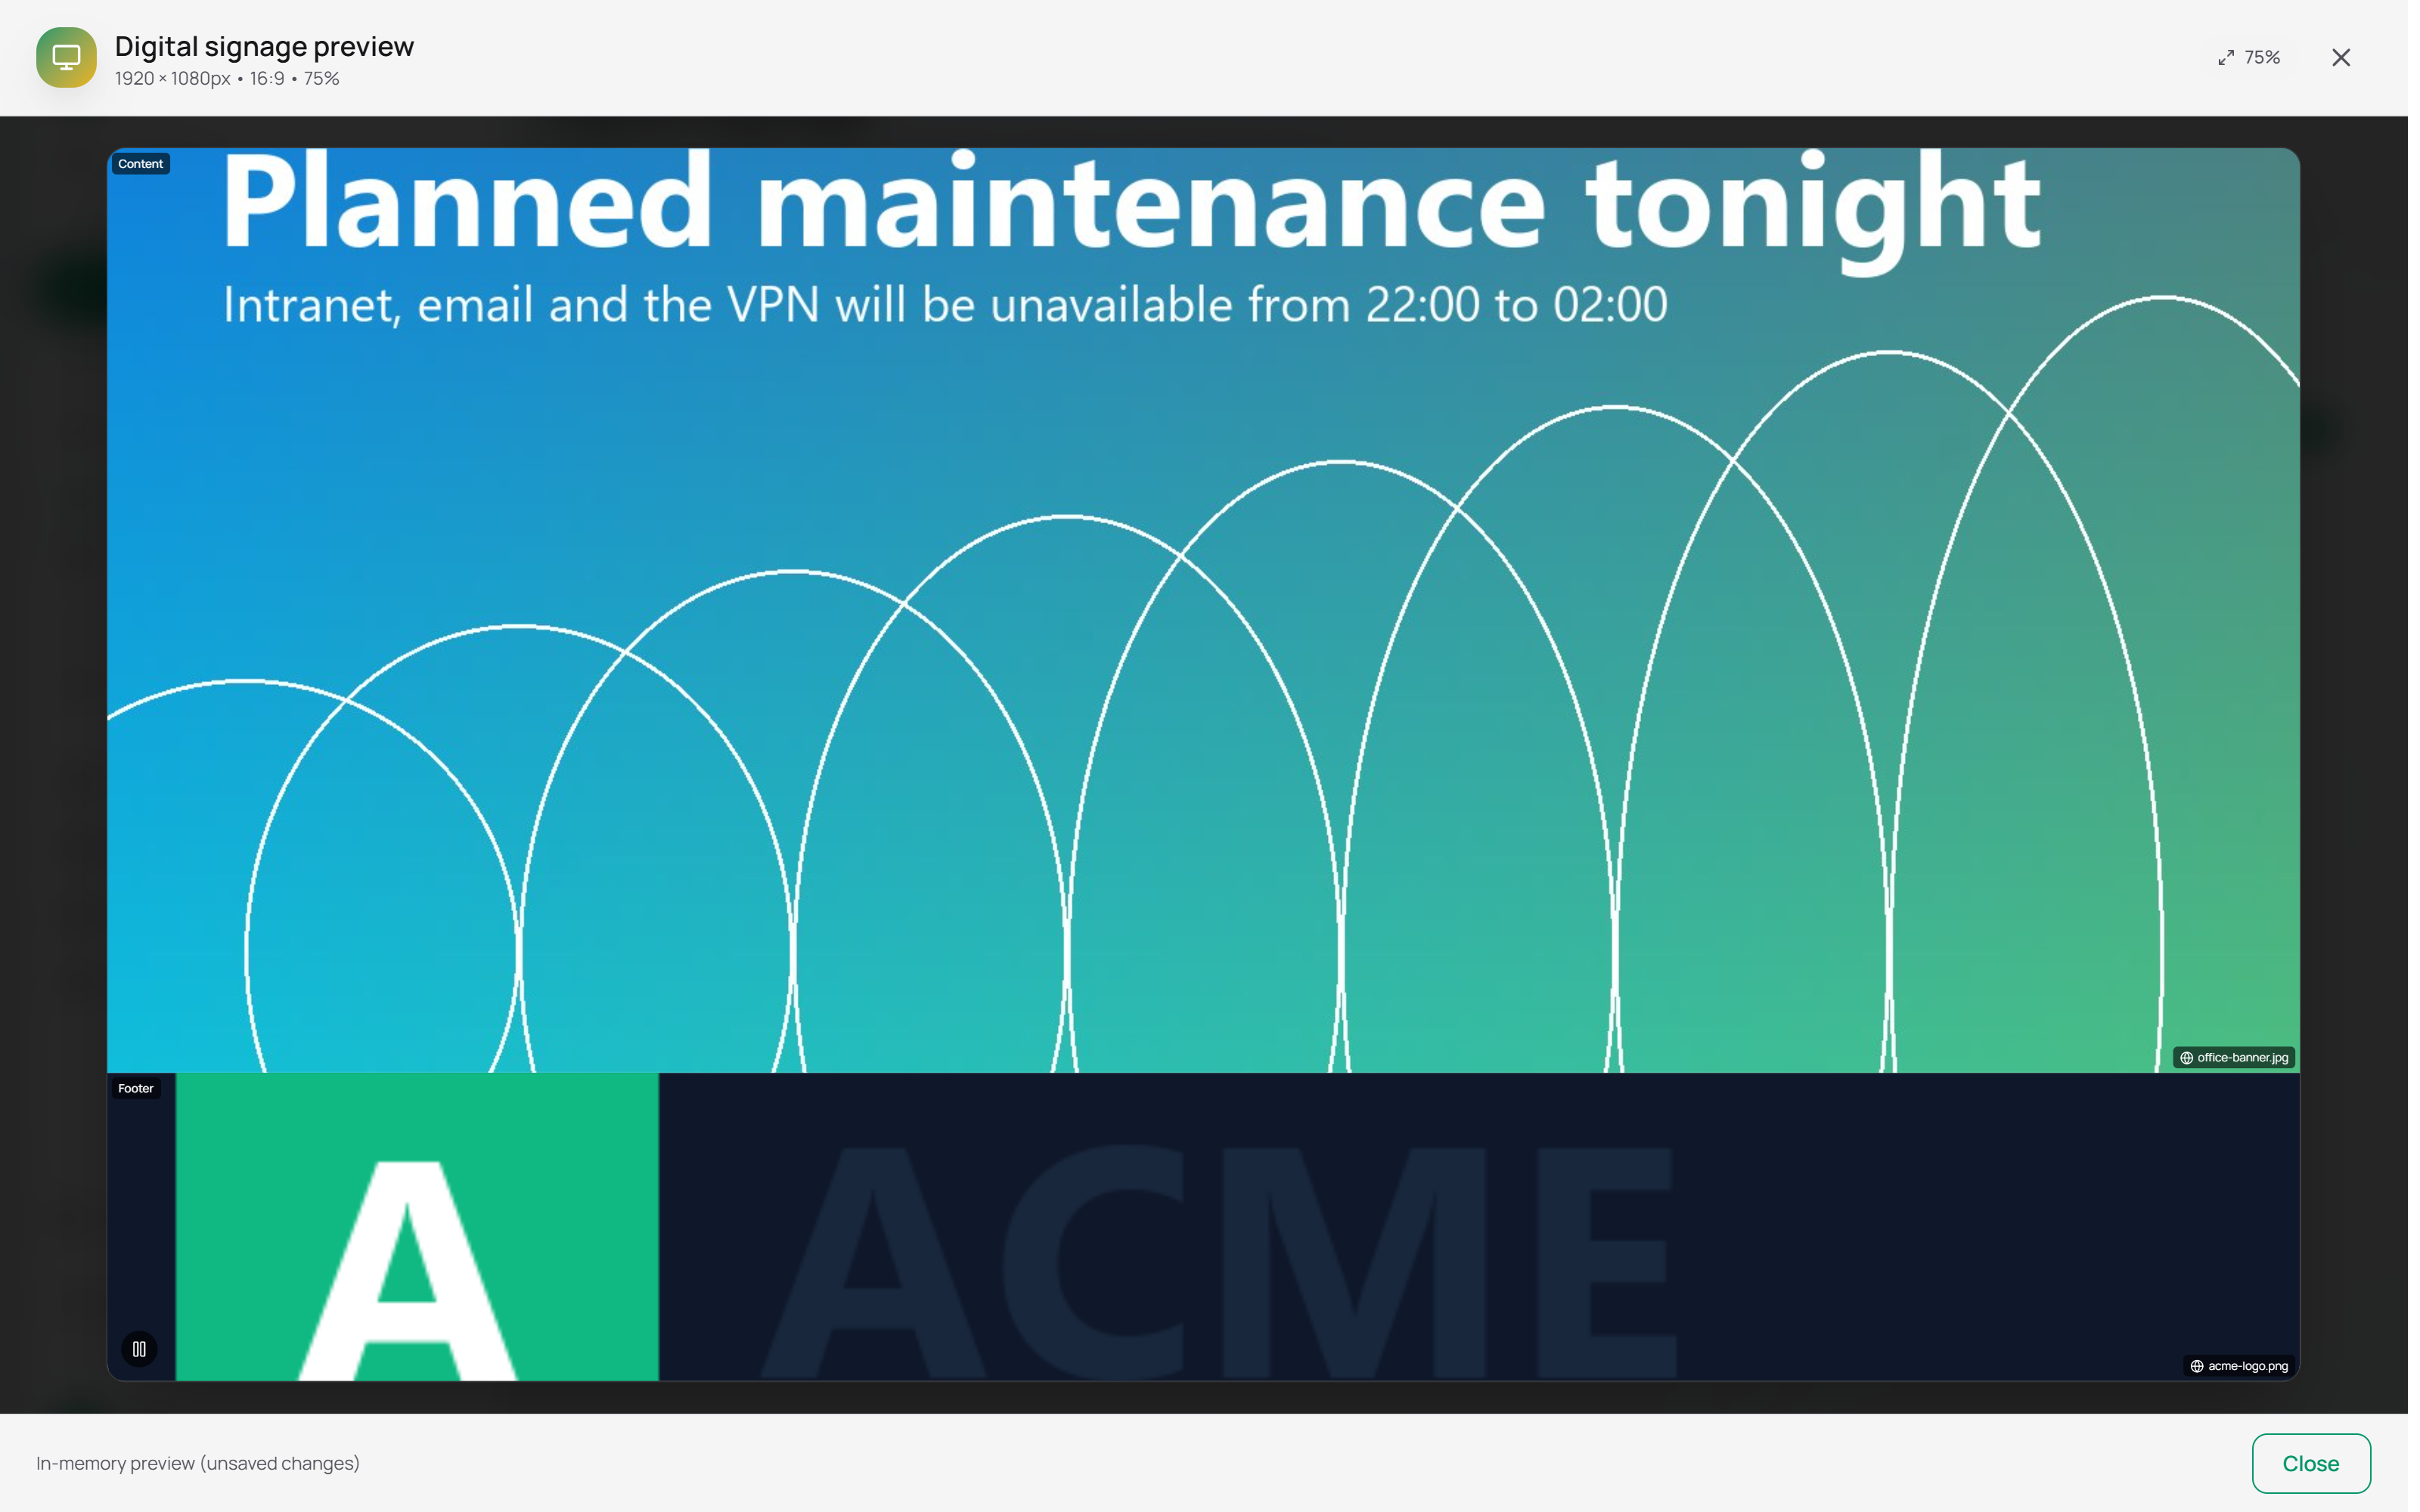 The preview of the demo screen
Showing a screen on a display
Open the screen's viewer link in a full-screen browser on the display device. The page renders the layout with the assigned clips cycling in each zone and updates automatically when the screen is changed in the web portal — a change of zone content reaches an open screen within about 10 seconds, without reloading the page.
An emergency alert sent with the Digital signage channel replaces the screen content within a few seconds; the playlist returns when the alert is stopped.
Note: The viewer link does not require signing in to the web portal — anyone who knows the link can open the screen.
To stop showing a screen, close the viewer on the display, or delete the screen.
Creating a screen
Click Add screen on the Screens tab. The Create digital signage screen page has three areas: the screen settings at the top, the Media panel on the left, and the layout picker — which becomes the Screen canvas once a layout is chosen — on the right. The toolbar above the form has Cancel, Preview, and Save.
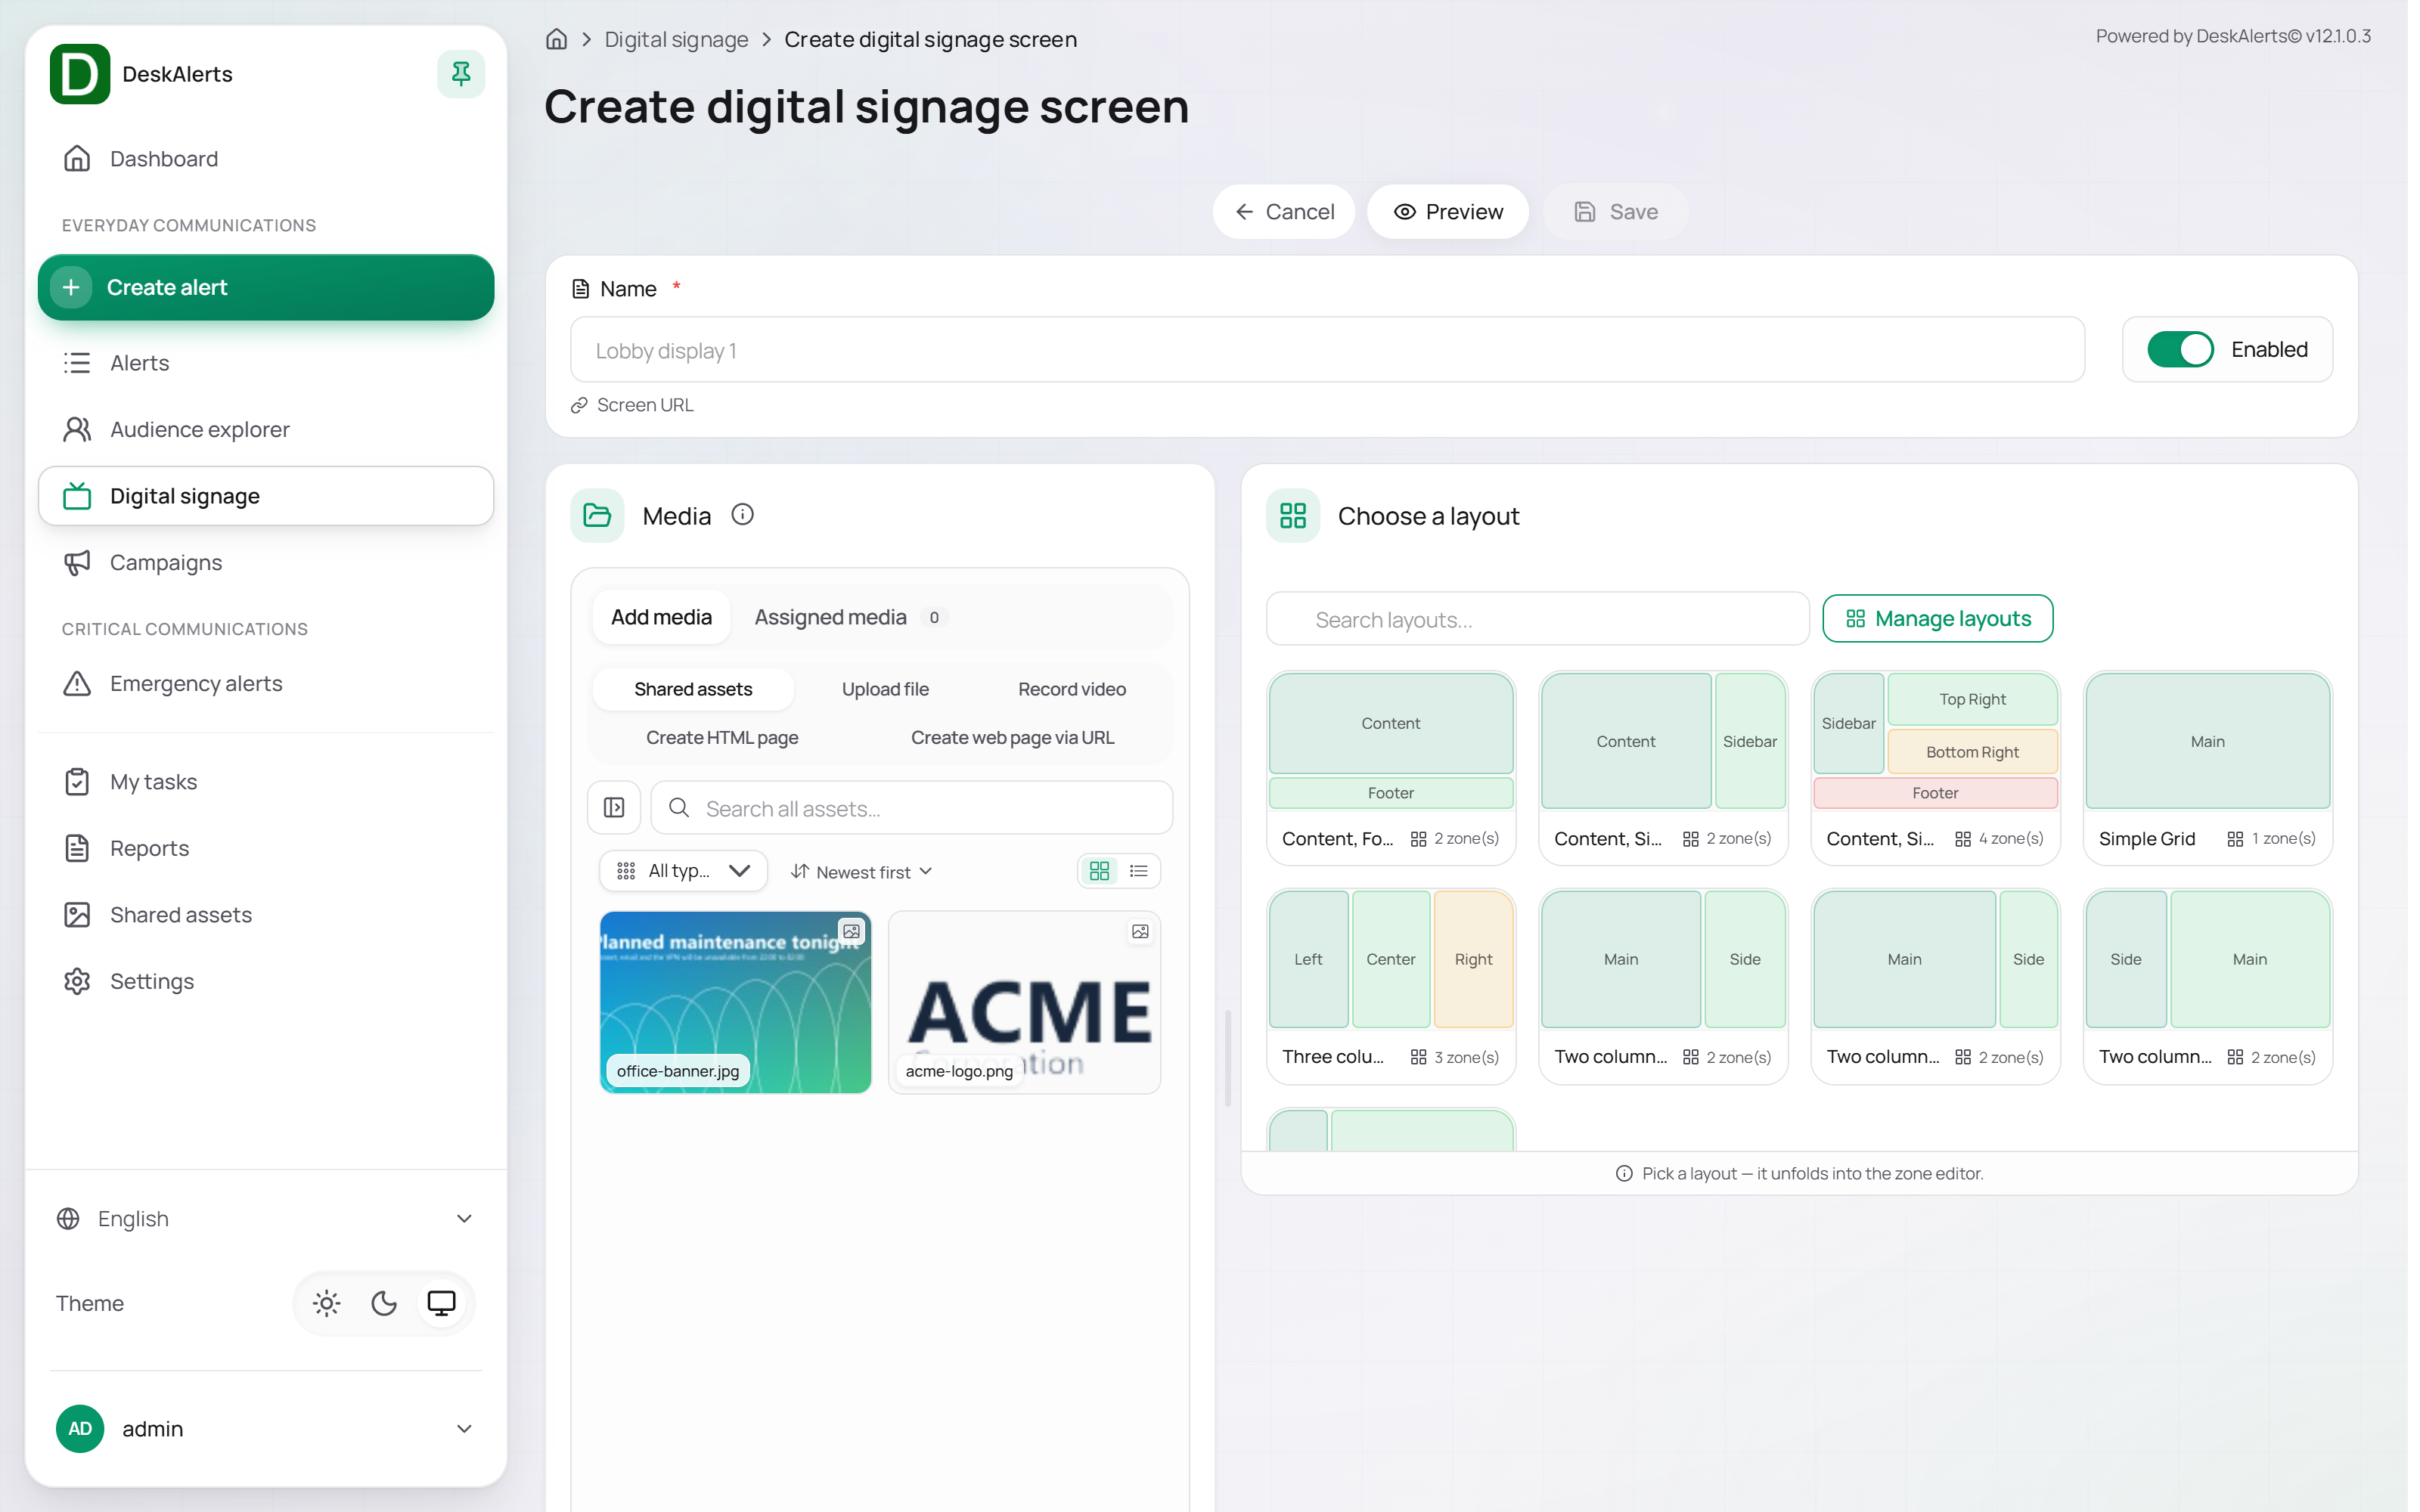 The Create digital signage screen page before a layout is chosen
Screen settings
| Field | Description |
|---|---|
| Name (required) | The screen name, for example Lobby screen. The public viewer link (Screen URL) is generated from it and shown under the field (https://<server>/ds/Lobby_screen) |
| Enabled | The switch next to the name; new screens are created enabled |
Choosing a layout
The Choose a layout panel lists every layout — built-in and custom — as a thumbnail with its zones and zone count (Pick a layout — it unfolds into the zone editor). Use Search layouts… to find one by name, or click Manage layouts to open the Layouts tab. Move the mouse over a thumbnail and click Use this layout. The panel turns into the Screen canvas with one drop area per zone (Drop assets here) and the zone count in its header.
Once a layout is in use, Change layout in the canvas header lets you switch to another one.
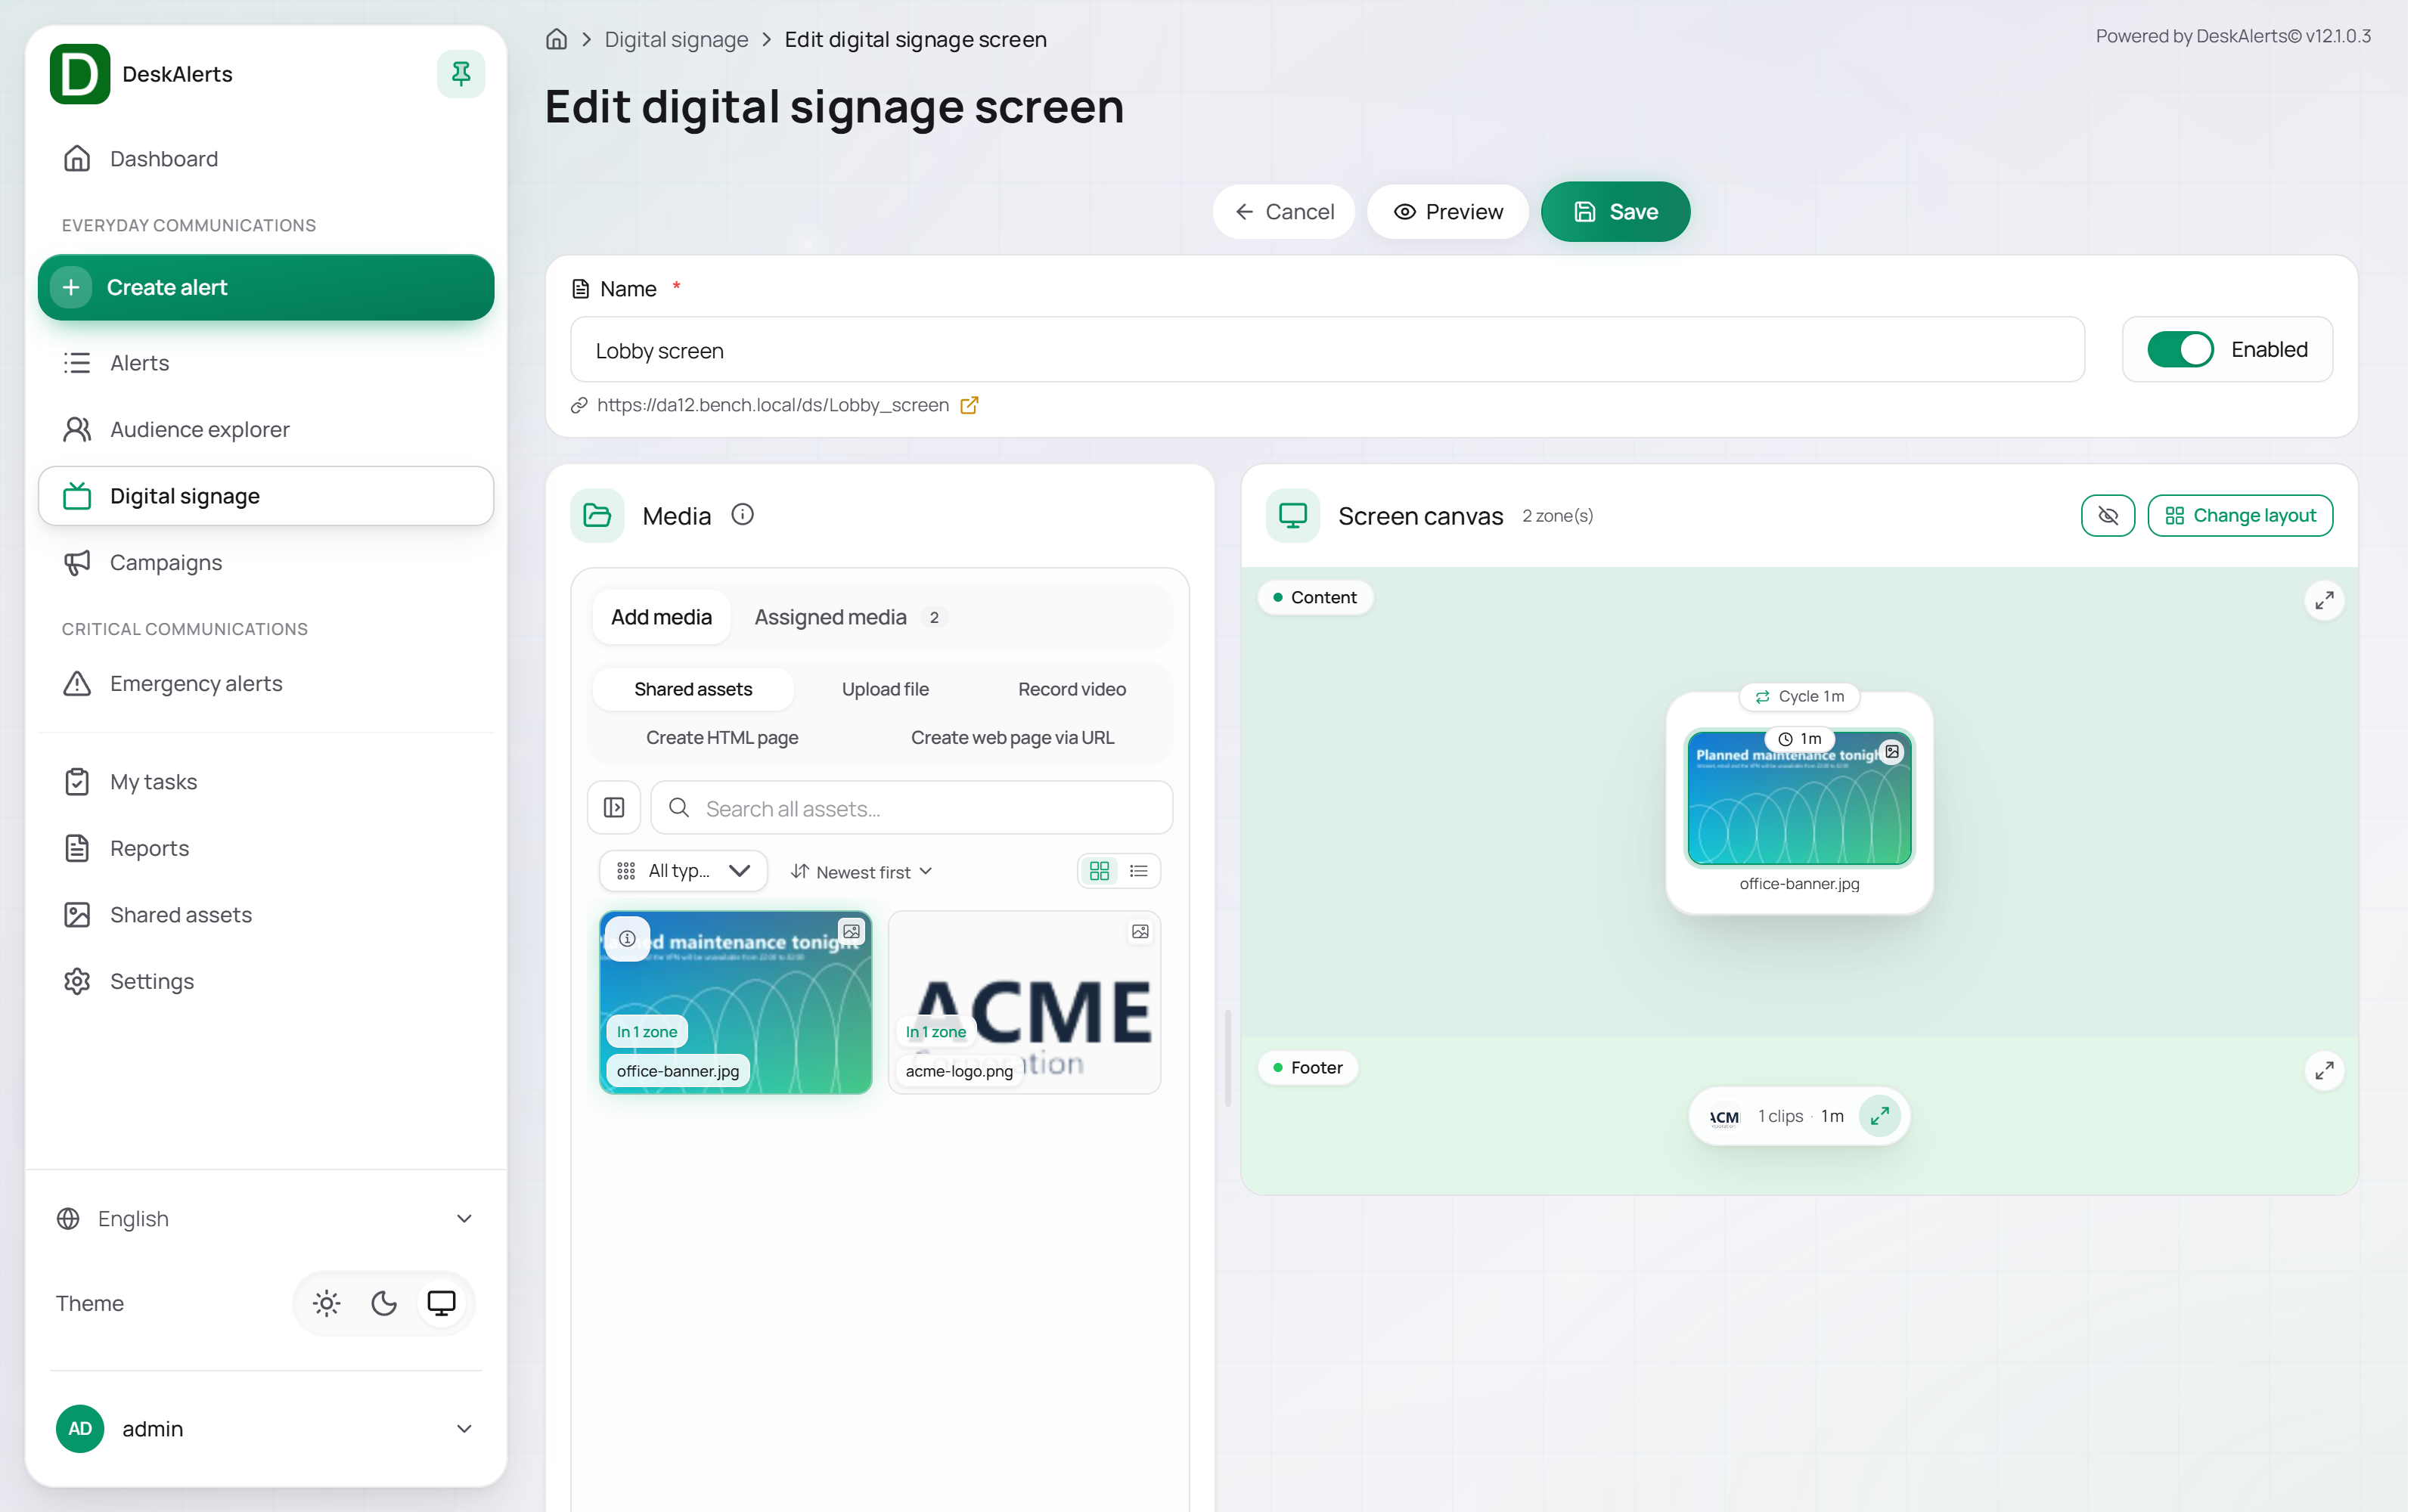 The screen canvas of the demo screen ("Content, Footer" layout) with both zones filled
Media
The Media panel is the source of content for the zones. It has two tabs: Add media, where you pick or create content, and Assigned media, which lists the assets already used on this screen (a tile in the library shows In 1 zone).
The Add media tab offers five sources:
| Source | Description |
|---|---|
| Shared assets | Browse the Shared assets library: search by name, filter by type (All types), sort (Newest first by default), and switch between the grid and the list |
| Upload file | Upload a file; it is stored in Shared assets as well |
| Record video | Records a video clip with the computer's camera and microphone |
| Create HTML page | Creates an HTML asset inline |
| Create web page via URL | Embeds an external web page as an asset |
Assigning content to zones
Drag an asset from the Media panel and drop it onto a zone in the Screen canvas — the toast "office-banner.jpg" added to zone confirms it. The asset becomes a clip in that zone's playlist; the zone shows the clip with its display duration (1m by default), and a Cycle badge shows the total playlist length. Drop more assets into the same zone to build a rotation. Save becomes available once every zone has content.
Click the ⤢ icon in a zone's corner to open the zone editor. It lists the zone's clips in playback order and lets you configure each clip:
| Setting | Description |
|---|---|
| Order | Use the arrows or the drag handle on the left of a clip to change its position in the playlist |
| Display Duration | How long the clip stays on screen before the next one — enter hours, minutes, and seconds, or click a preset (10s, 30s, 1m, 5m, 15m, 30m, 1h) |
| Fit Mode | How the clip fills the zone: Cover, Contain, Stretch, Original, or Scale down |
| Zone pills | The zone names in the header. Click a pill to switch to another zone, or drag a clip onto a pill to move it to that zone |
The eye icon in the header toggles thumbnails of the clips inside the zones (Show previews in zones). Click the icon again to return to the full canvas.
Preview and save
Click Preview in the toolbar to open the Digital signage preview window. It renders the screen at 1920 × 1080 (16:9), labels each zone, plays the clips, and can be expanded to full screen. Unsaved changes are included.
Click Save to create the screen; it appears on the Screens tab with its viewer link. Cancel discards the changes and returns to the list.
Editing an existing screen (Edit on its card) opens the same page with the saved content in the zones.
Layouts
The Layouts tab is the library of layout templates that define how a screen is divided into zones.
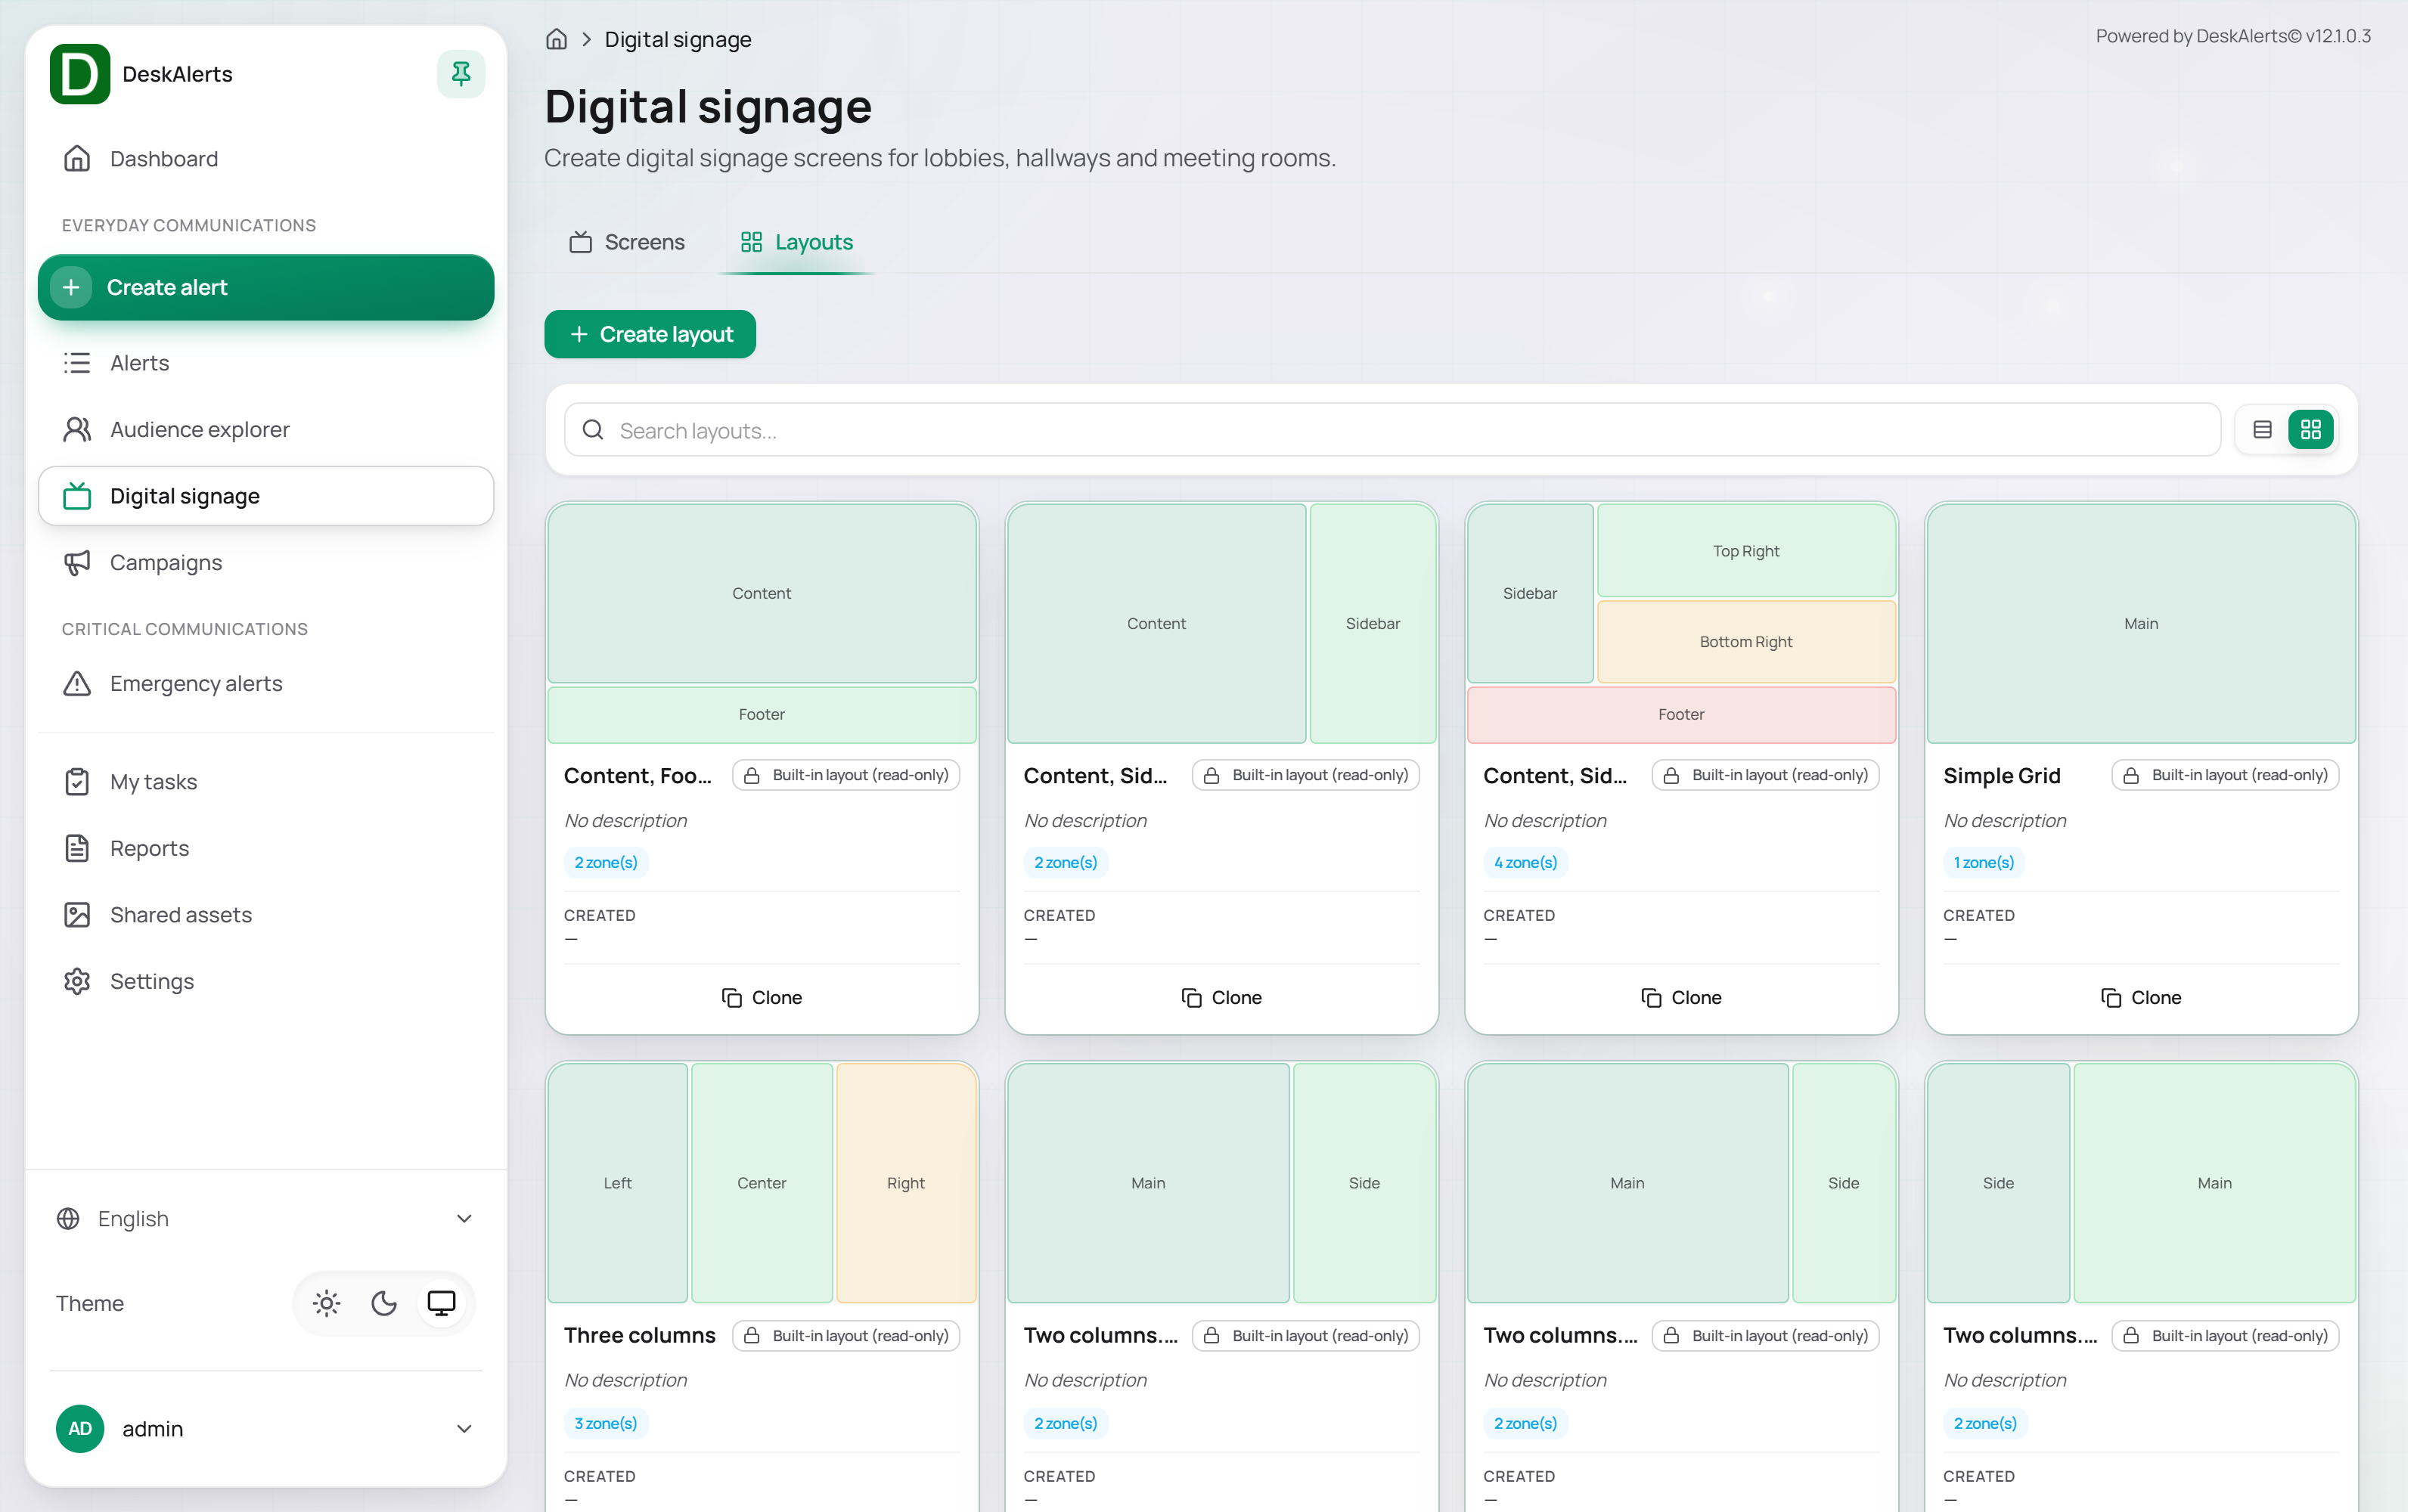 Built-in layouts
Each layout card shows a thumbnail with the named zones, the layout name, its description (No description for the built-in ones), the zone count (2 zone(s)), and the creation date. Built-in layouts carry the Built-in layout (read-only) badge and offer only Clone. Use Search layouts… to find a layout by name and the icons on the right to switch between the grid and the list.
DeskAlerts ships with the following built-in layouts:
| Layout | Zones |
|---|---|
| Content, Footer | Content, Footer |
| Content, Sidebar | Content, Sidebar |
| Content, Sidebar, Footer | Sidebar, Top Right, Bottom Right, Footer |
| Simple Grid | Main |
| Three columns | Left, Center, Right |
| Two columns. The first one is 66 wide% | Main, Side |
| Two columns. The first one is 75 wide% | Main, Side |
| Two columns. The last one is 66 wide% | Side, Main |
| Two columns. The last one is 75 wide% | Side, Main |
To use a built-in layout as a starting point, click Clone — the copy is editable.
Creating a layout
Click Create layout. The Create layout page (Design your layout by splitting and resizing zones) has two sections:
| Section | Description |
|---|---|
| Layout information | Layout name and an optional Description |
| Zone designer | A canvas that starts with a single zone named Main at 100% × 100%. Click a zone to select it, then use the toolbar |
| Toolbar action | Description |
|---|---|
| Split horizontal | Divides the selected zone into two rows |
| Split vertical | Divides the selected zone into two columns |
| Rename | Renames the selected zone |
Each zone shows its name and size as a percentage of the screen; the footer of the canvas shows the zone count (1 zone(s)). Drag the dividers between zones to resize them. Click Create layout to save — the layout appears in the layout picker of the screen editor. Cancel discards it.